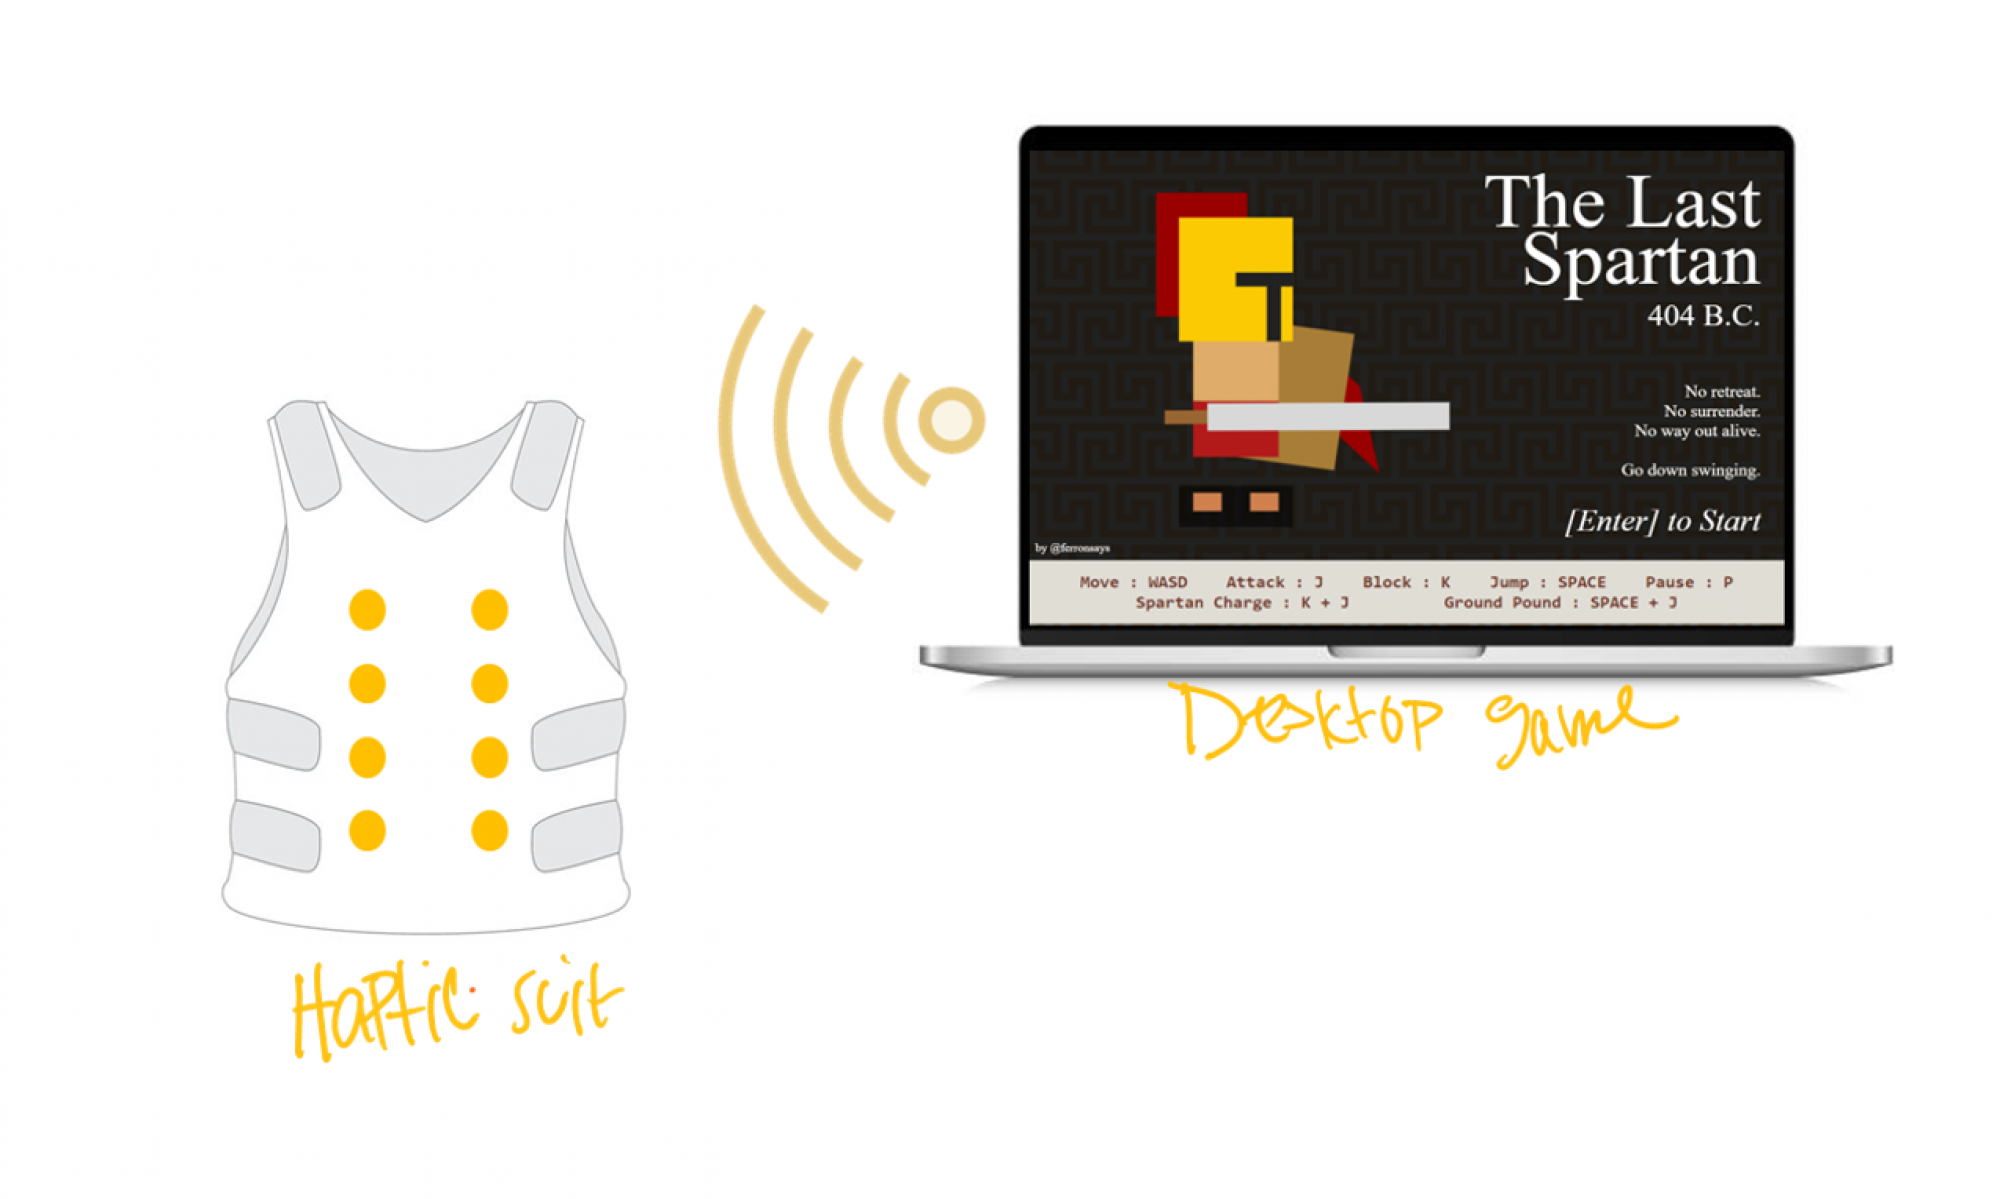
Updates for the week:
This week, I worked on researching the best motors to provide a haptic feedback. I landed on two types of motors: pager motors and mini vibration motors. Each of the motors comes with drawbacks and advantages, with the advantage of the mini vibration motor being it’s small and has compact shape that will minimize the weight of the vest. The pager motor will be more difficult to mount to the vest because of its boxy shape, so I believe we are going to go with the mini vibration motors.
I also spent some time prototyping the design of how the motors will function inside the vest. Since the mini-vibration motors are smaller than the size of a quarter (10mm diameter), my initial thought is to arrange 4 motors into a “flower” that will function as a single feedback point. To mount this, I will laser cut a chip made out of acrylic that can support the 4 motors in a pattern (as shown in Figure 1). In order to actually get the chip into the vest, I thought of a method to get a thin, expandable material (i.e. spandex) which we could sew into the inside lining of the vest itself. We would create a “pocket” of sorts with this material in which we could take the motor chip in and out of + connect to common ground/power + connect to the STM which would rest in the back of the vest.
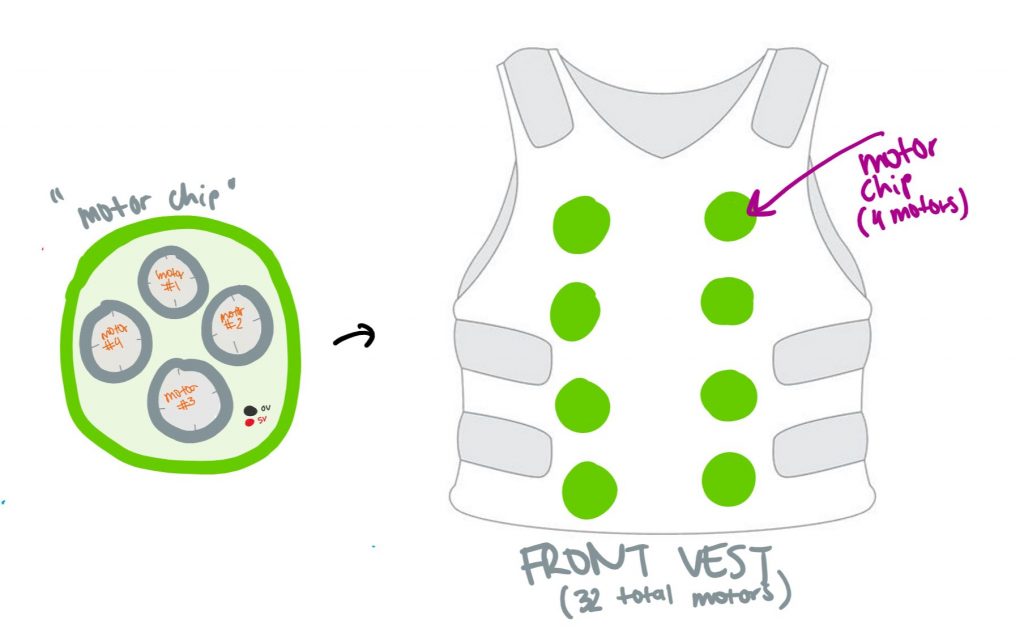
figure 1
Lastly, I did some research into the best RGB lights for the haptic suit, and landed on the neopixel ring light. This was best suited for our project since it will outline where there is haptic feedback point is on the vest, and is easily adaptable to an Arduino (there is a corresponding neopixel library that we can download).
Progress on Schedule:
We’re still on schedule, but need to work diligently this next week since we spent a lot of time researching. I think the biggest roadblock right now might be getting the parts in order to test them. I have a mini vibration motor in my own personal Arduino kit, so I can test and approximate if 1 motor per haptic point is enough, or we really do need 4. Once we get more motors, this will be easier to determine.
Deliverables for next week:
Over the next week, I hope to test the motor pattern and determine if it simulates a feedback that corresponds to the game and doesn’t deter from the experience. I will also determine if its too many/not enough motors or if the motor needs to be changed for a specific point (i.e. maybe the motor over the heart needs to be stronger than the rest to simulate a thumping sensation). If the motor chip design works well, I will then work on creating a “motor chip flower” class in the Arduino IDE in order to modularize the system since we will be working with a lot of motors, and they all need to be synchronized. When an instance of this motor class is called, it will activate the motor flower chip as one, so that it seems like you are controlling only one motor while hiding the fact that it is actually 4.