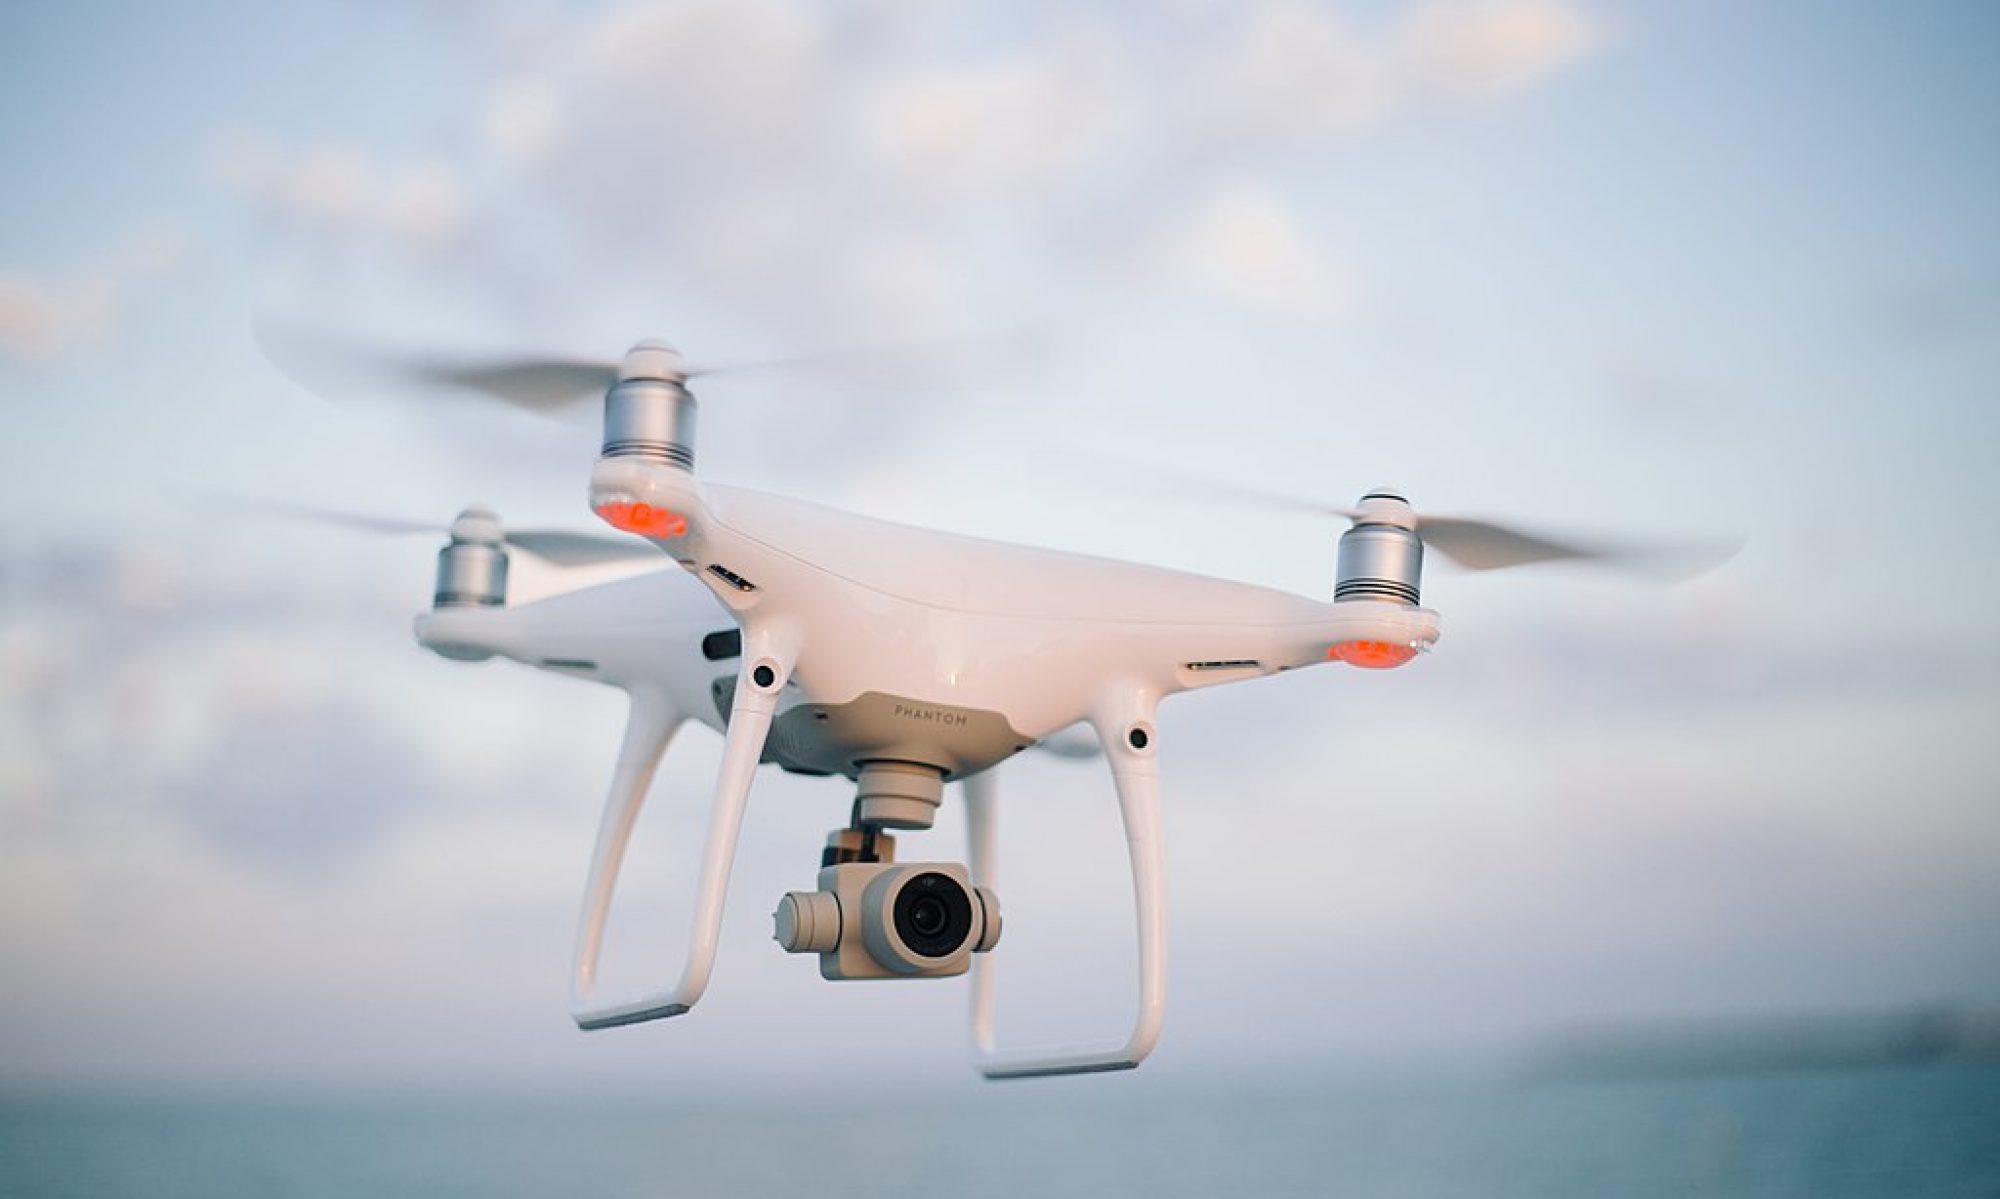
Last Sunday, our team finalized the Gantt Chart and schedule for the project. On Monday, I presented the proposal. After that, we worked together to divide up which components each of us would focus on researching for ordering. I researched batteries for powering the TX1 and concluded we should buy a 3S LiPo battery along with a charger, a charging bag and an XT-60 male to 2.5 mm barrel connector for connecting the battery to the TX1. In addition, I researched the type of camera we would need, using this calculator to figure out the width and height of the frame in feet given the camera’s focal length and distance to target. I found that a camera with a focal length around 4mm would give about a 20′ by 30′ frame when 20′ above the target. At a resolution of at least 720p, a back of the envelope calculation shows that this should provide enough pixels of the target for CV detection. n addition, the smaller focal length means that the camera itself is a lot more study. Under these specifications, I found this camera that is meant to be connected to a Raspberry Pi, has the desired focal length and can provide 720p 60fps video (we only require 720p 30fps). Finally, in addition to researching these parts, I studied the datasheet of the TX1. I also downloaded Solidworks onto my computer and started learning how to use Solidworks for CAD design.
I wasn’t able to start testing the TX1 this week since I needed a monitor, keyboard and mouse (which I am acquiring today). Thus, for next week, I aim to fully set up the TX1 and create some sample programs (such as testing out Wi-Fi communication capability). I will also download and configure ROS on the TX1. In addition to this, I will start researching methods for performing target state estimation and begin the CAD process for the housing for the TX1, display and the camera / Raspberry Pi.
