Author: juanyig
Echo Gao’s Status Update for 12/5
This week, we did our last demo on-class, and finished off testing. We found the following test results against our metrics:
- Delay from web app sends signal, to raspberry pi receives signal < 1s: We tested this desired latency by setting an alarm at 1:00 at 12:59:59 and see if this message can be received by raspberry pi in the next second.
- From robot received message to robot activate < 5s: The time needed for the Raspberry Pi to initialize the camera stream and CV algorithm takes around 8.3s.
- Delay from facial recognition to chase starting < 0.25s: Achieved
- Fast image processing: ML pipeline FPS > 10: Achieved around 13 FPS running our algorithm on our Raspberry Pi.
- Accurate human detection: false positive: Never occurs during testing.
- Accurate human detection: false negative: Occurs under poor lighting conditions.
- Effective chase duration > 30s, chase overall linear distance > 5m: Achieved.
We also decided our schedule and division of work for the final video, and filmed many runs of interacting with the robot.
Next Week:
Finish the final video, start writing the final paper.12
Team Status Update for 11/21
Echo:
- working on the bracket(hardware support) for USB camera (CAD + 3D print)
Peizhi:
Yuhan:
I have not encountered any serious issue or significant system design change this week; for a summary of this and next week’s schedule, refer to my personal update.
Echo Gao’s Status Update for 11/21
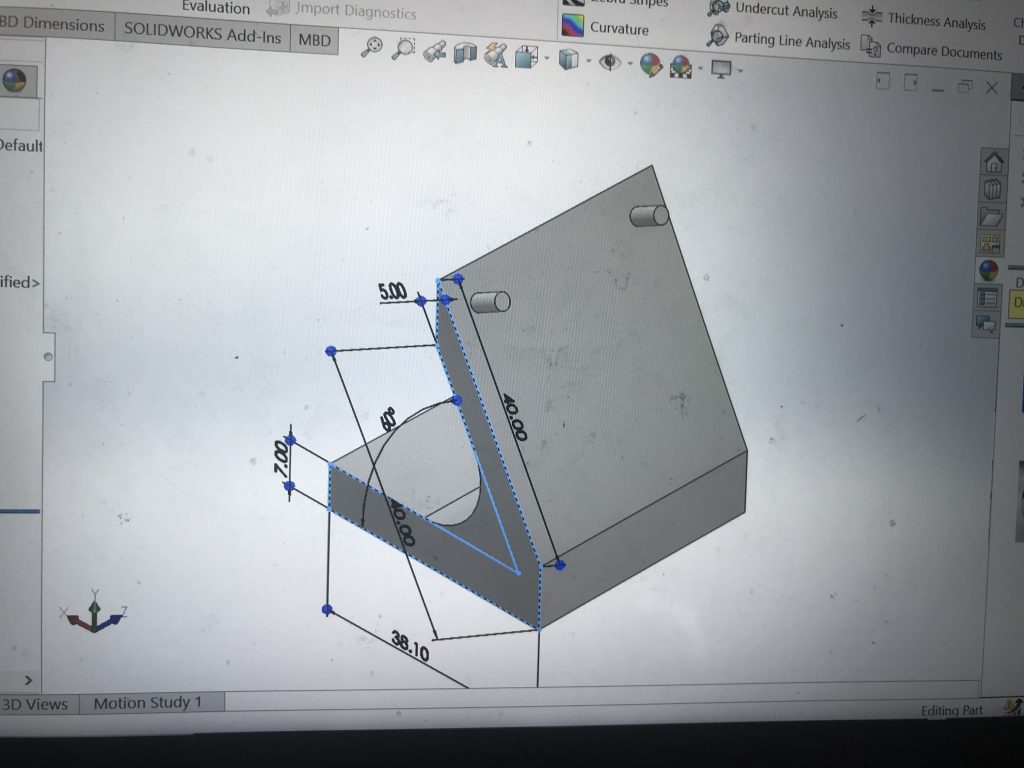
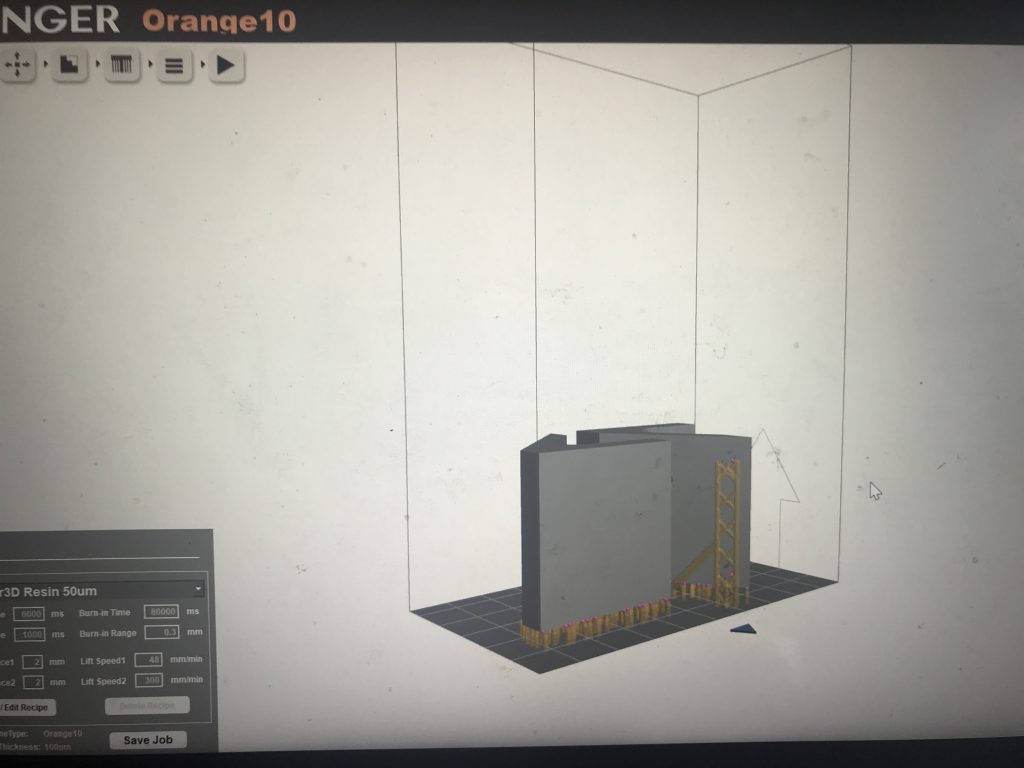
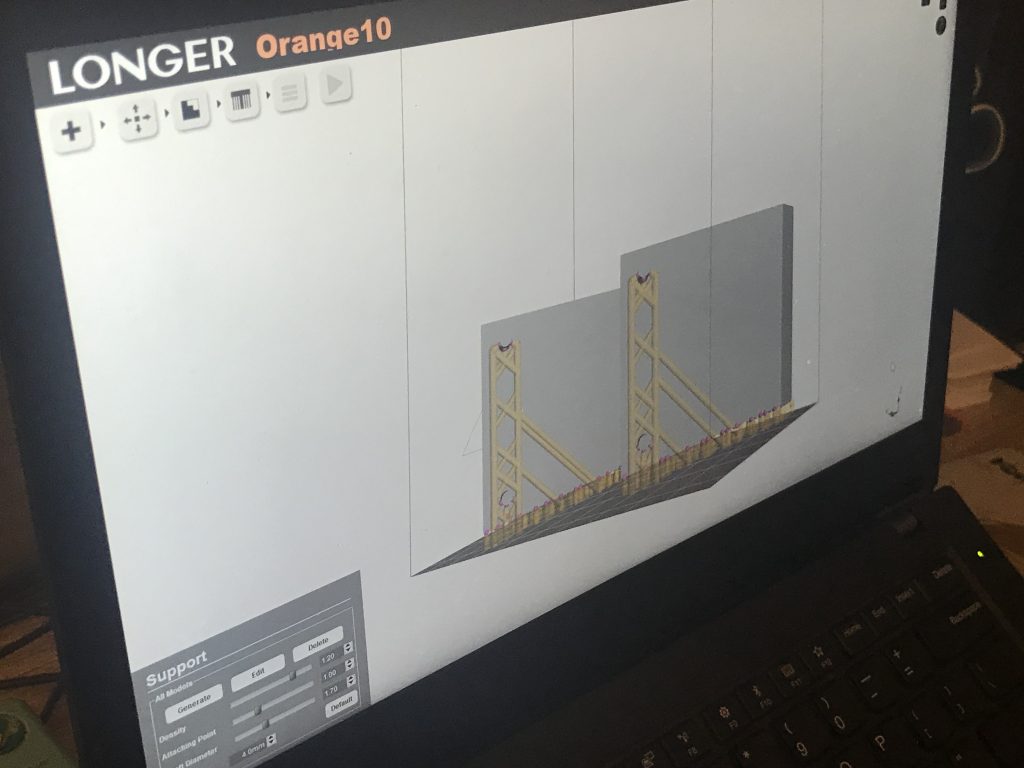
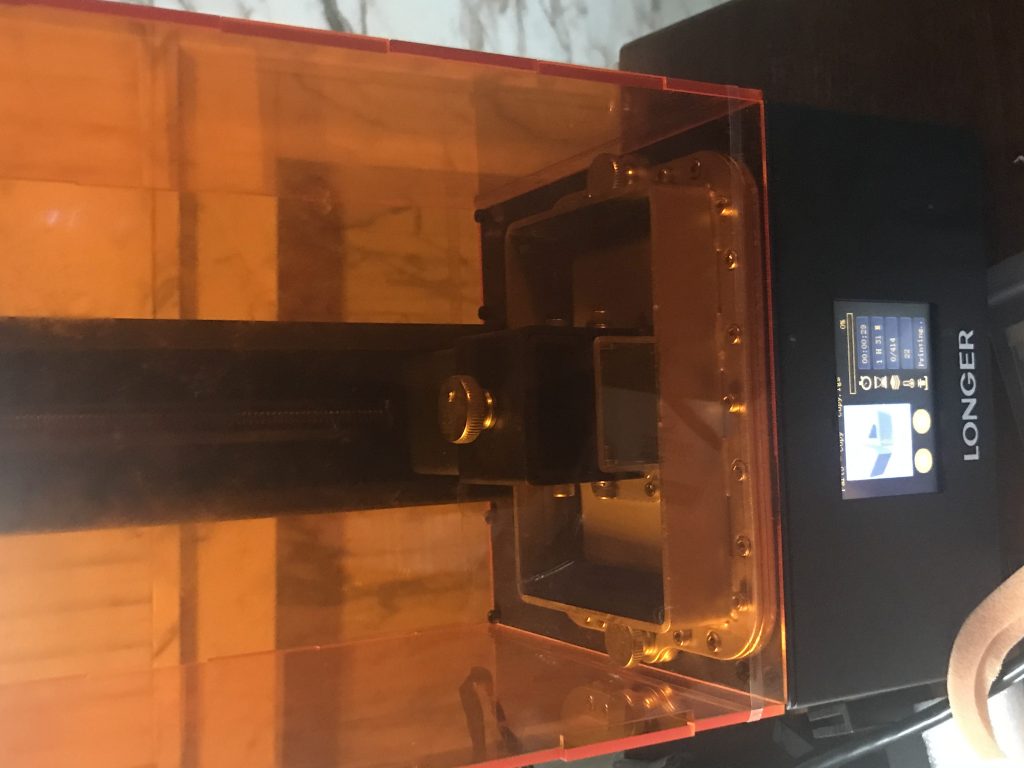
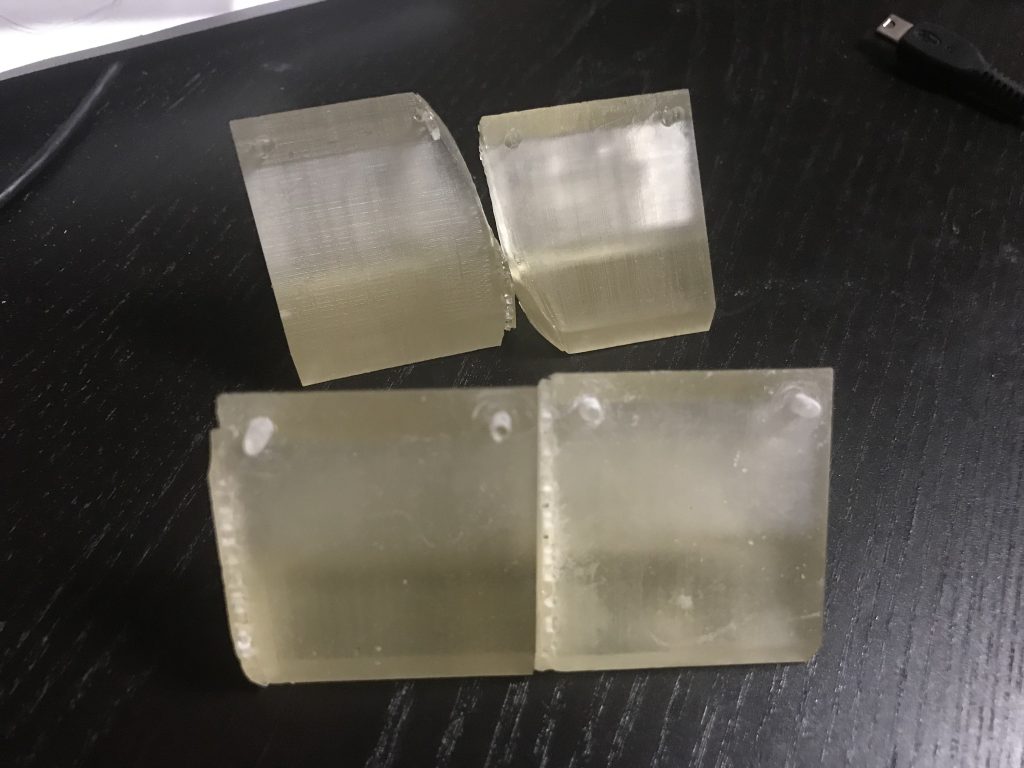
This week I was mainly working on the hardware part, namely, how to fix the camera onto the robot so that it catches the person in its view. I used CAD SolidWorks to design the basic structure for the camera bracket and then import the file into 3D print. The 3D printer I used at home is called Longer 3D with transparent resin. It is not as accurate as the one at school but due to COVID-19 I decided to work at home. The main constrain of this 3D printer is that the shaft diameter and attaching points cannot be adjusted based on locations on the object. Therefore, when I test printed the first time, shaft diameter was too small and the entire structure got distorted and shifted. When I test printed the second time, I raised this parameter, but then the supports became harder to pill off. And each test print takes around 1-3 hours depending on the setting of the supports. After pilling off the supports, I used sand papers and other various tools to sculpt the two handles on this bracket so that they fit the holes on our USB camera.
Echo Gao’s Status Update for 11/14
This week, we finished: 1. integrate raspberry pi with Web app 2. Add final stop motion(wall encountered) to our entire program 3.demo in class
We coordinated with Yuhan on how raspberry pi and her website would interact. Raspberry pi now is always ready to accept messages from the web. User can setup alarm time and ringtone/song on our AWS website. When it is the scheduled time, the server will send this specified ringtone to our raspberry pi. Pi will parse the message, execute the shell command to wake the robot up, play the song, and run.
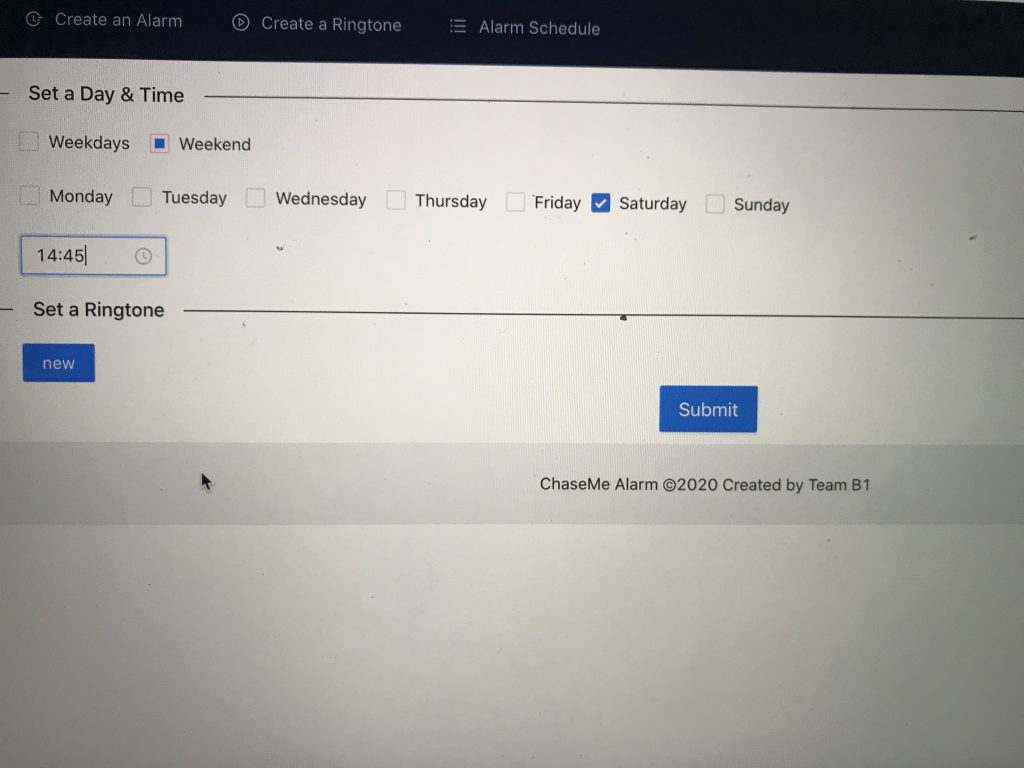
(set up time on web)
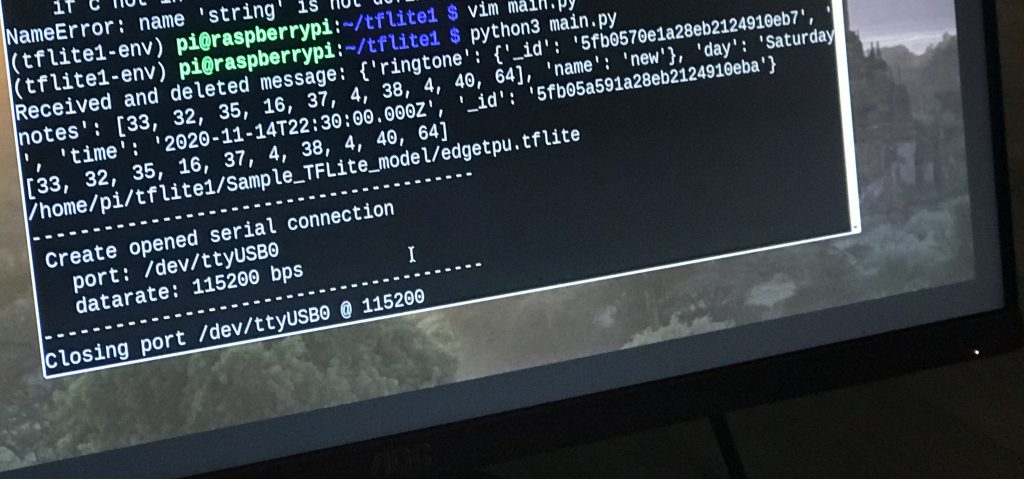
(received message from server)
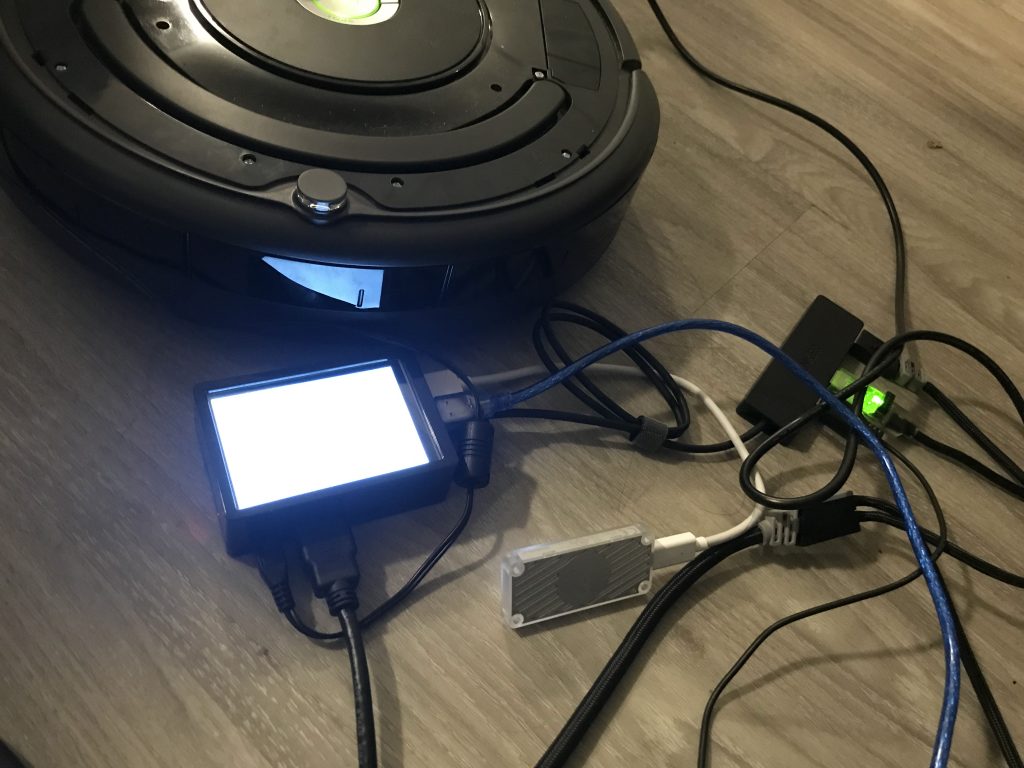
This week we also integrated our “stop action” algorithm we developed last week to our main algorithm. Now, the robot is fully functional. On the hardware side, power bank for the raspberry pi we ordered was also delivered. Now pi can be fully mounted on top of the robot. We have not yet find a way to fix the camera in a better& more elegant manner.
Next week, we will start on testing, optimizing algorithms, and finding success rates.
Echo Gao’s Status Update for 11/7
This week, we were mainly dealing with 1. mounting hardware pieces together 2. implementing stop action for the robot. 3.adjusting the size of camera display on LCD screen 4. fixed the sensor data error we fixed last week
We started off by adding heat sink on raspberry pi and put it into a case. A mistake we made was that we realized the power pack we ordered was not what we expected. Therefore we need to reorder a new one, which dragged us a bit behind our intended schedule. (Without the power pack, raspberry pi cannot be fully mounted on top of the robot. But everything else were in place by now.) Next, we spent a long time implementing the final stop action for the robot, which was not intended. That is, when the robot hits the wall, it should turn off. There is a “wall detection signal” in its sensor packet, which we thought could be used to accurately detect the wall. Yet that builtin function does not work as expected. So we need to figure out a way to make the robot distinguish between an obstacle and wall. If obstacle is detected, robot should rotate until the obstacle is not in its view and continue moving. If wall is encountered, robot should shut down. By looking at the sensor data values returned from the robot, we found that when wall is detected, 4 out of 6 of the sensor value will be greater than 100. The best approach was to find the median of all 6 sensors. If this number is greater than 50, we will say that wall is detected.
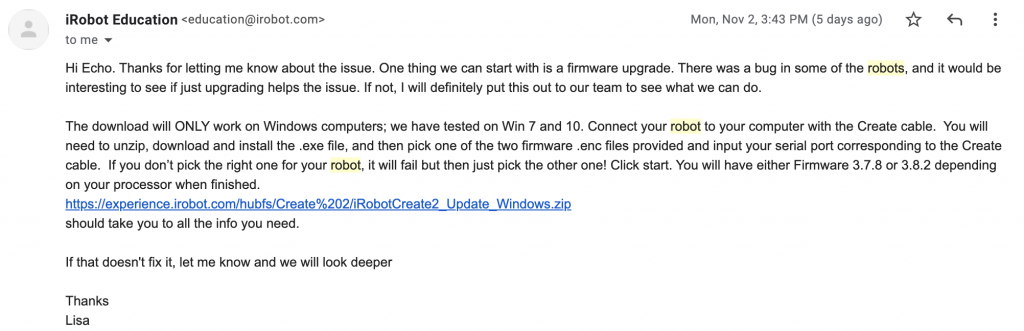
Last week, the problem we encountered was that if we excessively call the get_sensor function, the robot sometimes blow up and returns unintended values which messes up our entire program. This problem is solved by contacting IRobot Create2’s technical support. We followed the instruction provided, and our robot seems to be working fine now.
Next week, we will have our robot fully implemented with the raspberry pi mounted on top of robot so that we can give a cleaner and more elegant look of our product. We will also coordinate with Yuhan on making connections between raspberry pi and her website to setup alarm time and download user specified ringtone.
Team Status Update for 10/31
Peizhi & Echo:
we almost finished all hardware portion of our project. Right now, we are on schedule.
This week:
- finished integrating human avoidance algorithm with obstacle avoidance algorithm
- finished tuning parameters for the robot’s moving speed. (might adjust later)
- started looking into sockets and how raspberry pi communicates with webapp
Next week:
- mount hardware on top of the robot base
- finish the very last “alarm goes off” algorithm when the robot hits the wall
- integrate with Yuhan’s webapp
- optimize our algorithm
- find solutions to the case when sensor data received from robot blows up
Yuhan:
This week:
- researched possible ways of real time communication from web app to Pi
- tried to work with just MongoDB and failed
- looked up azure Iot hub, RabbitMQ, etc
- settled on AWS SQS
- wrote pseudo code hosted on both Pi and the web app/remote server
Next week:
- borrow a Pi
- Turn pseudo code into actual code
- test MongoDB works on remote server (for permanent storage)
- test AWS SQS works from remote server to Pi (for real time communication)
Echo Gao’s Status Update 10/31
Hardware portion almost finished:
After replacing our broken webcam with a USB camera, we continued our testing. This week, we combined our obstacle avoiding algorithm with our human avoiding algorithm together. Now, our alarm clock robot is fully functional with all our requirements reached. The complete algorithm is as followed: the robot starts self rotate at its idle stage while playing the song when no person is detected through camera. As soon as a person is detected through the camera, robot will start moving in the direction away from him/her while trying to fix this person’s position in the middle of the camera. Yet if obstacles are encountered, the robot will immediately start self rotate and move in the direction where no obstacles are detected through its sensors. At that point on, the robot will look back at its camera again to find the person. If the person is still in its view, it will perform the above action. If the person is not in its view, the robot will start self rotating until it finds a person again. As one might see, avoiding obstacles take priority over avoiding user. The “finish action/ alarm turn off action” will be done next week. That is, when the robot runs into a wall, the entire program finishes. A problem we encountered is that the distance information we received from IRobot Create2’s sensors to detect nearby obstacles sometimes blows up to completely inaccurate numbers. In that case, our entire program runs into undefined behavior and crashes. We have not yet find a solution to this problem.
(avoiding both human and obstacles demo)
(avoiding human only demo)
Integration with Webapp:
Now, we are stating to work on sockets and how raspberry pi communicates with Webapp from Yuhan’s website. Next week, we will work on how to let the Webapp controls the entire on and off of our program and how webapp sends ringtone and time to raspberry pi.
Echo Gao’s and Peizhi Yu’s Status Update for 10/24
Computer Vision: No change, raspberry pi keeps running at 10 fps anytime when testing.
Hardware & Communication between raspberry pi and Robot base: This week, we finished implementing the idle stage action: if the robot does not detect a person from the pi camera, it will keep self rotating. Next, we finished obstacle-handling algorithm: if an object is detect through the robot base’s 4 light bump sensors (right, left, front-left, front-right), it will first self rotate until the obstacle is not in its sensor’s detection range, then move forward for another second. At this point, the person is probably not in camera’s view. So the robot will return to its idle stage again: self rotate until the camera catches the person to perform the next move. Here, we are testing with all bottle sized obstacles scattered sparsely on the ground. We are assuming that during the “moving forward for another second” action, there are no other obstacles on its way. Else it would push the obstacles away instead of avoiding it.
This is a illustration of how robot moves away to avoid obstacles (no camera & person involved):
Accident encountered: Later when we were trying to integrate our obstacle-handling algorithm back to our main code, we realized that our raspberry pi camera was very likely broken. We identified that it is camera’s hardware problem from this error message: camera control callback no data received from sensor. We are now trying to verify our guess and buy a new pi camera. Next week, we will solve this problem and start thinking about how Web App communicates with raspberry pi
Team status Update for 10/17
Peizhi & Echo:
We are ahead of our schedule.

This week:
- the robot now is able to perform “run-away-from-person-action” correctly while keeping our frame rate still at a minimum of 10 fps.
- wrote design report
- made the robot keep playing song while moving
Next week:
- figure out how robot should move when obstacles are encountered
- when in idle stage (when no person is detected), the robot self rotates until person appears in view
- how to physically mount raspberry pi, robot base, usb acceleration and all other parts together as one piece of product
Yuhan:
The most significant risk in my project is how communication between Pi and web app should be scheduled. The most straightforward approach it seems is to use weekly “schedule” command from the Open Interface in the control while loop of Pi. This way the web app only has to communicate to the Pi once(e.g. “alarms at 8am every Monday”) and iRobot will repeat the alarm routine every week. However, I am not very sure if pycreate2 supports the schedule command. I am also not sure how customized the weekly alarm routine can be and if it fits our requirement(e.g. we need the routine to include actuator commands as well as song commands).
A contingency plan is to leave it to the web server to schedule the alarms, i.e. “alarms at 8am every Monday” = web server sends signal to Pi at 7:55am on 10/19, then again on 10/26, etc. I think it requires a more complicated logic that might get buggy more easily and harder to maintain. Right now I am mostly focused on frontend development and then connecting it to the database and will deal with it as it comes later on.
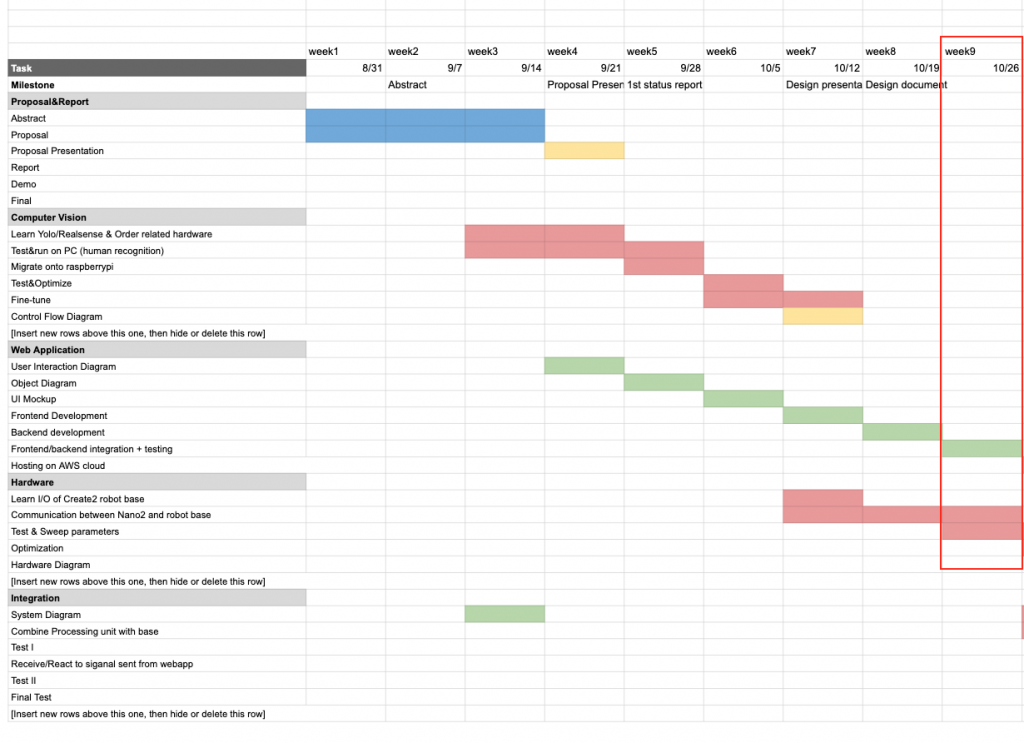
My updated timeline(same as my individual status report):
- week 7(here):
- web app build and deployment set up
- spike on communication between web app and Pi
- create alarm UI
- alarm schedule UI
- week 8:
- create ringtone UI
- pass alarm data from create alarm page to alarm schedule page
- pass ringtone data form create ringtone page to create alarm page
- week 9:
- backend set up
- connect UI with backend
- connect web app with Pi
- week 10(demo)