Aden’s Status Report for 3/25

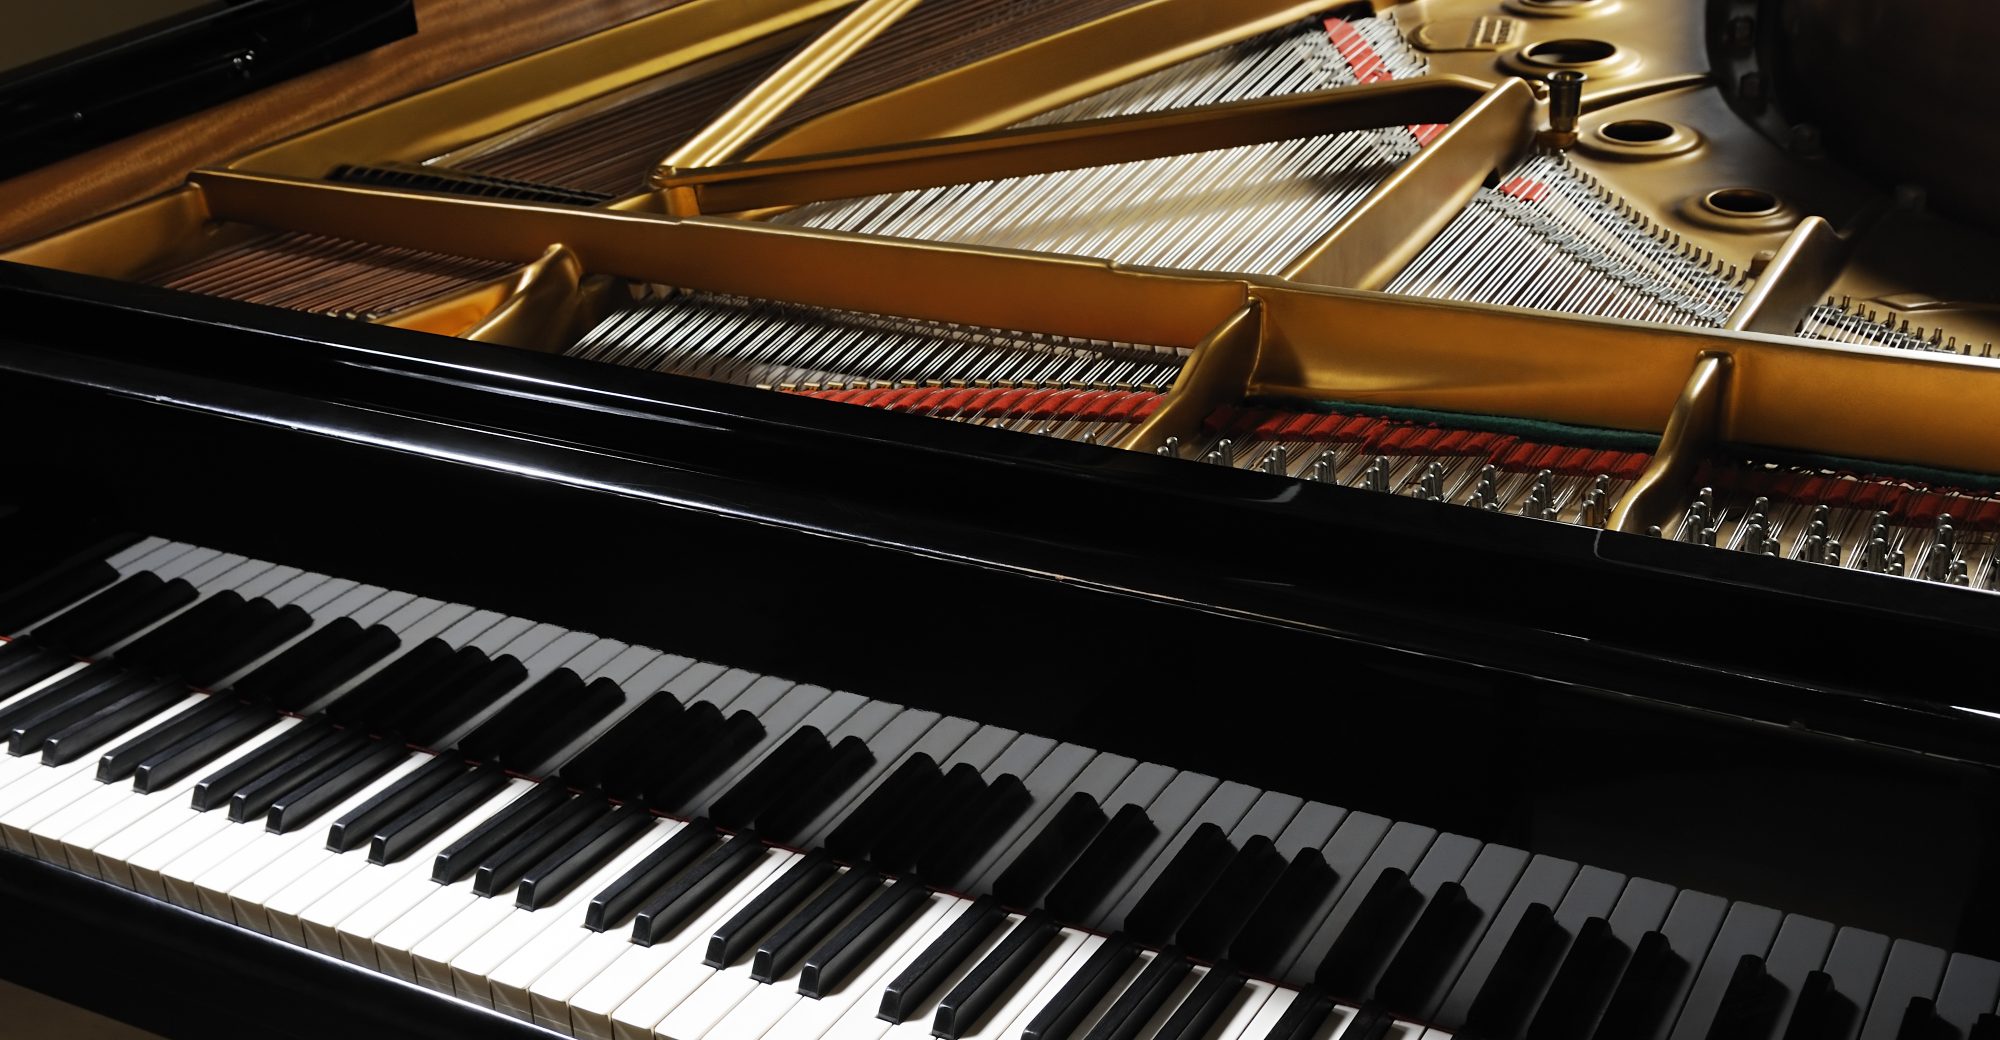
This week I was able to take measurements of the piano we will be using for the final demo. This allowed me to finalize some measurements for the final chassis design. The spacing of the full octave is about 6 cm, the width of one white key is 2.1 cm, the width of a black key is 1 cm, and the distance between the black keys is a maximum of 2 cm and a minimum of 1.7 cm. This will introduce some design constraints since the width of the solenoid is a few millimeters larger than the width of the white keys. This has caused me to rethink the design of the chassis. We may need to alternate sides of the chassis that the solenoids are screwed in to account for the extra space they need. I was able to get a rough sketch of the new design but was not able to complete it since I did not measure the keys until the end of the week. It should not be too much of a setback, but it does introduce some design constraints that previously were not considered.

I would have liked to get a better idea of what the chassis will look like with these new measurements, but I was pressed for time since I did not get them until the end of the week. In an ideal world, I would have also gotten a Solidworks rendering up by the end of the week, but I did not have enough time to log in to a CMU machine and play around on Solidworks. I am not far behind on my Gantt chart schedule, but I would have liked to be a little farther ahead of me now.

After my two exams this week, I would like to get a Solidworks rendering prepared and looked at by my teammates before sending it to the 3D printer. I would also like to place an order for the 3D printing filament and try and find some resources on how to 3D print since I have not done it since spring 2020.

Team Status Report for 3/18

One risk that may jeopardize the project is 3D printing the chassis. Aden has not used 3D printing technology in 3 years, so relearning it may take more time than expected. Similarly, he has not used Solidworks in two years. Rahul is less familiar with such tools and will likely spend more time learning once he is done developing the software for the accompanyBot and begins aiding with hardware construction. Clearly, there will be a learning curve to building the chassis. However, if there are significant difficulties with 3D printing then the alternative plan is to use a plank of wood with the solenoids secured on the plank and placed on top of the keyboard. Another concern is that the solenoids are quite heavy, so the support material must be able to withstand the weight. Therefore this would factor into our design choices as well.

No significant design changes were made to the physical portion system. Details are still being worked out in regard to the chassis, but it will more or less look similar to the existing design from the design report. The solenoid circuit also remains the same from the design report. The application design will remain the same as our specification. As for the integration of the app with the RPi, we may use PySerial but if that does not suit our needs in a reasonable amount of time we will rethink this system communication step. Due to slight fluctuations in the timing of the solenoids found during running the RPi code to control the MOSFET switching. Additional calibration may be needed to make sure the tempo meets our system requirement. However, since the variations have resulted in values slightly off from the targets (1bpm difference), we may consider loosening the 100% accuracy measure to allow some tolerance, since we did see Professor Sullivan’s feedback about the metric being a high bar to achieve.

No significant changes need to be made to the schedule. If there do need to be changes, they will take up the slack time that is in place.

Nora’s Status Report for 3/18

This week, I worked on integrating the RPi GPIO outputs with the physical circuitry by attaching them to the gates of each MOSFET. A video of the chromatic scale that we showed in a previous status report being played on the solenoids can be found here

One thing we have not mentioned so far is that, from the rough piano layout seen on the paper, you can see there is an extra solenoid between the E and F spaces. This solenoid is placed in the area where there would be a black key in between the white keys. Another will be placed between the B and C spaces. This part of the design is so that we are able to move the accompanyBot up and down the scale. Since different starting keys of the octave will require different orders of black and white keys, we will just remap the solenoids to the correct keys. Thus we will be able to play more contiguous notes for certain melodies that do not start on a C. The downside of this design is that at any given time, two of the solenoids will be useless. However, the solenoids must be arranged like this if we do not want to have the user have to move the solenoids themselves each time they adjust the starting position.

To make the pin mapping more modularized, I have written functions that change the dictionary that maps the notes to pins based on the starting note passed into the function. This will allow the user to place the accompanyBot at different spots on the keyboard.

I also added additional XML files that can help in testing the tempo and the case where the piece tries to play more than five keys at a time

So far, I am on schedule according to the Gantt chart, although tomorrow I will need to add support for chords since they are not supported in the current implementation due to the fact that I did not realize they are a different data structure in the music21 library.

In the next week, I will work on making the process for playing a piece more streamlined since at the moment, I must manually change the files and rerun the code every time I want to switch the piece. I will also work with Rahul on accepting the user inputs to start and stop.

Rahul’s Status Report for 3/18

The earlier portion of this week was spent working on the ethics assignment for this course and analyzing my project from an ethical lens. After that, I implemented more of the UI diagram from my previous status report into our GUI python application. Some details have been omitted while some will get added towards integration stages, but here is the current bootup view:

You might be able to tell that last week’s application view that I showed was running on MacOS while this week has a Windows style app window. Since the app will be designed for Windows, I have been making the effort to continue my initial development on Windows. Also, I left out the fast forward and rewind red arrows and replaced them with forward and back, to give the user a measure control. FF and RW just didn’t make sense for the accompanyBot. The only UI I have not developed was the measure display and the slider. This should be simple enough especially in comparison to the rest of the features that were intended for next week which I will detail below in this post.

Another change made, was utilizing the PIL library for image resizing as opposed to pygame’s internal resizing function. Now image quality is very much retained while displaying the music score in the application. Since I am at the stage where I will be implementing UI changes while also adding integration components, I decided to introduce one piece of functionality. In particular, the import pdf/png button now works upon a click. Initially, I had planned to use a python module for displaying a GUI of importing a file but I realized that this would get very computationally expensive and if it were to run in the foreground then the user would not be able to perform other UI actions (say pause the player robot immediately). For this reason, I did more digging into powerscript development to figure out how to launch the Windows file opening system and return the file name that was clicked and opened. From here, I modified the event loop code for the pygame graphics, that are displaying the app view I show above, to utilize multithreading to launch the windows powerscript job, maintain the GUI operation, and cancel user requests to import more files while the file opening system is already running.

As of now, once the user selects their file, the python code just prints the file returned, but given the previous work I have posted to our team Github of spawning an OMR job from python with the file string as input, this should hopefully be a straightforward integration hack. I may also want to multithread the OMR job appropriately.

According to our team Gantt chart I am on schedule. Tomorrow I should finish the home screen UI, which is pretty much done, and by next week all user actions should be implemented including the OMR integration. I have been on schedule every week so far, but just since next week is such a large task, I will have to work longer to get it done and still likely will fall short of finishing. (I say this because getting the file insertion view working properly took a few hours alone) Ultimately, I will try to get as much as I can finished and catch up as necessary.

Aden’s Status Report for 3/18

This week I did not accomplish all the goals I set out for myself. Last week I stated that I wanted to have a full sketch of what the chassis will look like and possibly a Solidworks rendering of what I sketched. I was not able to get to the Solidworks rendering primarily because my Macbook cannot download it from the CMU software catalog, but I was running out of time this week trying to catch up on all the work I neglected to do over spring break. I was able to sketch a very rough idea of what we would like the chassis to look like. I also got some rough estimates on the dimensions of the solenoids and, using those measurements, the minimum dimensions of the chassis. My idea is to have a 3D-printed container with a wall down the middle for the solenoids to be mounted. With the solenoids mounted down the middle of the container, they will hover over the piano keys and press them when turned on. Additionally, two pipes will go through the container’s length and can be placed on the edges of the piano so that the chassis can hover over the keys.


As you can see above, this is a rough idea of what the chassis should look like. The top view shows how the solenoids will be placed in the container, with the top set of solenoids hovering over the black keys and the bottom set hovering over the white keys. Furthermore, the side view indicated roughly where the pipes will go through the container so as not to interfere with the solenoids.

This brought sketch has put me a little behind schedule since I wanted a little more detailed idea to be completed this week, but it is not the end of the world since we have so much slack time built into our schedule. Hopefully, this week I will be able to make up for lost time last week.

Some deliverables I plan to provide at the end of next week is a much more in-depth drawing of what our chassis will look like. Additionally, I would like to measure the keyboard dimensions to get a much more accurate idea of what the size of the chassis will need to be so that it fits on top of the keyboard. I also hope to get my hands on a copy of Solidworks so I can play around and figure out a good rendering to be sent to the 3D printer. I will also look into 3D printing filament that we will need to purchase to use the 3D printers in Techspark.

Nora’s Status Report for 3/11

I spent a majority of the week working on the design report with my team members. As a result, I was not able to conduct thorough testing of the scheduling. I did implement additional code to handle rests in the music as well as setting the GPIO pins low when a note is finished playing. This will handle cases where the same note is played twice or more in a row.

Since I was not able to test the timing accuracy of the scheduling, I am slightly behind schedule. However, I plan to catch up by allocating time tomorrow to fully test out the new code and verify the timing accuracy of the current code using a metronome.

Next week, I plan on modularizing the GPIO pin mapping and working with Aden to integrate with the actuators. I will need to check if the timing still holds once the hardware is involved, since one bottleneck we encountered earlier on was that time it took to activate the solenoids limited our max frequency.

Team Status Report for 3/11

As we noted in the design report, the main risk we face in our project is not being able to achieve exact accuracy in meeting timing and rhythm requirements that we laid out in our design requirements. While we have confidence in our ability to replicate common tunes, we foresee challenges for songs and pieces that are very complex in rhythm with very fast playing of notes. To mitigate this risk, we will not support playing songs that have notes with note values smaller than our system can support. In addition, we will preselect a set of songs for demo that we can ensure are playable by our system.

After establishing our model for the system architecture, each of us has been tasked to focus on different subsystems. Rahul, who is working on the GUI, will have to get more familiar with the syntax of pygame to flesh out the application design. Nora, who is emphasizing efforts in the note scheduling, will have to ensure type safety of the data as it is handled in the music21 data classes. Aden, who is leading the building of the accompanyBot player structure, may have to get familiar with the Solidworks and also learn circuit breaker operation to implement that portion of the circuit.

So far, we have been meeting the milestones on time. Our parts have all arrived as well, so we are not worried about any delays due to shipping. Thus no changes were made to our existing schedule or system.

Aden’s Status Report for 3/11

In the past two weeks, I primarily worked on the design report. I spent the last few days of the week before spring break writing and editing until we were prepared to submit. Aside from writing the report, I have put together a circuit of five solenoids controlled by an Arduino to determine roughly how much power they consume. Five solenoids turned on at once is our worst-case scenario, so I wanted to ensure that our calculations were correct and that they it does not exceed 60W. I found that if we power the solenoids with their maximum voltage (12V), the five solenoids only draw 4A of current, placing their maximum power consumption around 48W. Additionally, I was testing it with PWM signals, and the solenoids draw even less current. If we are strapped for power, we can use PWM signals instead.

(The image is a bit blurry, but it says 12V and 4.009A.)

This progress is on schedule with our most up-to-date Gantt chart. After spring break, I will begin to put some serious thought into the design of the structure that will hold up the solenoid circuit.

In the coming week, I plan on having a well-thought-up sketch of the chassis. Additionally, since we were thinking about 3D printing the structure, I would like to play around a get a mockup on Solidworks. My goal for the week is to provide something substantial for the course staff on what our chassis will look like.

Rahul’s Status Report for 3/11

Most of my time on the project this week was spent writing the design review report with my team. In addition to writing that paper, my task in the Gantt chart was to create the UI mockup for the accompanyBot application. Early on, I had made an initial design for the proposal. I decided to make modifications on that to make the colors more aesthetically pleasing as well as make the functionality more feasible.

For reference, this initial mockup had highlighted the note or rest that was currently being played or in queue on the accompanyBot device:

This functionality would require additional machine learning and synchronizing between the subsystems that would deviate from the rest of the project. Additionally, this design was lacking the tempo modifier that was specified in our use case requirements.

For our design review report, I updated our UI model to this version:

The new design incorporates a dark theme which will have less strain on users eyes, the tempo modifier which will be dynamic and prevent input speeds which are too fast, and a current measure display to replace the highlighted note(s) of the previous design. The current measure will be feasible as music21  allows image generation from segments of measures from the original score. So for a score with 100 measures, the system will create and store 100 small images of measures in local memory.

Inevitably, more changes will likely be made to the front-end design come implementation. To account for this, I decided to get started learning the pygame documentation and begin implementing. For now I have developed a proof of concept display:

Now, I know where to look to create the precise visuals such as rounded corners or underlined font. The main concern with visuals is that I found pygame’s image rescaler to very much degrade overall image quality. This results in missing music staff lines when displayed. I will likely delegate rescaling and other poor operations to be performed as OS jobs.

I will have to clean up the app code into modular sections to continue development, but so far I am in a good position to hopefully finish the bulk of the application by next week. Once we start integrating my team and I will have to figure out PyUSB and our data transmission protocol between subsystems so that I can successfully send signals to the RPi, and Nora and Aden can implement the reception of these signals to complete the control of the accompanyBot.


Nora’s Status Report for 2/25

This week, I completed the first pass of the note scheduling on the Raspberry Pi using the music21 library to parse the notes, and the changes are now pushed to our new GitHub repository. The parse function is able to successfully convert XML files into Stream objects which hold hierarchical information on the Parts, Measures, and Notes (also music21 object types). Based off this info, I was able to extract values for the tempo and beatTypes which I used to calculate the number of ms each quarter note is worth. Dimensional analysis of calculation is shown below:

Additional Resource

From there, we can then scale it by our smallest note value to get the time delay that we will increment between each “timestamp” (a slice in time in which we can determine which notes are active to tell which keys are pressed or not) For simplicity, the current code assumes the smallest valued note we can play is a 16th note. This can be easily turned into a variable later on.

The function that does the main chunk of work is called

schedule

which iterates through the notes stored in the Stream and sets the bits in a bitmask based on the note being played (using mappings expressed through two changeable dictionaries) and then updates the notesToPlay dictionary that matches the bitmask to different timestamps.

As mentioned in the design review presentation, I utilized the pigpio library for controlling the GPIO pins simultaneously by setting and clearing a bank of bits. To visually see the results of the scheduling, I attached the GPIO outputs to LEDs arranged in a keyboard-like fashion. Pictured below is the setup, as well as the measured BPM from playing a simple quarter note C scale at 60 bpm. The code seemed to work pretty well!

Additionally, here is a video of it playing the following chromatic scale. It appears to capture the different note values pretty well.

The task I was scheduled to complete for this week was to “convert XML to scheduled GPIO inputs using music21.” As discussed above and with some help from Aden, I have met this goal satisfactorily, although I will need to work on ironing out a few extra details such as playing successive notes and accounting for rests. Therefore overall I am on schedule.

For the next week, I plan to continue improving the scheduling algorithm and conduct more thorough testing beyond using the built-in GuitarTuna metronome. However, I do anticipate spending a decent amount of time dedicated to writing up the Design Review Report with my teammates, so I may not be able to spend as much time on these tasks.