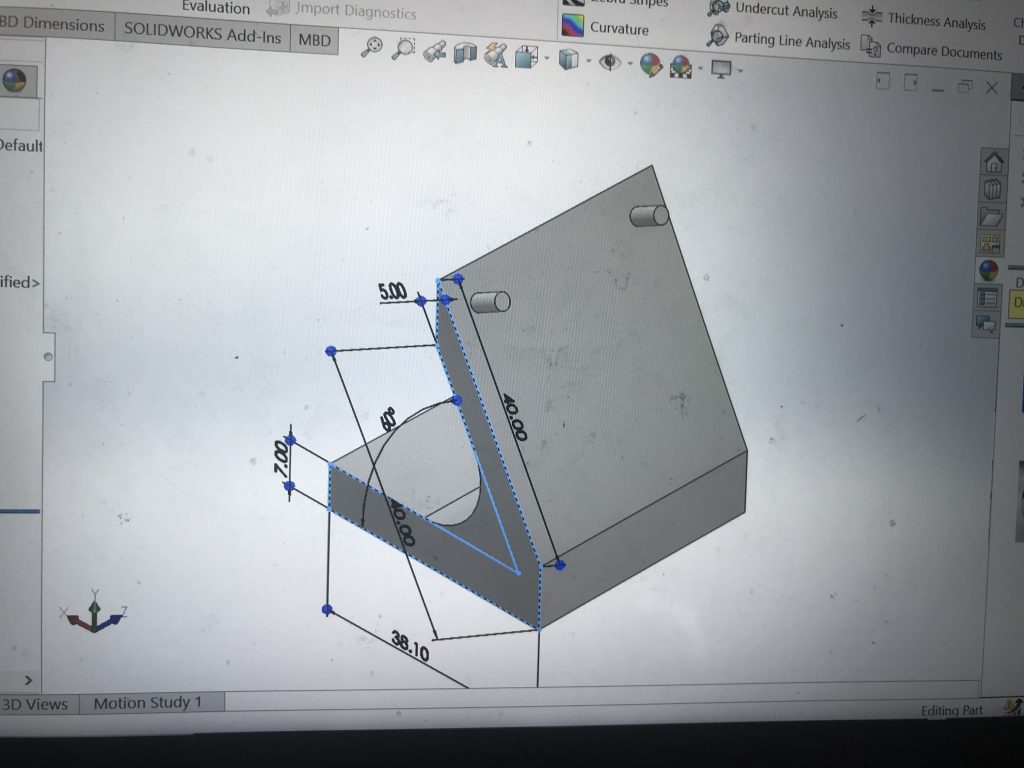
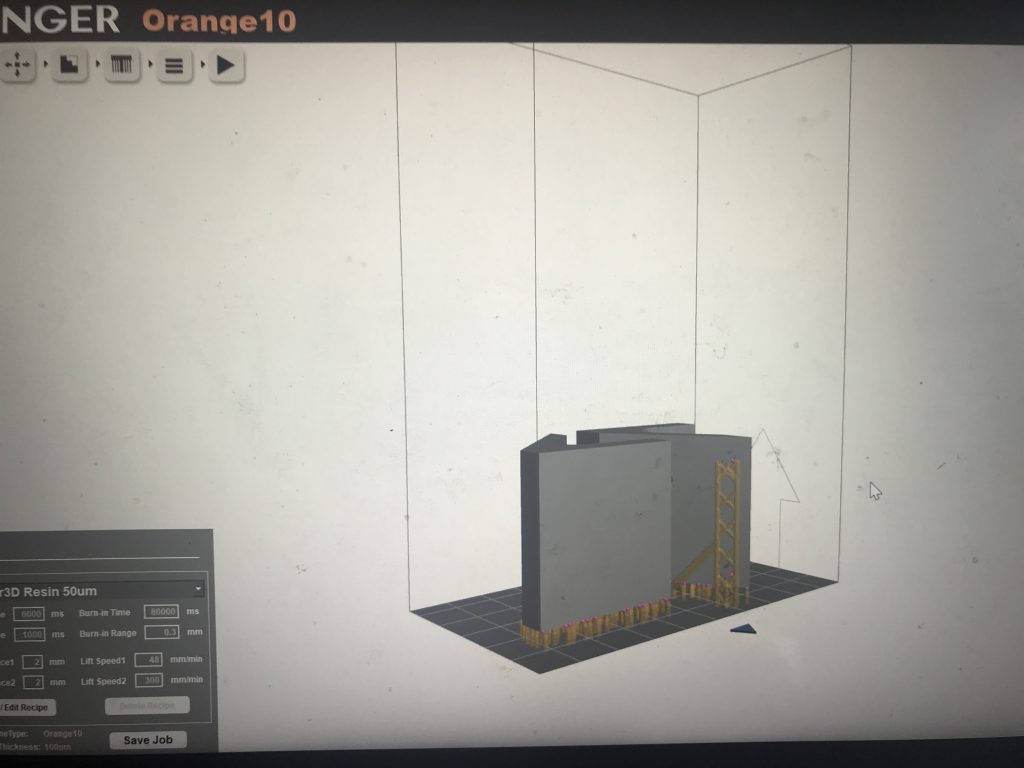
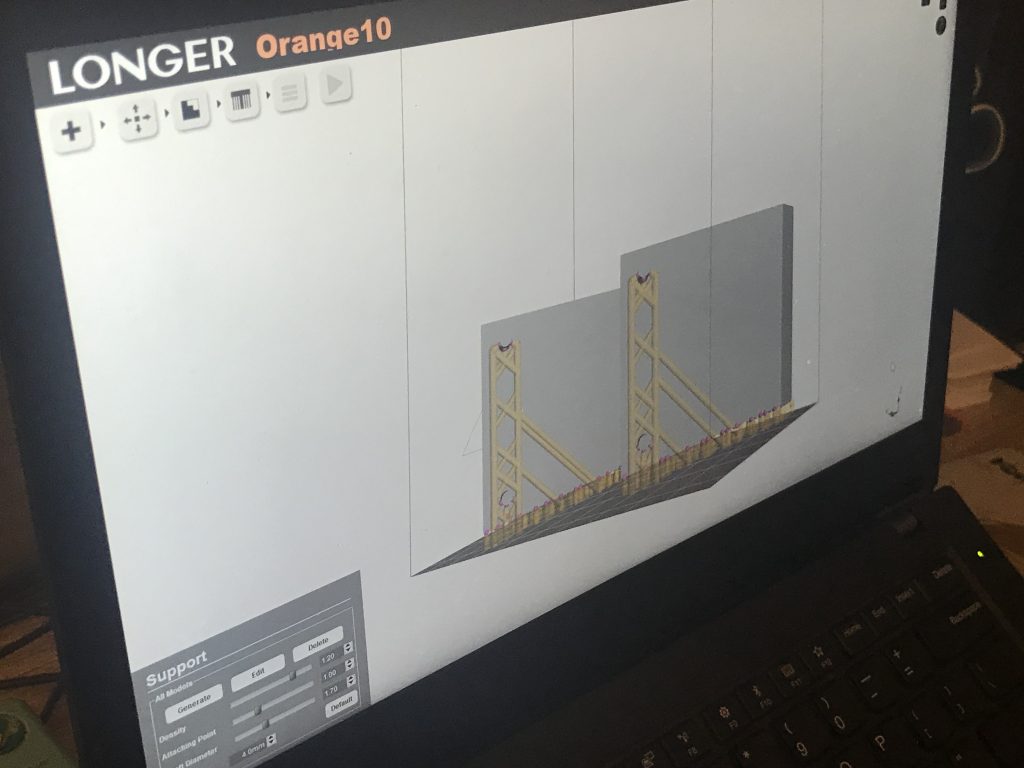
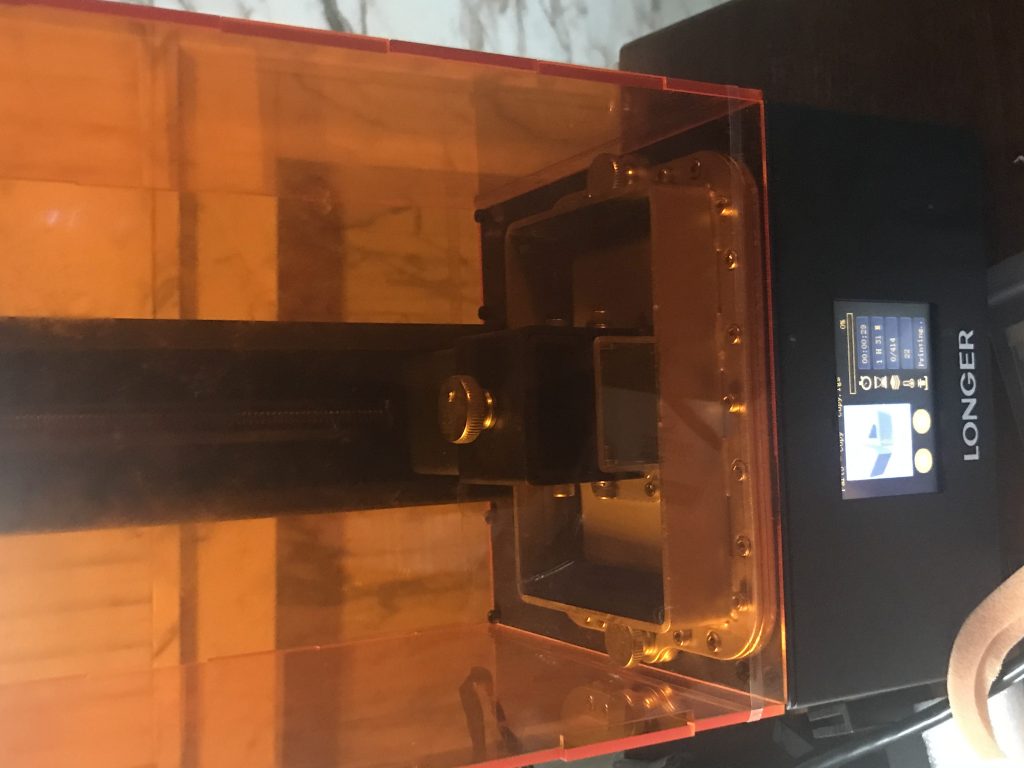
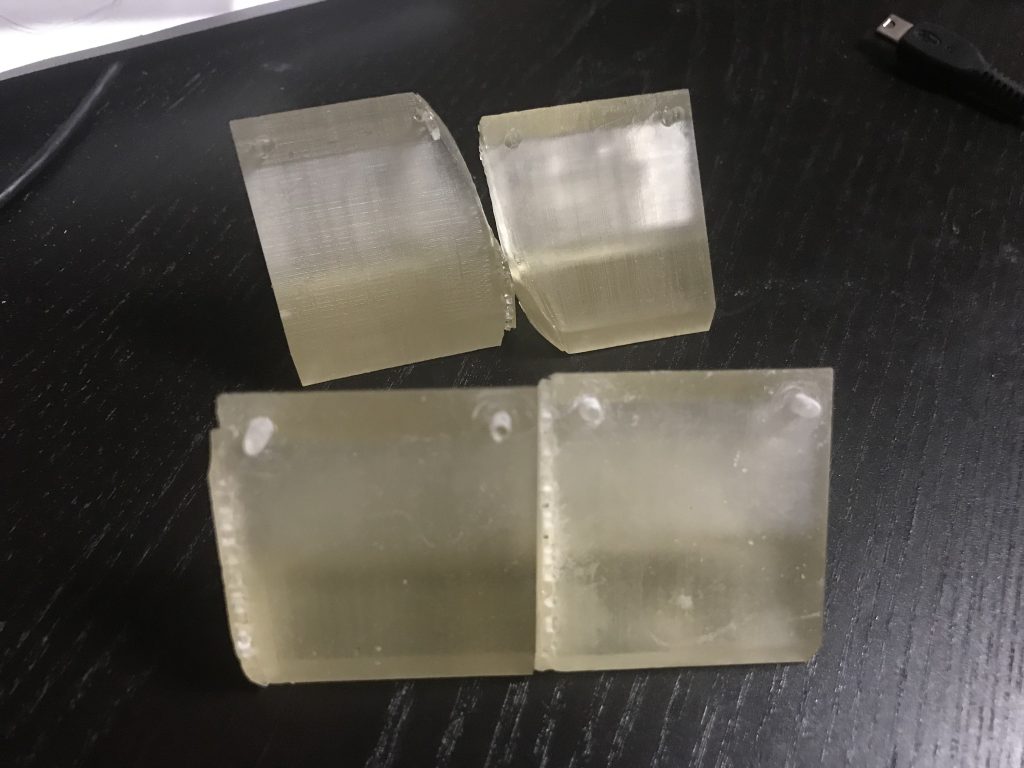
This week I was mainly working on the hardware part, namely, how to fix the camera onto the robot so that it catches the person in its view. I used CAD SolidWorks to design the basic structure for the camera bracket and then import the file into 3D print. The 3D printer I used at home is called Longer 3D with transparent resin. It is not as accurate as the one at school but due to COVID-19 I decided to work at home. The main constrain of this 3D printer is that the shaft diameter and attaching points cannot be adjusted based on locations on the object. Therefore, when I test printed the first time, shaft diameter was too small and the entire structure got distorted and shifted. When I test printed the second time, I raised this parameter, but then the supports became harder to pill off. And each test print takes around 1-3 hours depending on the setting of the supports. After pilling off the supports, I used sand papers and other various tools to sculpt the two handles on this bracket so that they fit the holes on our USB camera.
