For the week before the break, no progress was made on my work with the sensors and the design report turned out quite poorly and unsatisfactory. As a result, I am behind the projected schedule. Therefore, next week will be critical and significant work must be done in order to catch up and deliver on our product.
The first order of business, will be to pick up our sensors from the ECE equipment desk and start the local testing right away so we can have metrics and data to feed to our NodeMcu as well as understand the behavior of the sensor in order to fine tune it with our microcontroller. Once we have the sensor up and running, we will have a few main variables that will guide our experimentation. These are: distance from the sensor, fabrics/textiles and colors used for detection as well as the angle from the sensor (both vertically and horizontally) at which we place our subject.
In addition, the data gathered from these trials will also inform our power consumption estimates and based on this we will modify the plans we outlined on the design report or simply go ahead approve the batteries we intended to use as appropriate and proceed to order them.
However, prior to starting the testing at the beginning of the week, I must carefully review the design specs of the sensors and draw sketches of simple electrical circuits depicting the configuration that will be used for testing as well as the one that involves our NodeMcu. Careful consideration must be taken when connecting these components since we do not want to damage or ruin the equipment we have. After the trials are completed, I will work closely with Nat to integrate the sensor and the NodeMcu in order to have a working module that can then be scaled to the quantity we are aiming for.
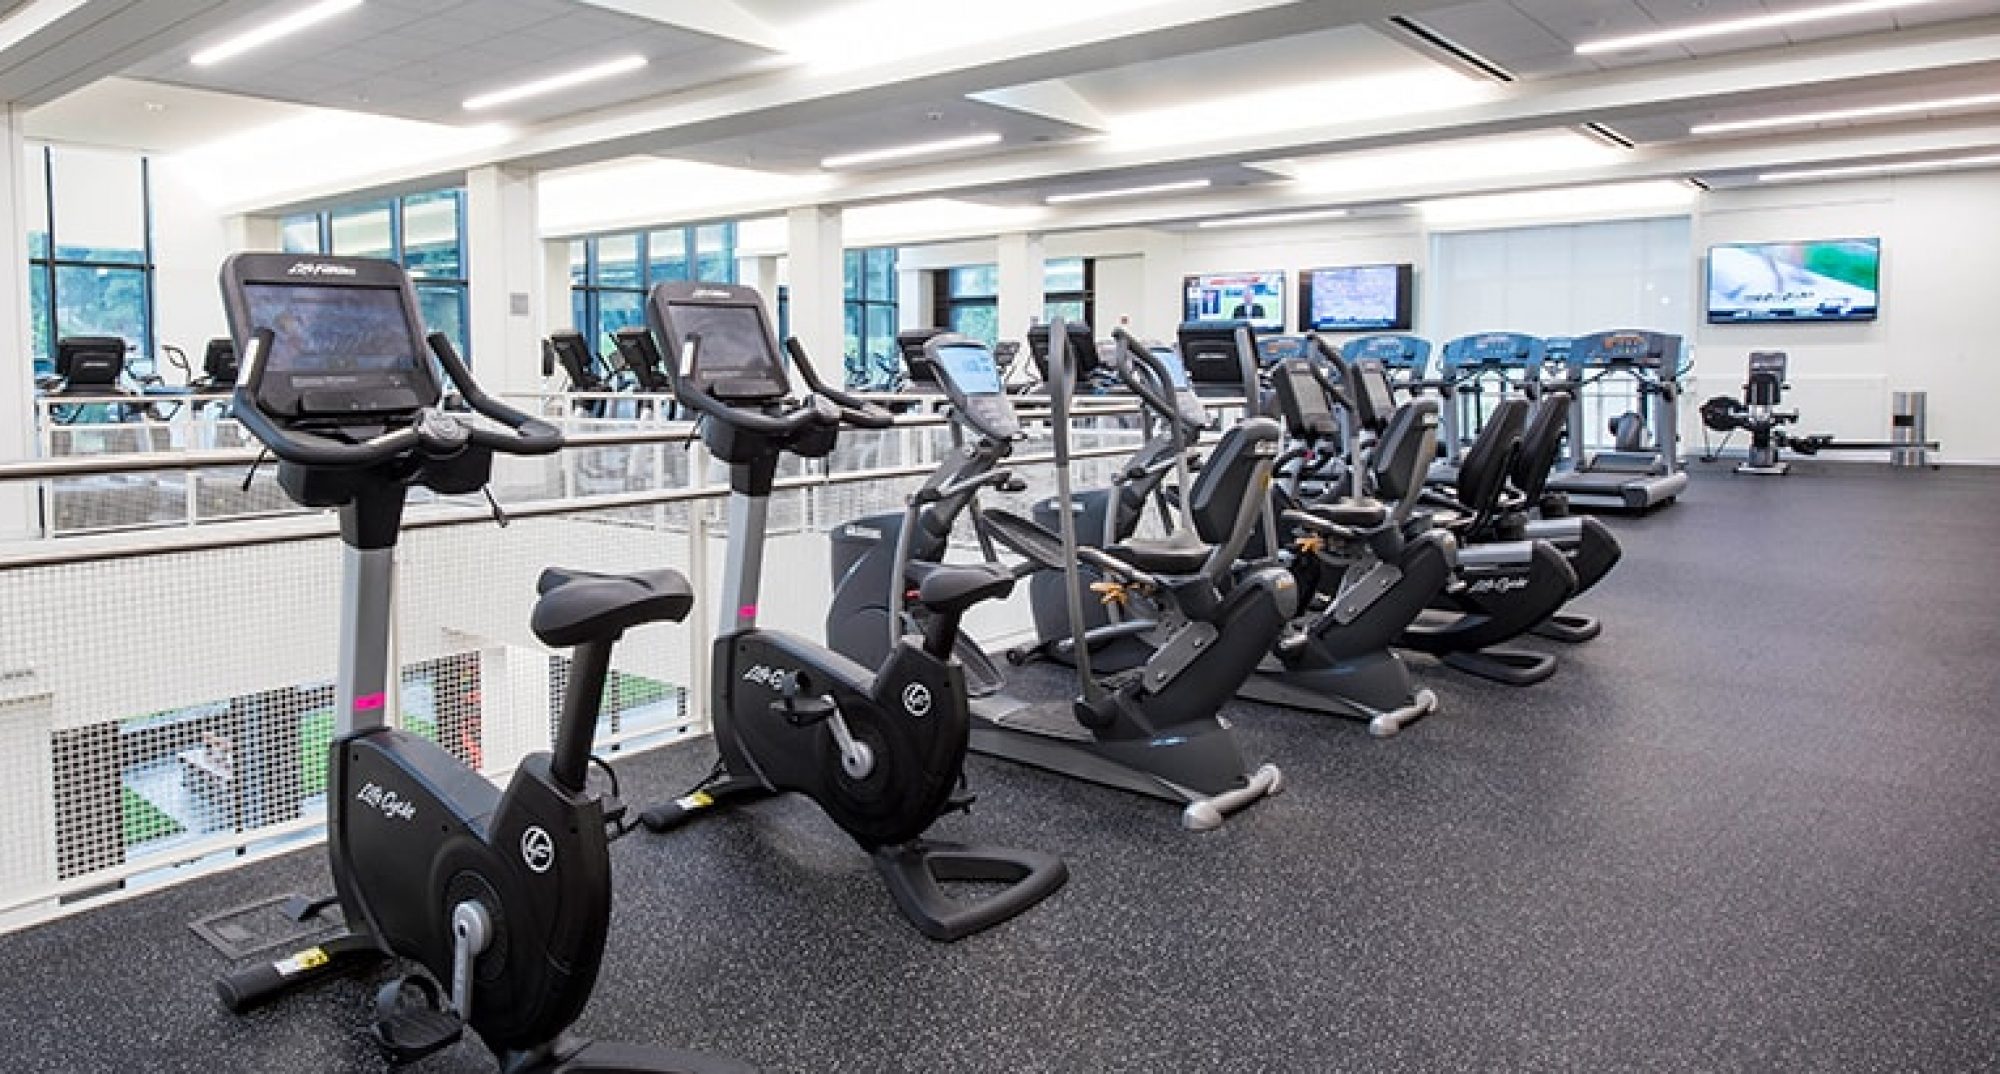
Once we have the sensor and NodeMcu running, as part of my contribution for this subsystem, my focus will shift to the mounting mechanism that will be used to place our sensor module on the selected gym equipment. As a result, I will have to brush up on my knowledge of fabrication techniques and simple prototyping. For the encasing that will house our module I must analyze which method of fabrication like 3D printing, manual woodwork, among others, is best . If we decide to go the 3D printing route, this will require familiarity with CAD tools and other similar suites available in the Makerspace, as well as careful scheduling and planning to reduce the time wasted while we fabricate encasing prototypes. If we deem this to be inefficient or too complicated for the purposes of our project, then I will explore simpler and perhaps even cruder methods of fabrication. However, we must keep in mind our requirements of stability and robustness to vibration of our module when making this decision. Thus, we will most likely choose a fabrication method and tools that provide a balance between sophistication and ease of implementation and use. We want our module to be strong and rigid but we also want a tool that is simple to use given that we need to make the most out of the time we have and we need to catch up and keep up with the schedule.

