Since we have decided to transition our project from a physical device to a proof-of-concept simulation due to the COVID-19 circumstances, some changes must be made to the 3D scanning algorithm. Most notably, since there is no hardware and physical uncertainties to worry about, such as lighting conditions, vibrational noise, strange object materials, a large part of our calibration procedure can be skipped entirely. Actually, the entire calibration procedure can be skipped, since we know parameters directly from how we set up a simulated scan. A run down of the calibration parameters and where they come from:
- Intrinsic Camera – These parameters are related to the curvature of the lens and influence the polynomial transformation between a projection onto the camera, and an image pixel coordinates. We can set this transformation to the identity function on the simulation to simplify the whole process.
- Extrinsic Camera – The transformation between camera space and turn-table space is given by the relative position of the camera in relation to the turn-table, which is known in the simulation.
- Turntable Axis of Rotation – This is based on where we place the turntable in simulated space, so it is known.
- Laser-Plane – This is based on the position and angle of the lazer line source in relation to the turn-table origin, which is known.
- Rotational Angle – This is accurately changed by the simulation for each frame captured, so this is known as well.
Because of the ease of specifying parameters for the simulation, none of these parameters need to be calibrated for, and can simply be specified when starting the simulation. Because of this, a large amount of the complexity in our algorithm is immediately gone when switching to a simulation. The only remaining major step is to write code to implement the main 3D scanning pipeline:
- Image Laser detection – Note that the laser line can have a perfect gaussian intensity distribution along its width, so there is no need for the additional filter in software.
- Generate ray from camera source through pixel in world space
- Ray-Plane intersection to find position on the laser plane
- Reverse rotation about turntable axis to find position in object space
- Aggregate found points to point cloud
After this is done, routines can be implemented for mesh triangulation from the point cloud, and we have completed the scan. We will be aiming to complete this simple pipeline before allocating any time towards single-object multiple-scan or other complex features. Since our ground-truth meshes are now completely reliable (since they are the absolute source of data from the simulation), verification will be much easier to implement. We will implement the full pipeline before any verification steps to ensure that qualitatively our solution works. Then we will optimize it to meet our accuracy requirements. We will no longer worry about end-to-end timing requirements for this project, since there is no longer a physical device. However, we will ensure that our software components (not including the simulation, which may take a while to capture data due to the complexities of simulating lighting and rendering), take under a minute for a full scan.
I have been working on writing the prototype code for image-laser detection. Our original plan was to only detect a single point with maximum intensity for each row of pixels. However, this poses a problem with the following image:
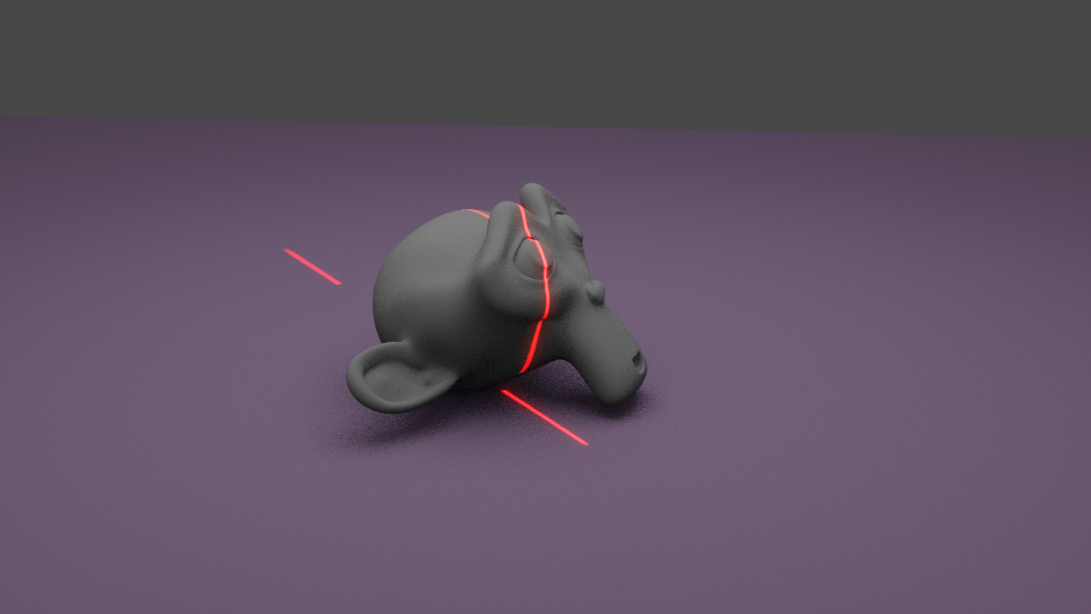
This is clearly a reasonable image during a scan, however a single row of pixels may contain 2 or even 3 instances of the laser line! To alleviate this problem, in my prototype code I have found all local maxima along the row of pixels above some arbitrary intensity threshold (this threshold can be fine-tuned as we gather more data). First, the code applies a filter to the image to extract red intensity, which is computed for each pixel as:
max(0, R – G/2 – B/2)
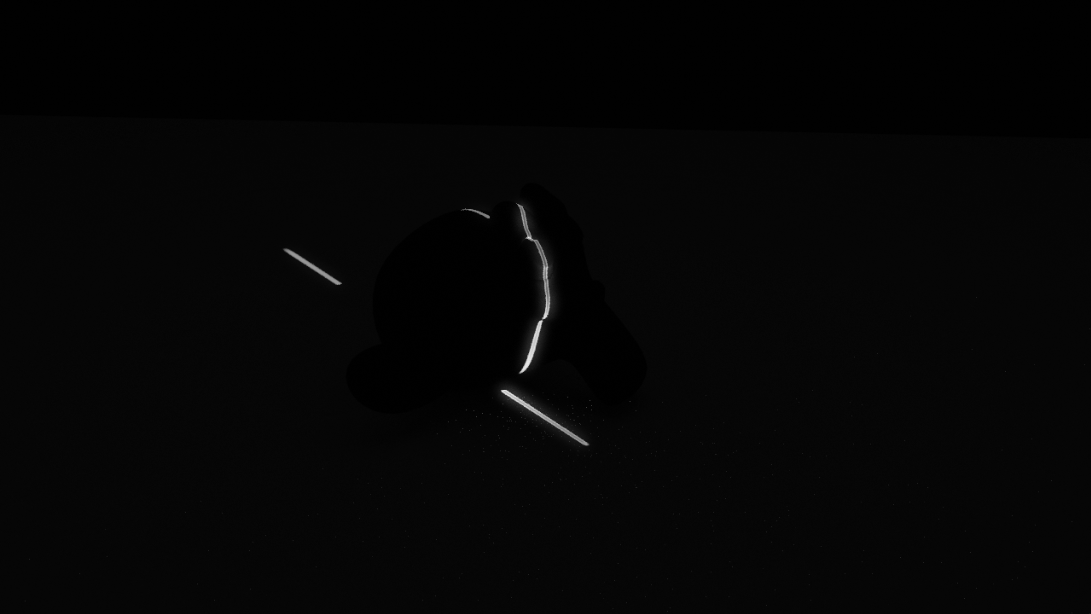
Where R, G, and B are the red, blue, and green channels of the pixel respectively. Since a 650nm laser line corresponds directly to the color RGB(255,0,0), we only need to worry about the red component. The filtered image is:
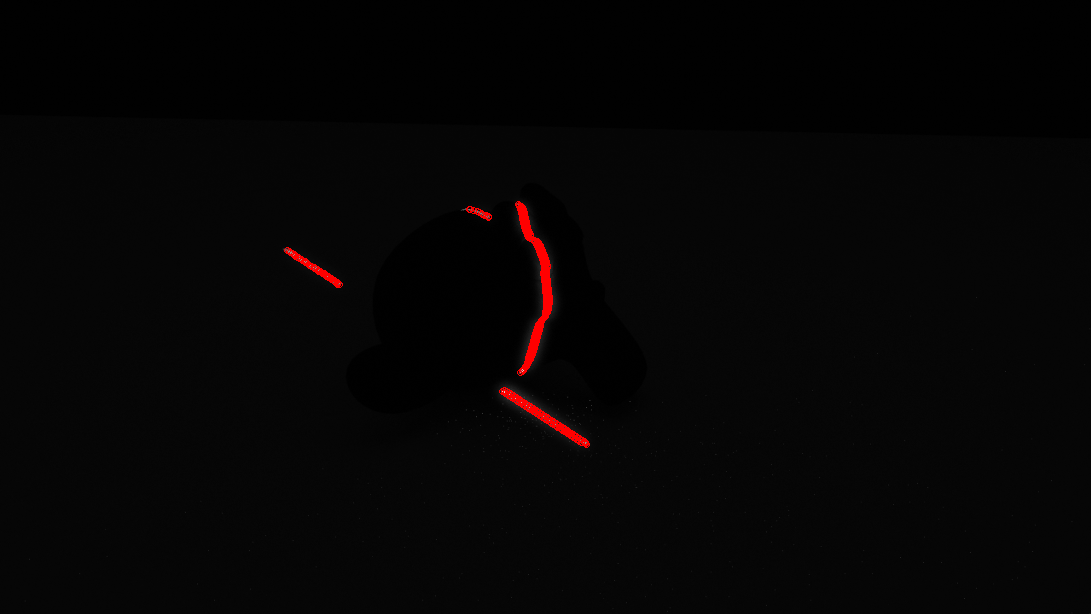
Finally, after laser line detection (where each point detected is circled in red), we have the following points to add to the point cloud after transformations: