
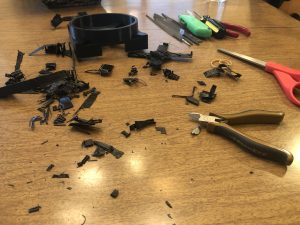
Much progress towards reaching MVP has been made since my last status update on 2/26. For starters, I was able to 3D print the prototype drum pad module before spring break began so that I could create the working prototype while away from campus. The process of removing the internal scaffolding was slightly more involved than I originally anticipated, as without having used a 3D printer before I wasn’t aware of just how much scaffolding would be needed for my design. However, I still managed to remove the scaffolding without damaging any features of the module, so it still works as I intended.

After this, I arranged the FSR and other circuitry inside the module and began testing the responsiveness, with somewhat mixed results.

Although the ESP32 was recognizing strong hits to the direct center of the drum pad, hits off the center and to the sides were inconsistent in their recognition, and hits along the crossbars that supported the center platform had basically no recognition. The below diagram details my estimates for the relative accuracies.

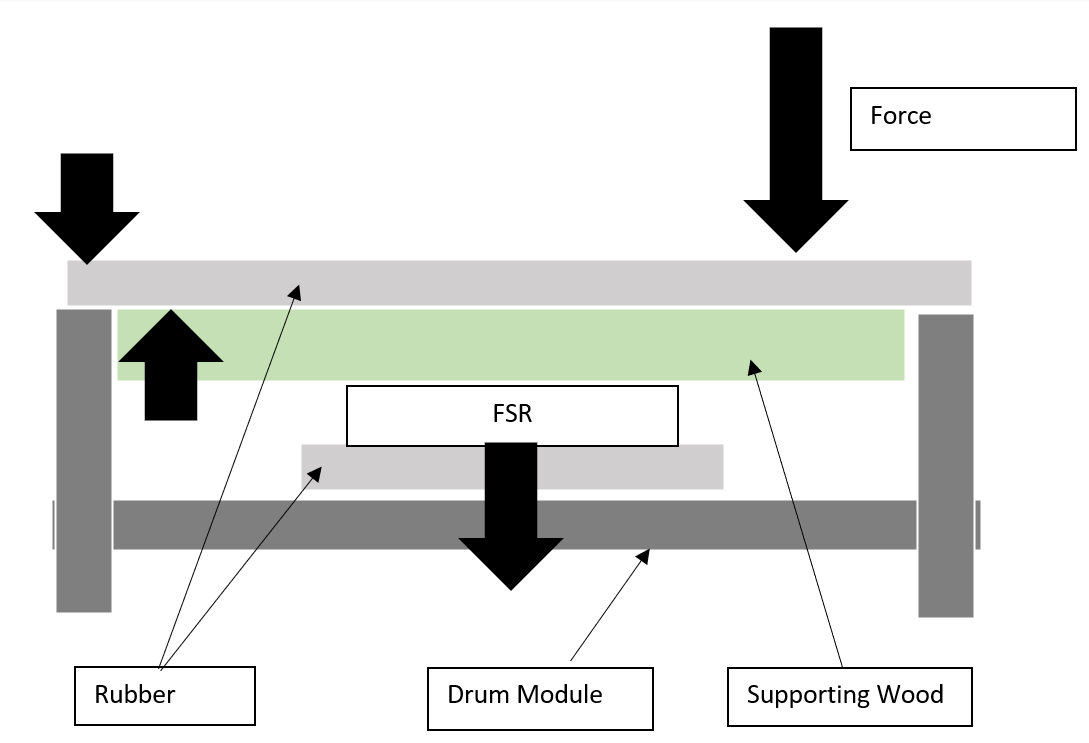
The main issue that seemed to be causing this unreliability was the fact that the center platform (where the FSR is located) was at the same height level as the crossbars supporting the platform. This lead to any forces that are on top of the crossbars or close to the crossbars being dissipated through the crossbars rather than through the center platform, which meant the FSR never got a chance to recognize them. To remedy this temporarily, I placed a spare piece of rubber between the FSR and the center platform, which raises the FSR compared to the crossbars. Additionally, I used the adhesive edges of the rubber to fix the drum pad to the module’s rim, holding it in place as it is hit. This creates a pivot directly on the FSR, which redirects much more force through the center platform and greatly increased my recognition accuracy during my trial testing. A diagram illustrating this and the setup for the drum currently can be seen below.
After getting reaffirming results with this new makeshift setup, I began work on the final drum pad module design. This prototype module will be sufficient for MVP, but a new and slightly modified design would better accommodate for this new setup. Additionally, one issue I encountered with this prototype is that the small breadboards I had planned on using were somewhat hard to fit underneath the FSR’s platform, so I would like to design a PCB to go along with that new drum module design.
Designing the PCB and new drum module, as well as creating the BOM/order for them will be my primary tasks this following week.
Regarding how my progress fits into our timeline, I think the progress I’ve made so far has aligned well with our goals. We originally aimed for an MVP target of 3/20, and this progress meets most of our goals. Regarding the functionality, this drum setup has everything we need, as its capable of providing a signal quickly and reliably to the game’s program. The one area my progress doesn’t meet our MVP goals is that I only have one drum as opposed to our MVP target of 2. Creating a second drum wouldn’t be difficult, but I chose not to do so because the current drum design is only a prototype, and I know for certain that I will be changing it later. As such, printing a second prototype module would unnecessarily eat into our budget, as it would likely just get discarded once I began printing the final modules. However, other than that one consideration, I feel like this demo module satisfies our MVP targets and sets me up well to move into the post-MVP stage of the design.