Status Update – Team (05/06/2019)

Today was our in class final demo! It was really cool to see what everyone worked on this semester. The vibe almost reminded us of booth in a way.

Here’s our video that we shot at our table:

We also received an honorable mention for the Apple awards, and we each earned a new pair of AirPods!


Status Update – Team (05/04/2019)

This week, we worked on a couple deliverables:

As a team, we prepared for our final presentation. Stephen was in charge of giving the presentation in front of the class.

Final Presentation

We all worked on our poster together. It was funny to see our whole semester’s work on a single (albeit large) page.

D8_poster

Finally, we all started working on our final report.

Status Update – Stephen He (05/04/2019)

It’s finally the last week of class!

For the final presentation, I was responsible for delivering the talk. So, I spent a few hours on Monday and Tuesday practicing what I was going to say with my team. On Wednesday, I gave the presentation, which I think went pretty well! It was satisfying to see the project come together throughout the semester, so I really liked sharing what we worked on to the class. The other presentations I listened to were very interesting as well.

For the rest of the week, we began working on our final report!

Status Update – Stephen He (04/27/2019)

This week, I worked on tying up a couple loose ends.

First thing I did was add a new type of functional block called the Amplifier block. Since it was just another instance of a functional block, adding it was straightforward.

Next, I spent some time working on our group presentation for Monday. This time, I’ll be giving the presentation for our group, so I spent some time rehearsing and getting up to speed on the ins and outs of Joseph and Matt’s parts.

I also collected some feedback in our user study. Some of my friends were kind enough to lend me their time.

Overall, I feel like this week was a bit more relaxing than last week in terms of work load. I think we’re in a good place with our code, so most of the work from here on out will be deliverables. Next week, I’ll be presenting our final presentation and working on our poster and demo.


Status Update – Team (04/20/2019)

We did a lot of our work this week as a team. Together, we decided on how to redesign the user flow of the frontend, and how to make the application look better.

We also spent a lot of time working on integration. Continuing on from last week, we had to also add integration for the functional blocks (look at individual status updates for more details).

Finally, we took some time figuring out our demo for next week.

Status Update – Stephen He (04/20/2019)

This week is crunch time! We’re nearing the end of the semester, so we decided to push harder as a group to get our project as good as it can be.

First thing I focused on was “projectizing” the workflow of our application. Originally, our application had the user select the destination and source of all files when the user wanted to save or load a circuit, or run a simulation and play a sound. We noticed that this can become really tedious when you want to quickly iterate on your circuit and test your sound. So, we decided to make our application workflow similar to Quartus’s- First, we create a project folder, and all files are saved to predetermined locations within the project folder.  This way, the user does not have to specify any particular destination each time they want to save / load / run simulation / play. To load a circuit that was previously worked on, all the user has to do is switch the project folder. This also helps the user find where there stuff is saved. Below is what it looks like when the user first opens our application:

This popup greets the user upon running our application

This menu lets the user immediately choose to load or create a new project, just like in Quartus.

The next thing I focused on was getting our Functional Blocks integrated with the front end. The Functional Blocks  we focused on are the Fuzz, Delay, and Reverb blocks. We also are in the process with a Distortion block. I created a new icon for each block, and added them to the parts bin on the right side of our interface, letting the user drag and drop them as they would with any other component.

The Fuzz, Reverb, and Delay blocks on the parts bin

These functional blocks can be used to model the input passing through different pedals before reaching the created circuit:

Vin passing through a reverb functional block before hitting the rest of the circuit (resistor can be replaced with any circuit)

This created a problem, however. These functional blocks technically represent things that are outside of our circuit. In the case of the image above, our circuit simulator should see the Vin as the output of the reverb, even though in the graphical interface Vin is connected to the input of the reverb.

To solve this problem, I implemented a DFS algorithm that traversed from each connection point in Vin to the nearest non-functional block and non-wire component.  This involved adding logic that implicitly connects the top left and top right nodes of functional blocks (and the bottom left and bottom right nodes) together.

Finally, I worked on miscellaneous bug fixes and cleaned up our code. Javascript is weird.

Status Update – Stephen He (04/13/2019)

This week, I made some small touches to the front end. These involved working on the user interface and workflow of the application. Currently, there are a lot of pop ups that the user has to click through in order to save all of the information related to a circuit. We have decided to make it similar to Quartus in a way- We create a project folder upfront, and then save circuits / project files without the user explicitly defining where each file goes. This way, it’s less of a hassle for the user to use our application.

We also had our reading discussion for chapters 3 and 4 of the Pentium Chronicles book. I really enjoyed this, although I think chapters 1 and 2 were more relatable to our current project.

This week, I spent a majority of my time building booth / enjoying carnival. As a result, I didn’t get as much done as I had hoped. I plan on pressing a lot harder next week. We ideally want to finish the whole project and leave time for user tests, so next week will be extremely important.

Status Update – Stephen (04/06/19)

This week, we had our midsemester demo. So, a lot of what I worked on was to make the demo as smooth as possible.

I made a lot of changes to our import and export functionality. I fully defined the netlist definition for all of our circuit components, and also added in functionality to let the user specify the files to be used for the circuit simulation, and the locations of the output of the sound playback. After doing this, my frontend is now fully integrated with Joseph’s sound module and Matt’s circuit simulator module. Any changes to their parts should require little to no changes on how my frontend interacts with them!

I also updated the icons for the circuit simulator frontend. All the icons I used are front flaticon.com.

This week, since we were dealing with integration, we took a deep dive into each other’s code. I spent a while debugging and understanding Matt and Joseph’s components.

Finally, we had a reading assignment for this week. I spent a few hours reading and writing my response.

Status Update – Team (03/30/19)

This week, we did a couple things as a team:

We finalized our goals for the upcoming demo.

We spent time going over our testing plan. This involved seeing how the hardware (guitar + pedal) interacts with our laptops. After meeting to discuss our test plan, we realized we needed more materials, so we placed a second parts order for a new USB audio interface. We plan to meet on Sunday to work on developing the final details of our testing protocol.

We also worked on integrating each of our parts together. This was done by defining the communication method between parts, as well as defining what we expect the incoming data / information to look like. For example, Matt formally defined the netlist format for me to implement in the front end. This is described in detail in our github. We were ultimately able to get some integration done: the audio processor was able to send recorded audio through the circuit simulator, and the simulator could export the results back to the audio processor for playback. The frontend is now capable of producing netlists in the same format as the circuit simulator expects.

Next week, we plan to continue on integration, as well as development of the circuit simulator and frontend.

Status Update – Stephen (03/30/19)

This week, I primarily worked towards getting our front end ready for our upcoming demo.

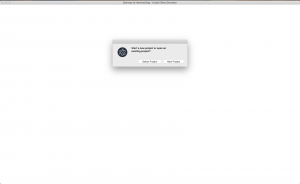
I made a lot of progress with the front end! This is how it currently looks:

On the top bar, we have some icons for different actions. The first button opens up a help screen (currently not implemented). The fourth and fifth buttons (also question marks, a WIP) are import and export, respectively. These buttons work as they sound: import allows you to import a circuit from file, while export allows you to export a circuit currently existing on the canvas to file. The export functionality is the main way the front end interacts with the circuit simulator backend (the backend reads the file as a netlist to understand the circuit).

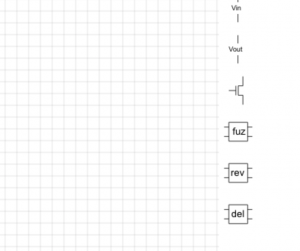
On the right, we have the different components you can place into the canvas. They are in order: Ground, NA (nothing), Voltage Source, Current Source, Resistor, Capacitor, Inductor, Diode, Voltage In, and Voltage Out.

All of the components are mostly implemented as of now, except I have only implemented the import and export feature for Ground, Voltage Source, Resistor, Capacitor, Voltage In and Voltage Out. This is because these are the components we needed for our demo. However, it should be relatively easy to implement import and export for the other components quickly.

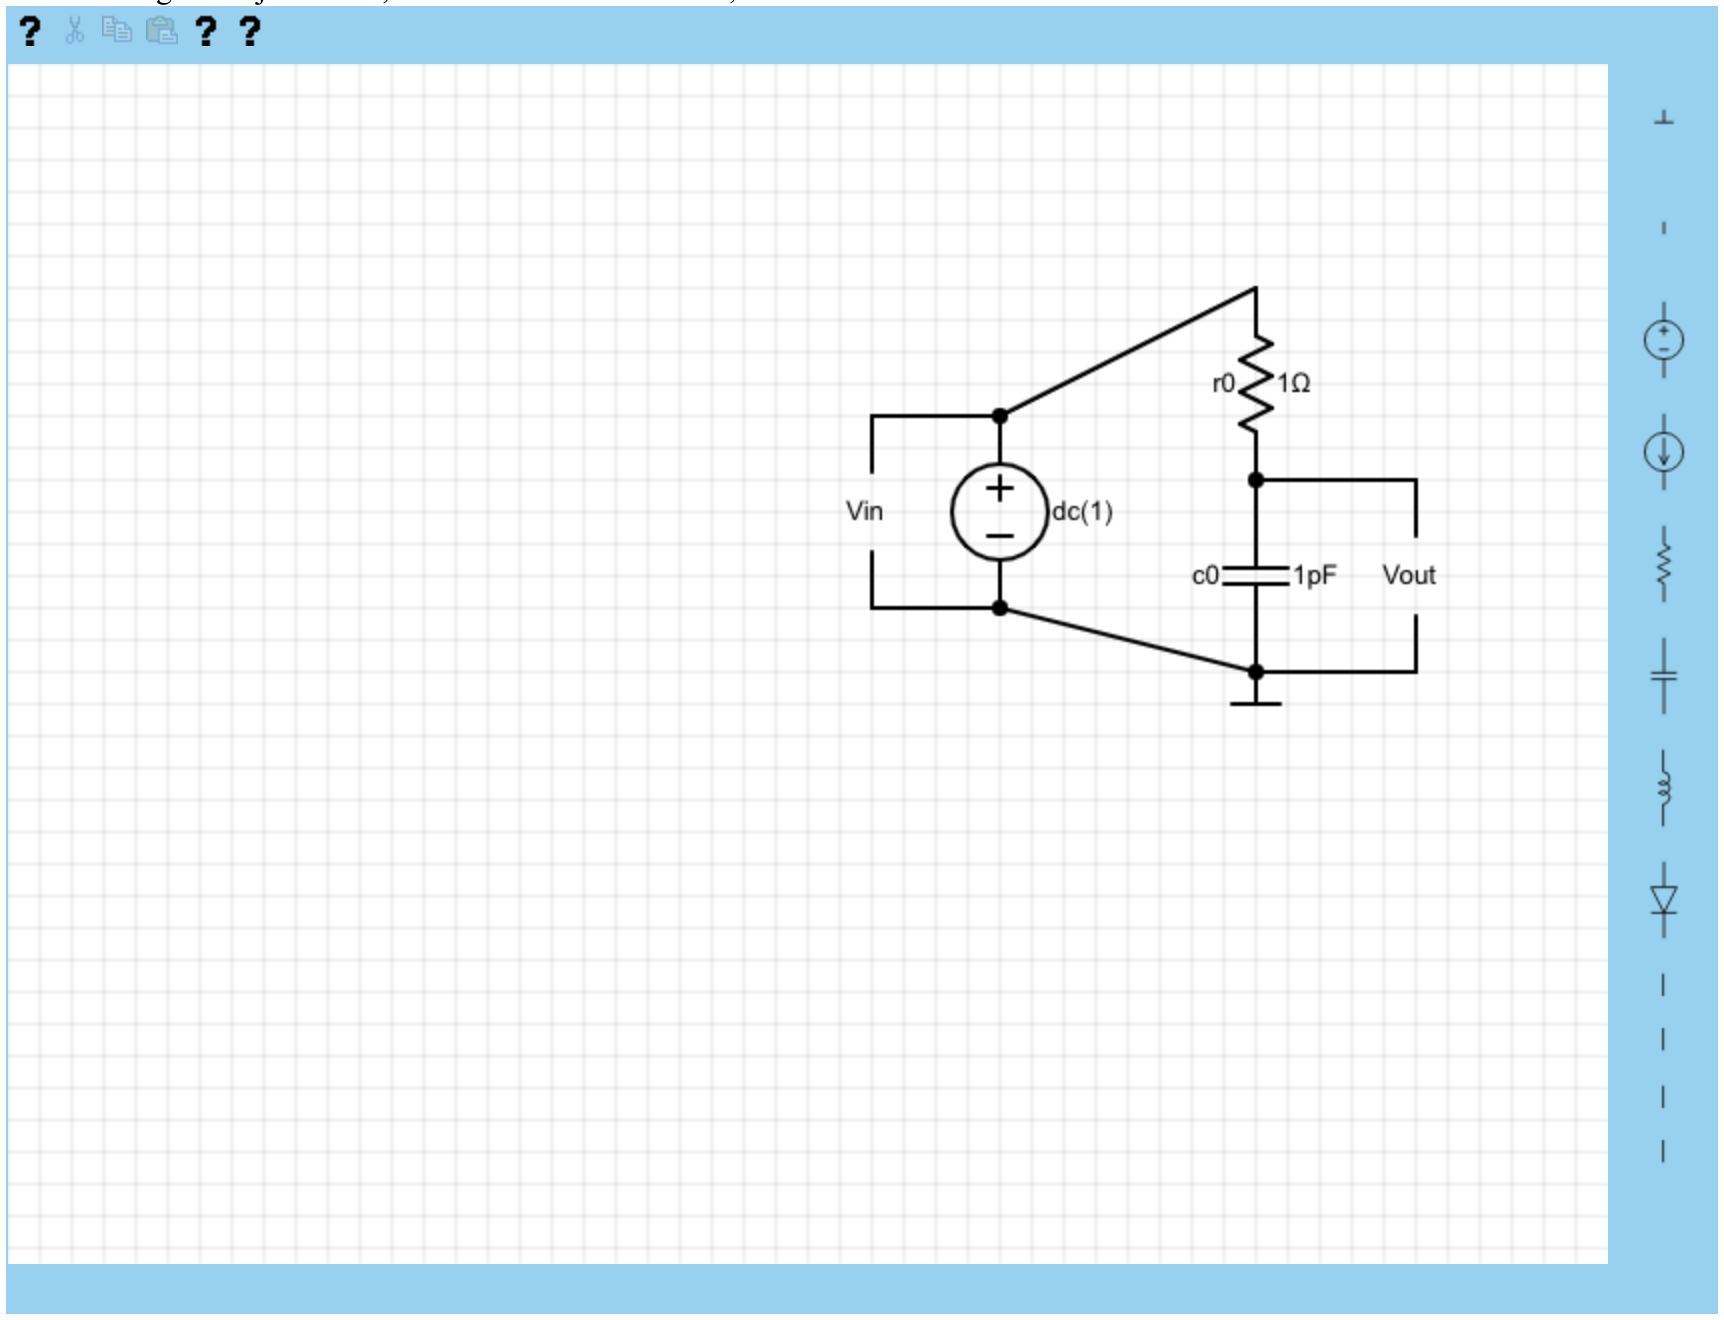
I also implemented a naming system for each component. This can help the user distinguish between components of the same type in a circuit. In the picture above, the component names are r0 and c0 for the resistor and capacitor, respectively. The naming system I implemented increments a counter such that each successive resistor will have a different name with an incremented number. This also takes into account when users delete and copy / paste components onto the canvas.

In addition to this, I also worked on our Ethics assignment this week. This involved a class discussion, as well as spending time writing a list of changes for my first ethics assignment.

I think I got a lot of progress done this week! I hope to continue that into next week. Next week, I hope to have import and export working for each component, and also the signal visualizer half of our front end working.