Concept
Bringing culture and creativity to breakfast
The Pancake Picasso is able to make pancake-based works of art you could never
imagine in your wildest dreams. Our goal was to create a device capable of printing a pancake
in the shape and color of any provided image. Keeping a vigilant eye on temperature
and timing, the Pancake Picasso strives to create accurate representations of
any given image without burning the pancake.
Why did we make a printer for pancakes? People are starving for opportunities to be creative.
All around a pancake printer just seems like the ultimate way to play with what you eat. Why imagine your food is a rocket shooting into your mouth when it can actually be one? The opportunities are limited only by your own imagination... and by how much batter you have in your pantry.
Competition
It seems we're not the only ones with this brilliant idea
A few other attempts at 2D pancake printing have recently emerged into the industry.
The competition is close... literally – even a group in 24-441 was trying to beat us out.
All pancake printers serve a similar goal: to print aesthetically appealing and edible pancakes,
but we amped it up to do it better.
Both the PancakeBot Kickstarter and the Pancake CNC Machine
produced by a team at Olin (the two strongest examples of the concept thusfar) share a common
shortcoming: they are unable to operate without a user determined set path. Our edge over them is
automatic generation of paths given any user provided image. Why spend hours drawing a mediocre image
when you could select a nice picture and press a button! We even print multicolor pancakes,
launching us way over the fluffy top of our competition.
These are our Requirements
A Functional XY Gantry
The 2-axis gantry serves the purpose of following the provided path over a heated griddle. It achieves this through 2 motors, one per axis, simultaneously moving the print head across either axis. The 2-axis gantry provides seamless and accurate motion while remaining fast enough to cook the pancake without burning it.
A Way to Dispense Batter
Packed with linear actuators, syringes, and (delicious) pancake batter, the print head is armed to dispense batter in conjunction to the gantry's motion over the griddle. The print head has the responsibility of dispensing batter according to the given path (to create the right shapes), at the indicated speed (to control line thickness), following the provided timing schedule (to control shading).
Purposeful Hardware
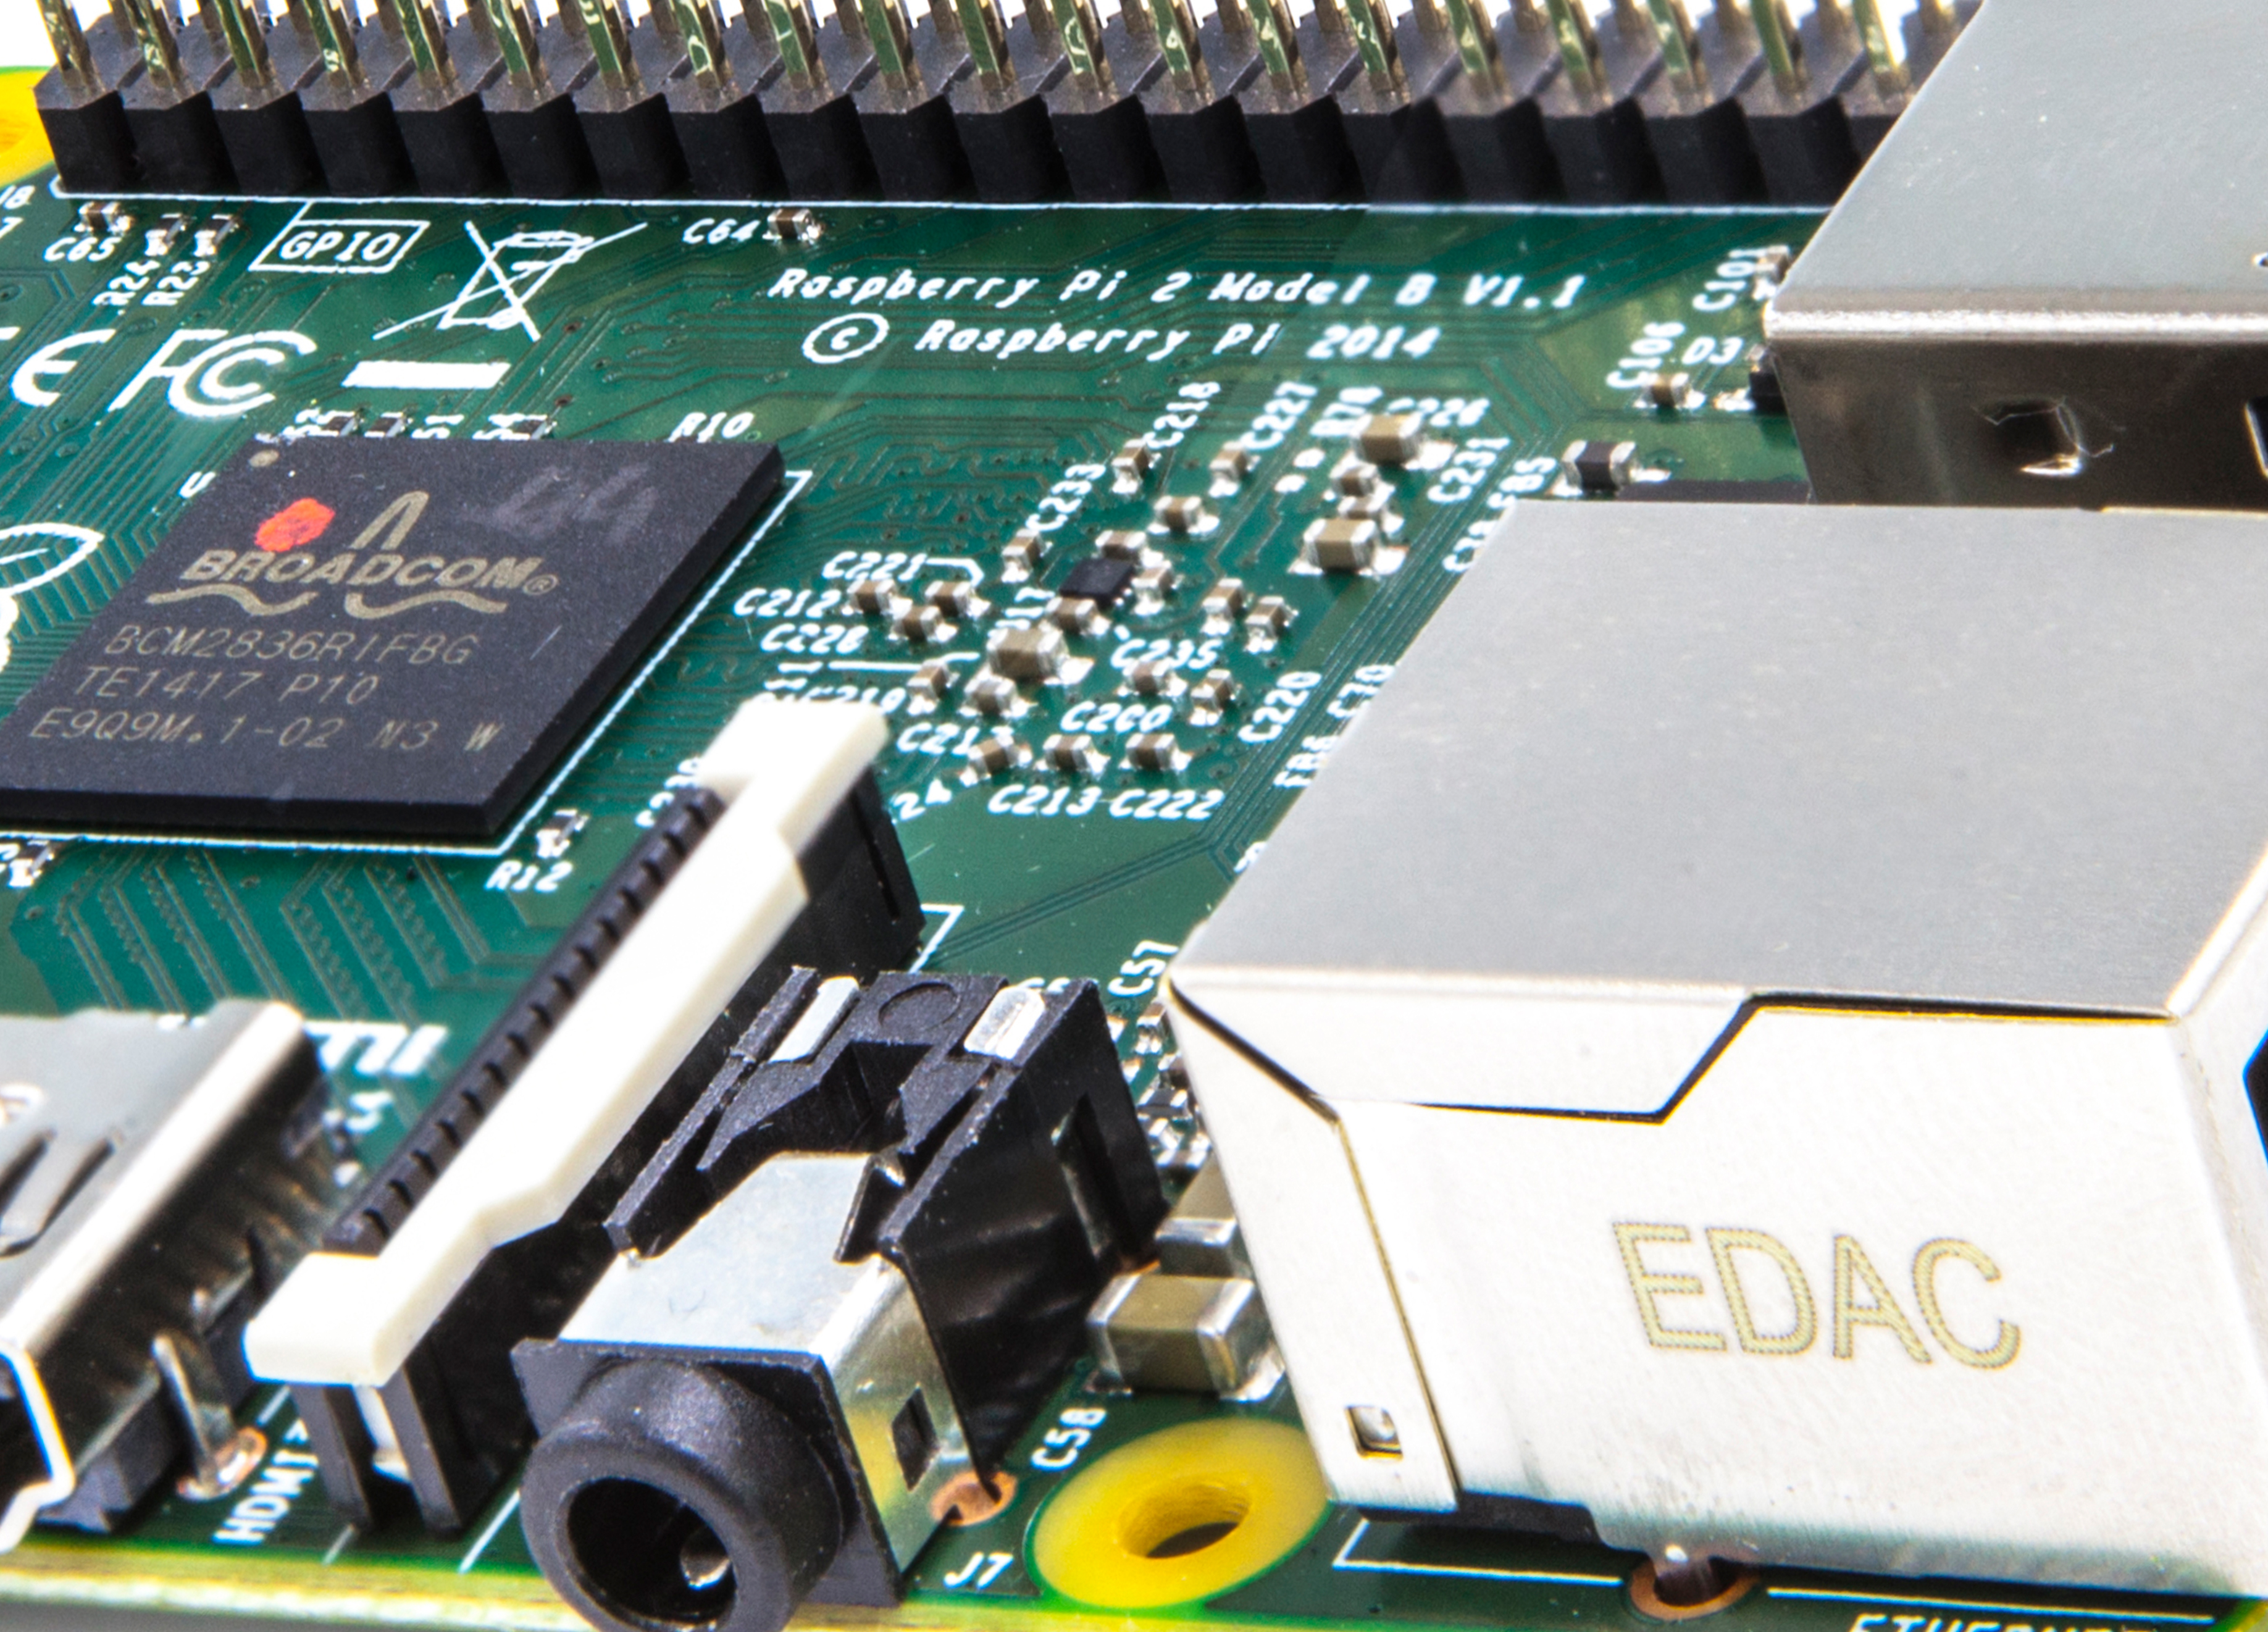
Our hardware is what allows us to make our concepts tangible and our dreams into experiences. More specifically, a Raspberry Pi controls the whole printing ensemble, serving as the tool of communication between the creatively starved user to the emotionally ready sensors and actuators. Of course, this is is not accomplished with Pi alone, but in tandem with custom control hardware.
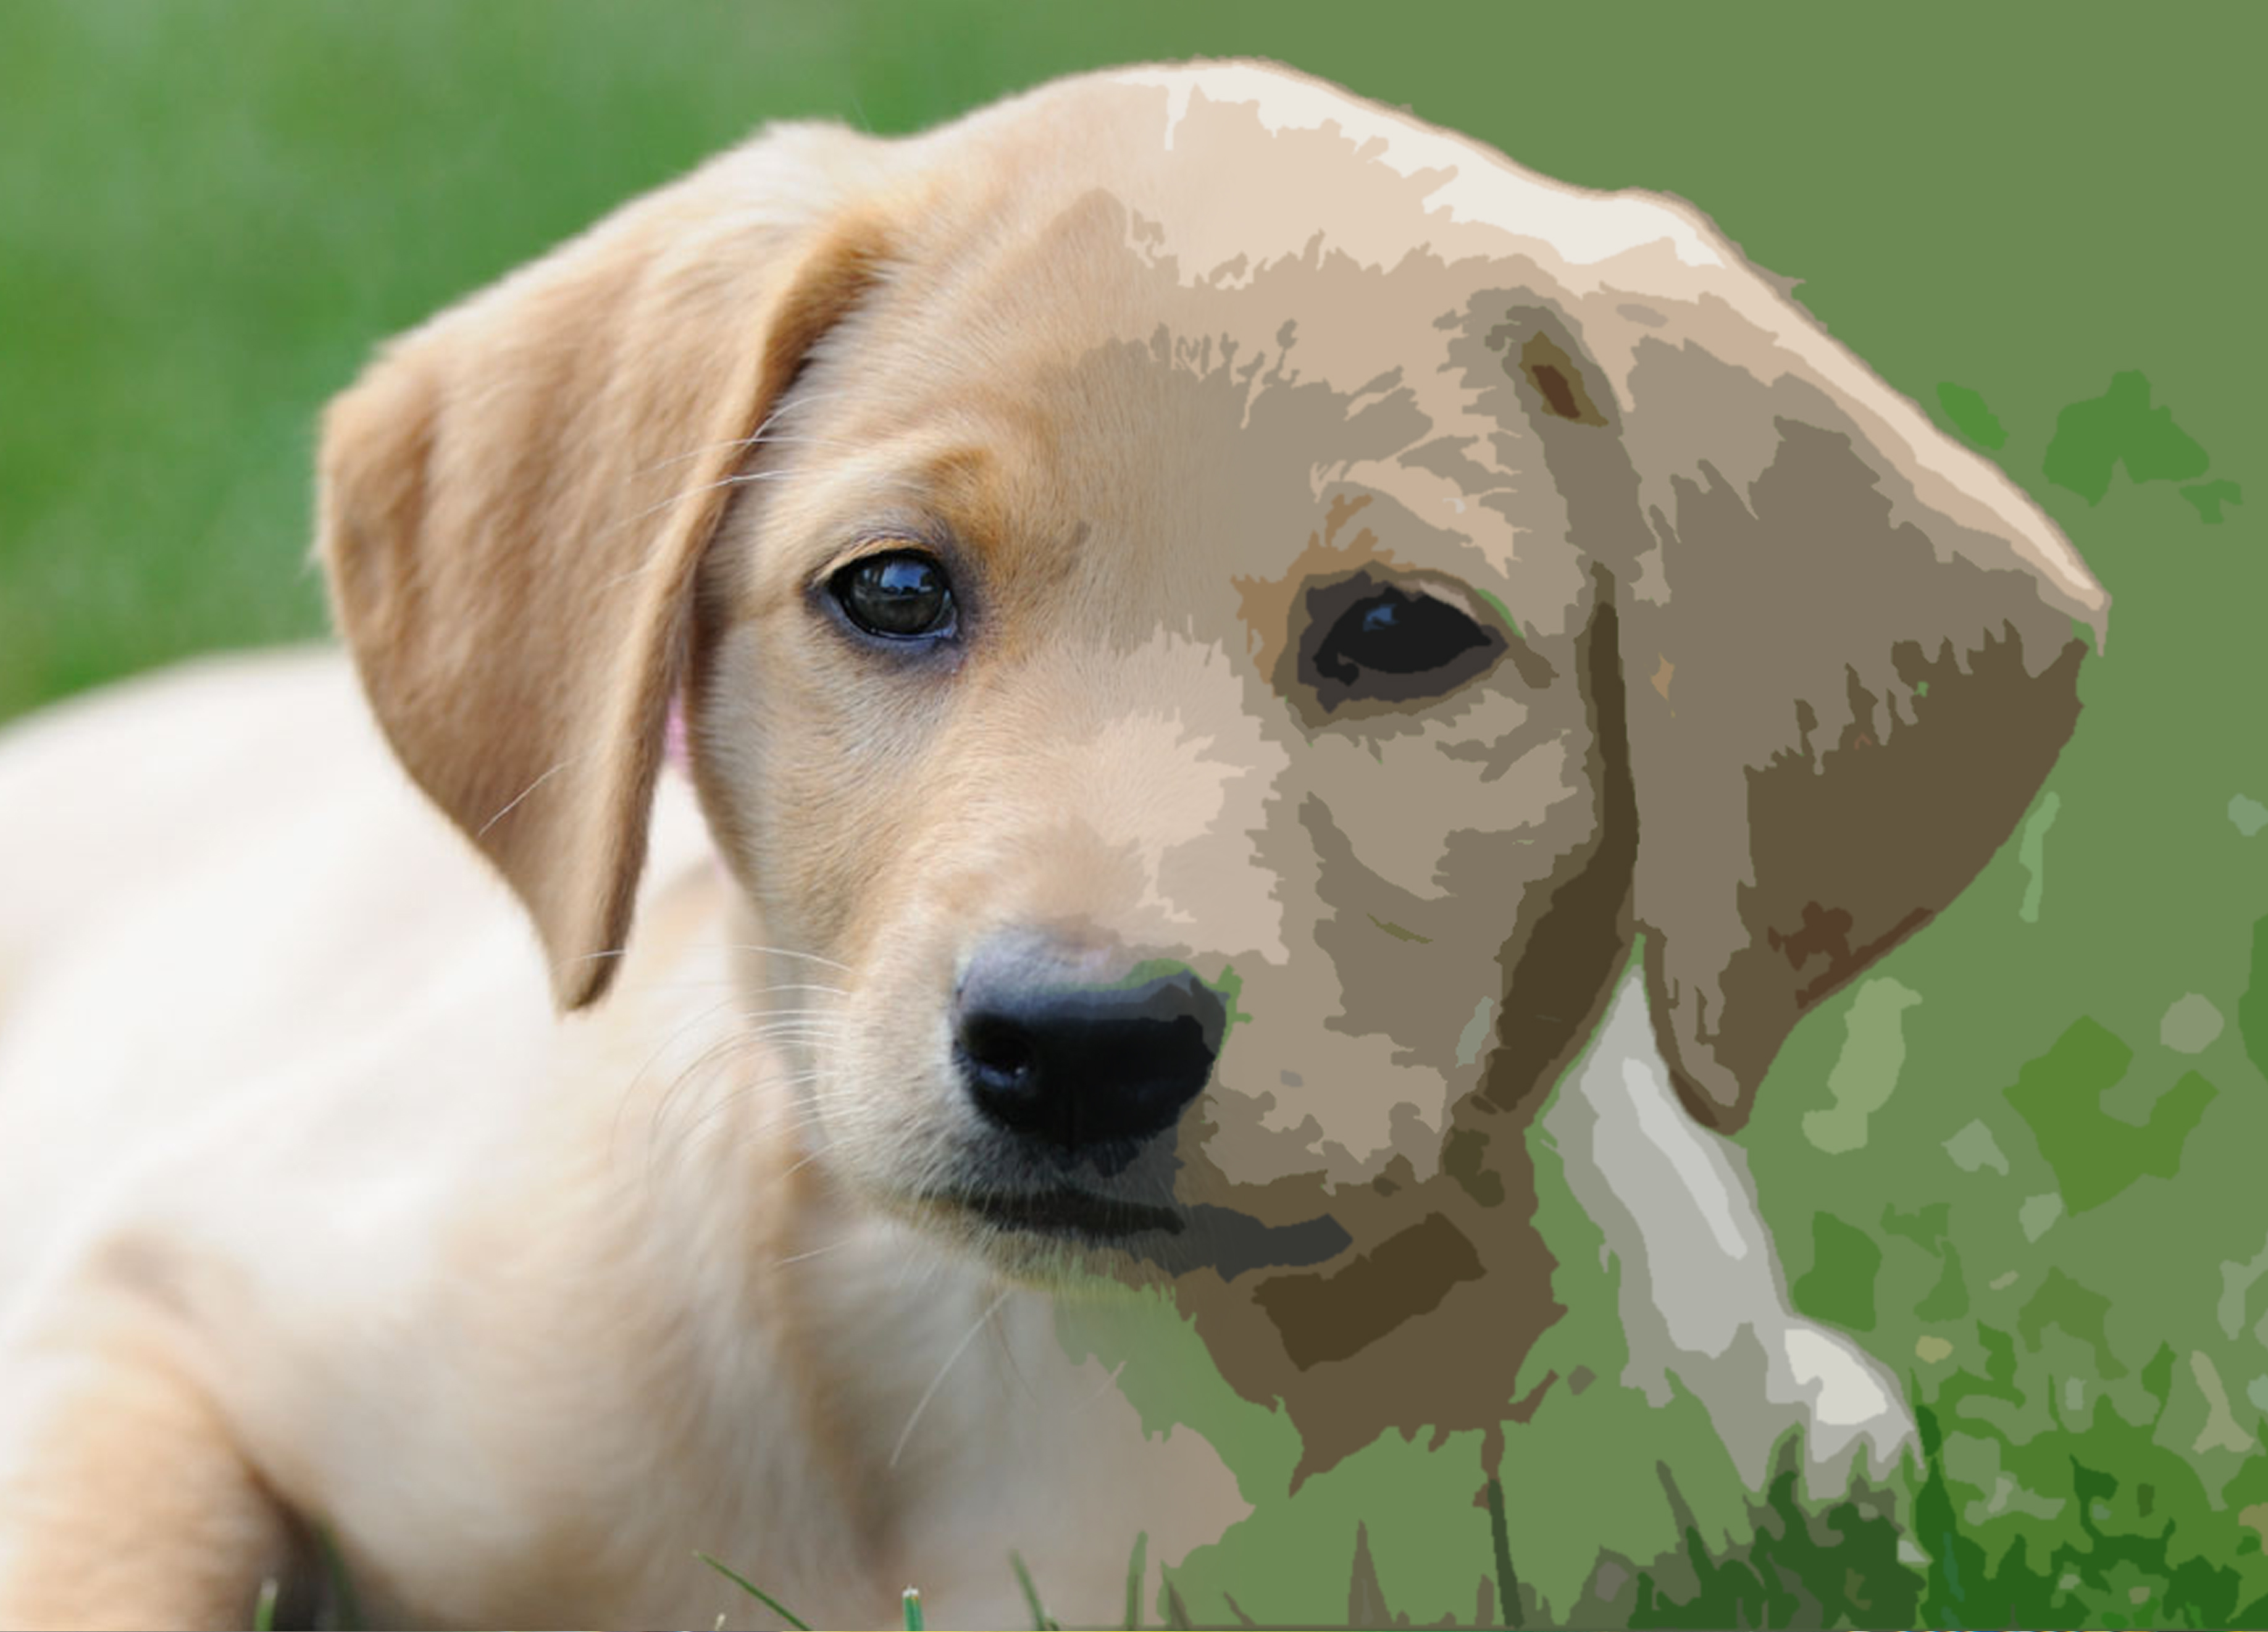
Image Conversion Software
Our software is where the magic begins, continues, and is driven to an end. Giving us the edge against our competitors, our software takes on the goals of processing a given image into a path for the print head to follow, sensing and regulating the temperature of the griddle and creating a schedule for specific segments of the pancake to cook. This ensures a perfect pancake rendition of the image you wanted to print.
Architecture
A modicum of structure

Here is our Implementation
An Awesome XY Gantry
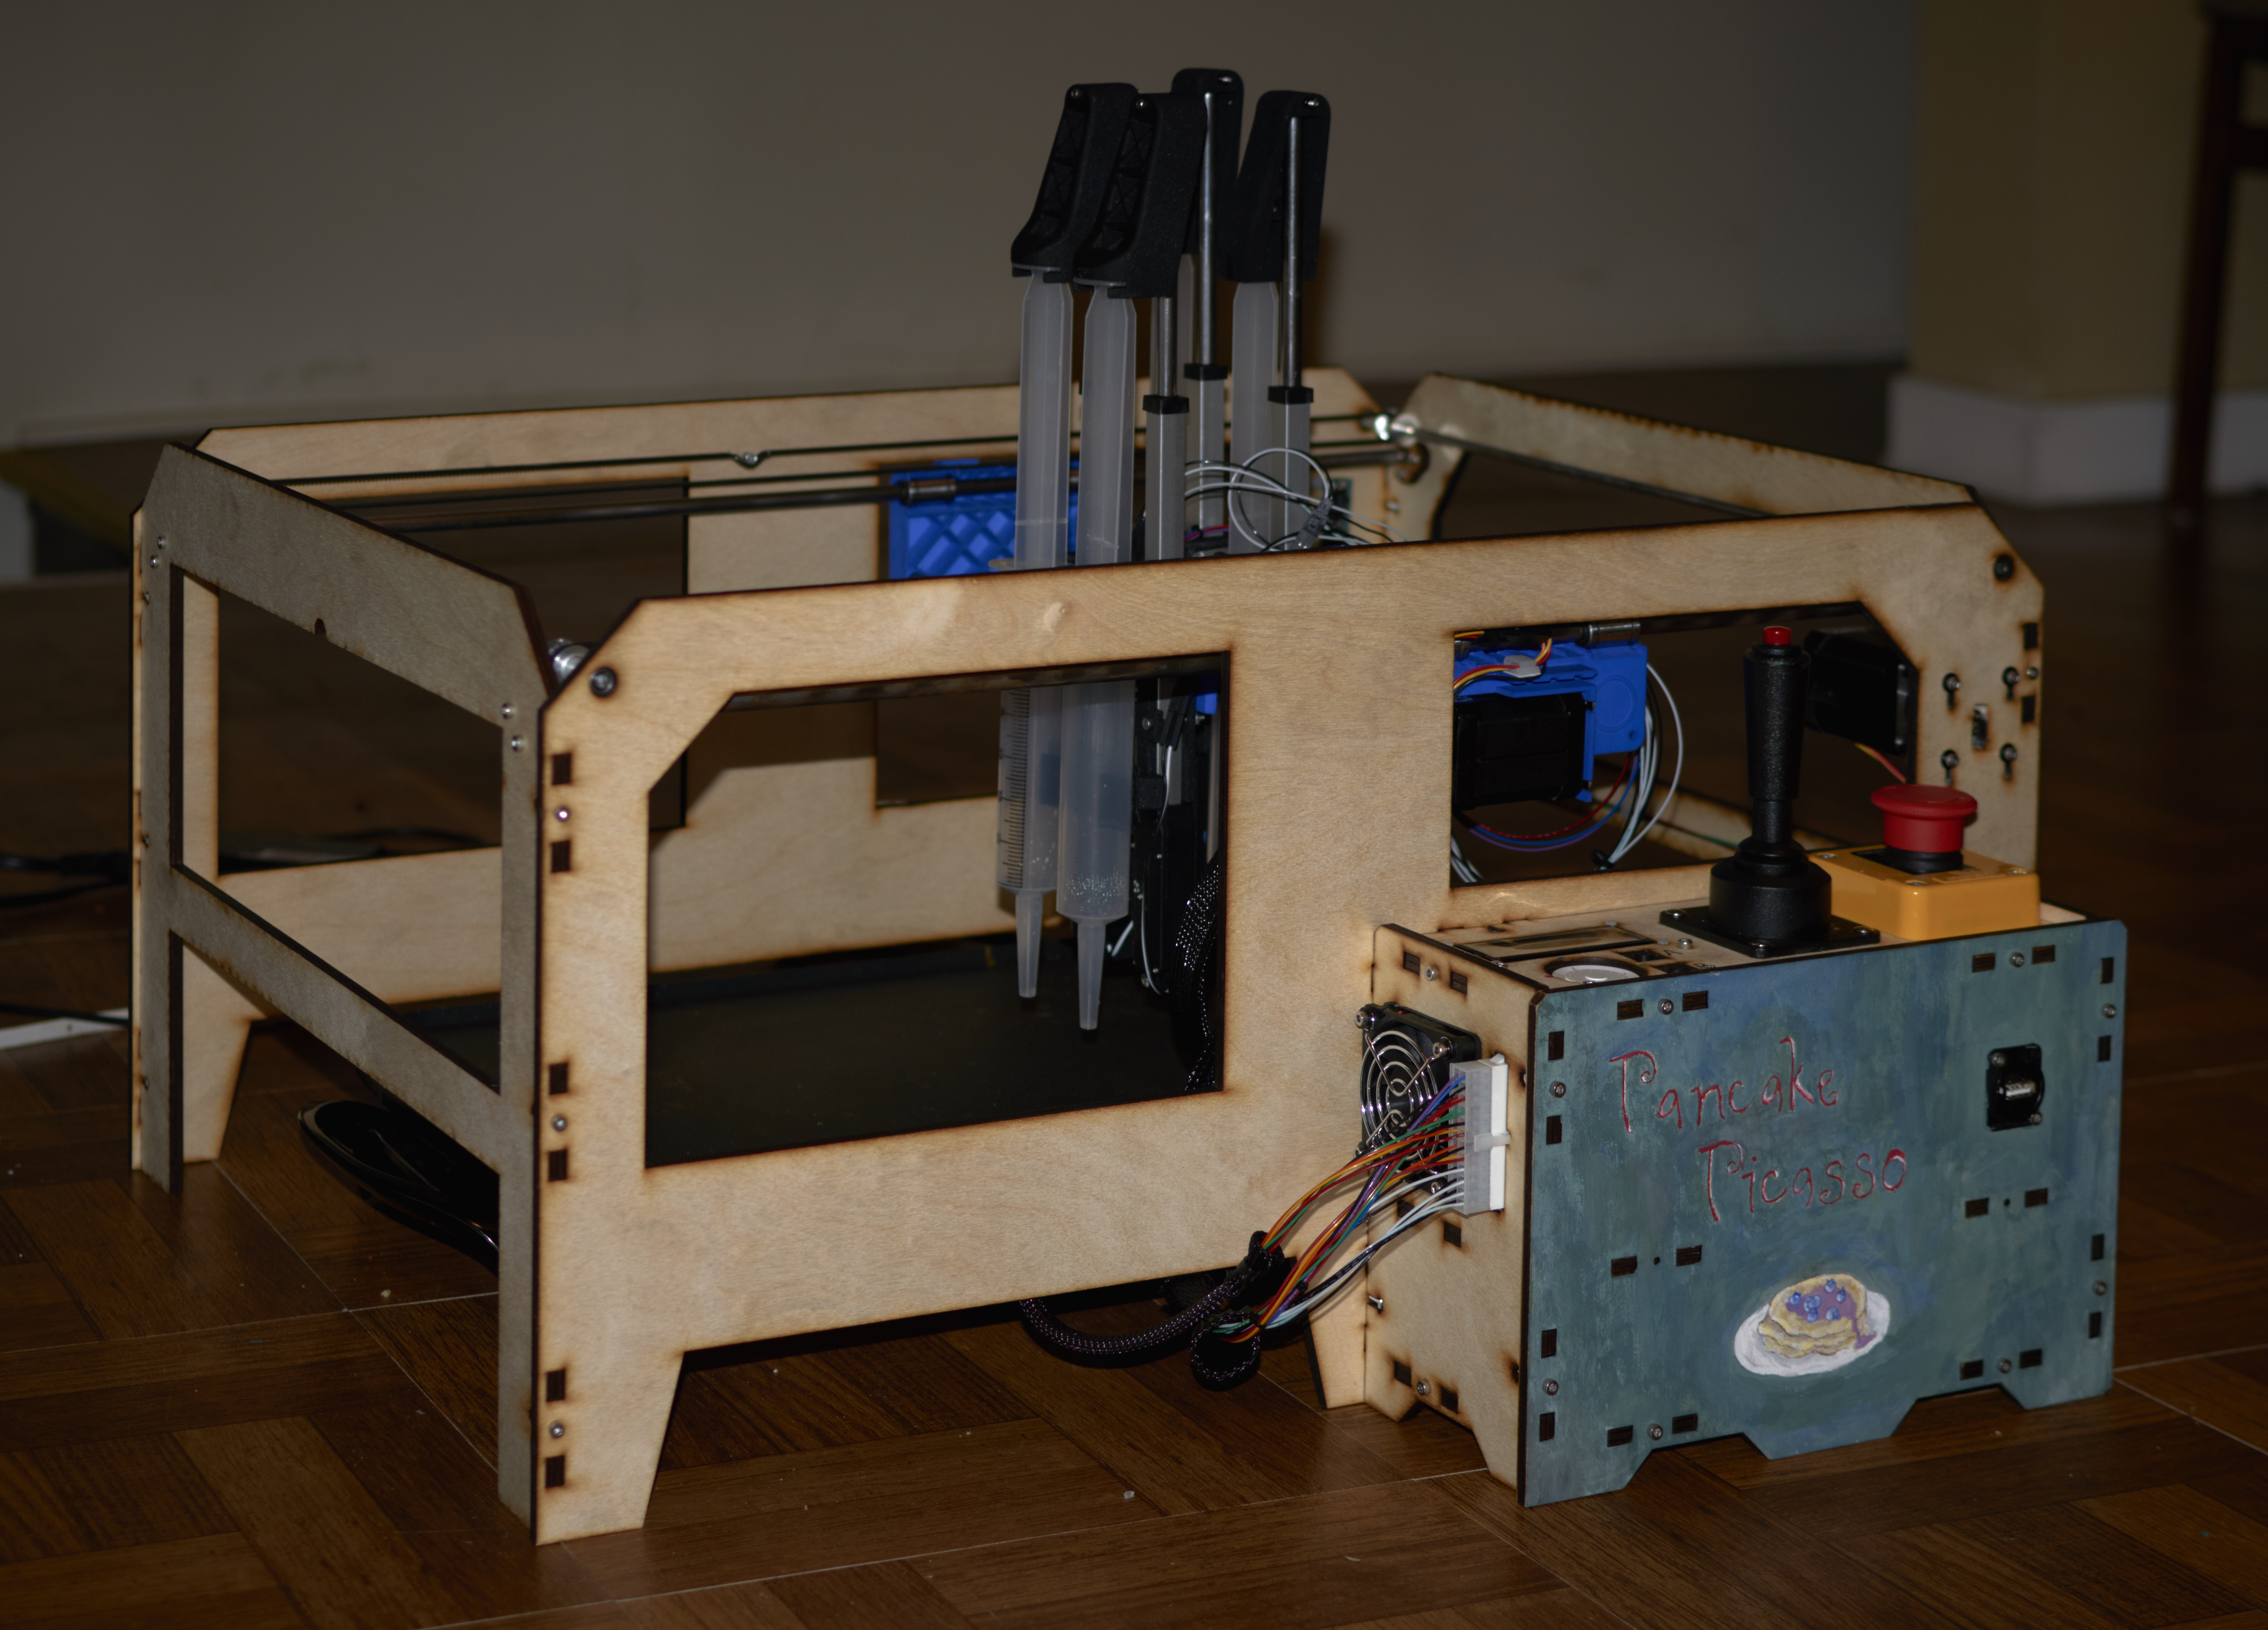
The gantry design is loosely based off the open-source MakerBot Replicator, modified and expanded to fit around a griddle and incorporate our custom hardware. The system utilized 2 stepper motors, 4 timing belts, a series of linear and rotational bearings, and 3D printed parts to move along the axes. Calibration was obtained through limit switches installed on the gantry.
A Batter-Loaded Print Head
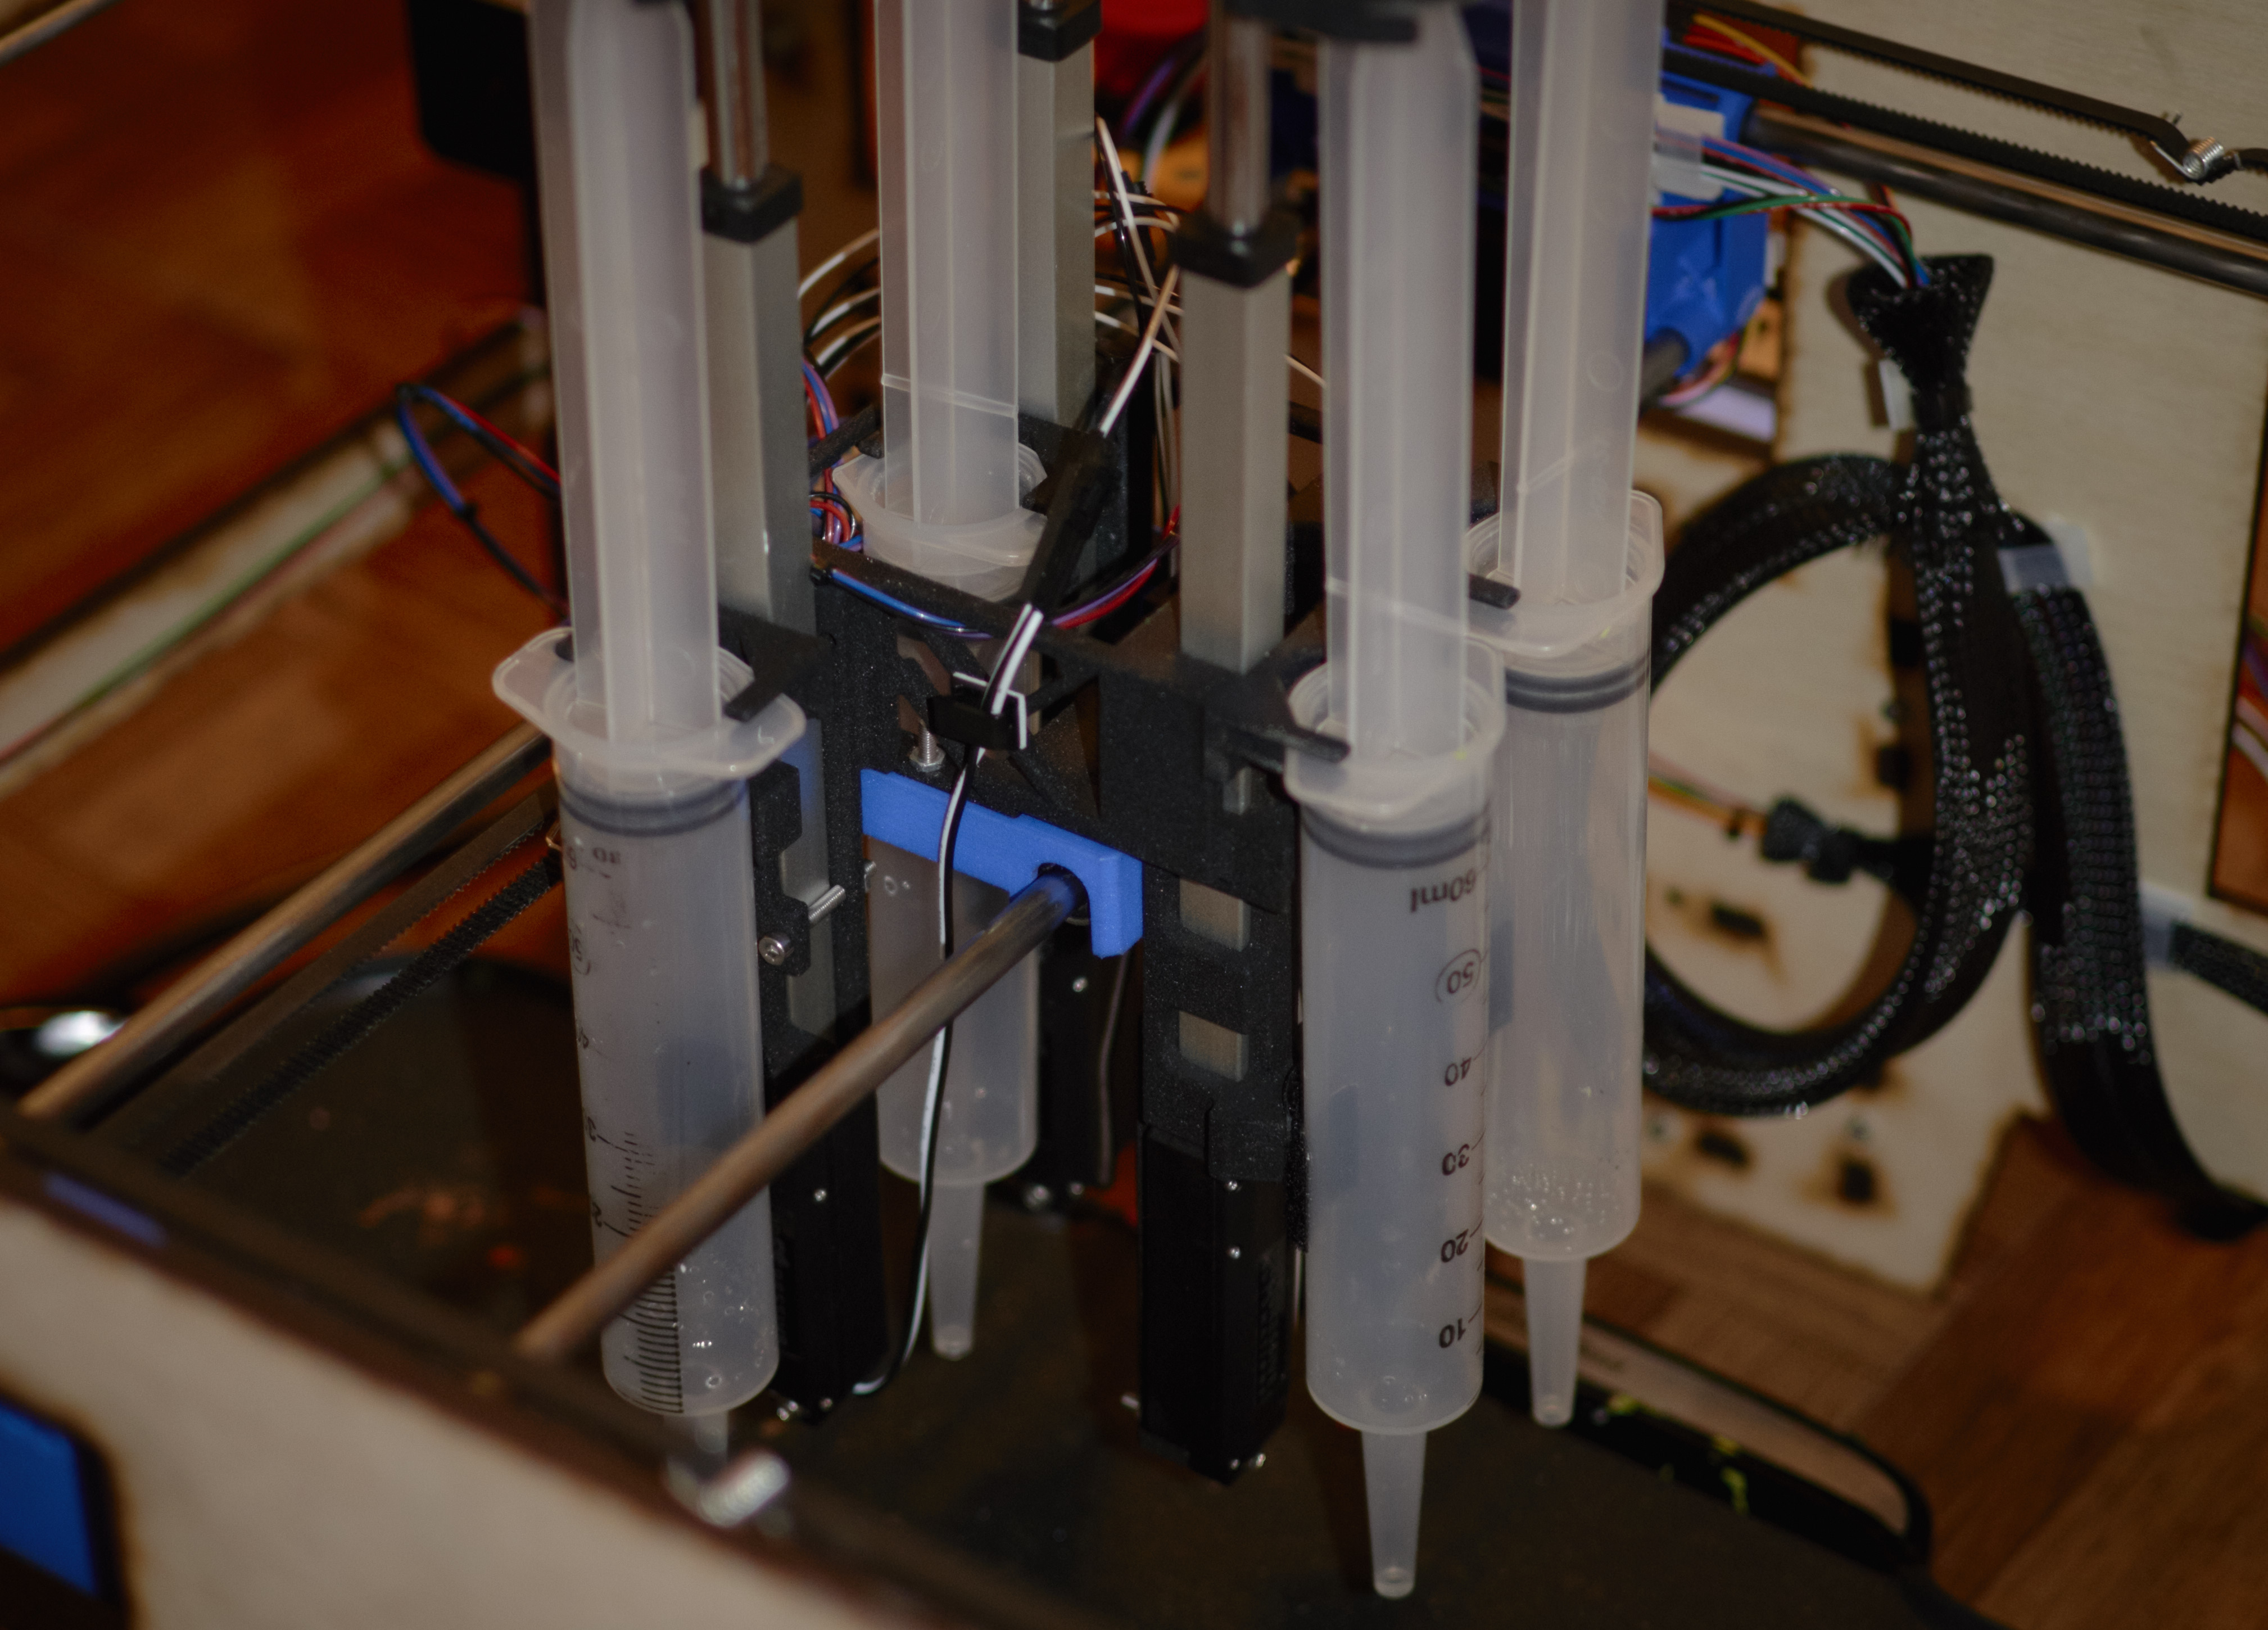
The custom-designed printhead utilizes 4 syringes (one per color), each combined with a linear actuator that regulates the height of the plunger and therefore flow of batter. The actuators are precisely controlled to preserve batter flow rate relative to suggested color output. The syringes are fastened in an easily removable manner by lifting out of the system – the plunger end of the syringe locked into the plastic part mounted to the linear actuator.

Integrated Hardware
The Raspberry Pi functioned as the central computer within the system. Custom hardware was added in the form of Pi HATs, and the stackup included all DC power units, motor controllers, display unit port, UX board connector, fan port, e-stop port, and all other requisite electrical hardware (excepting sensors).
Temperature Control
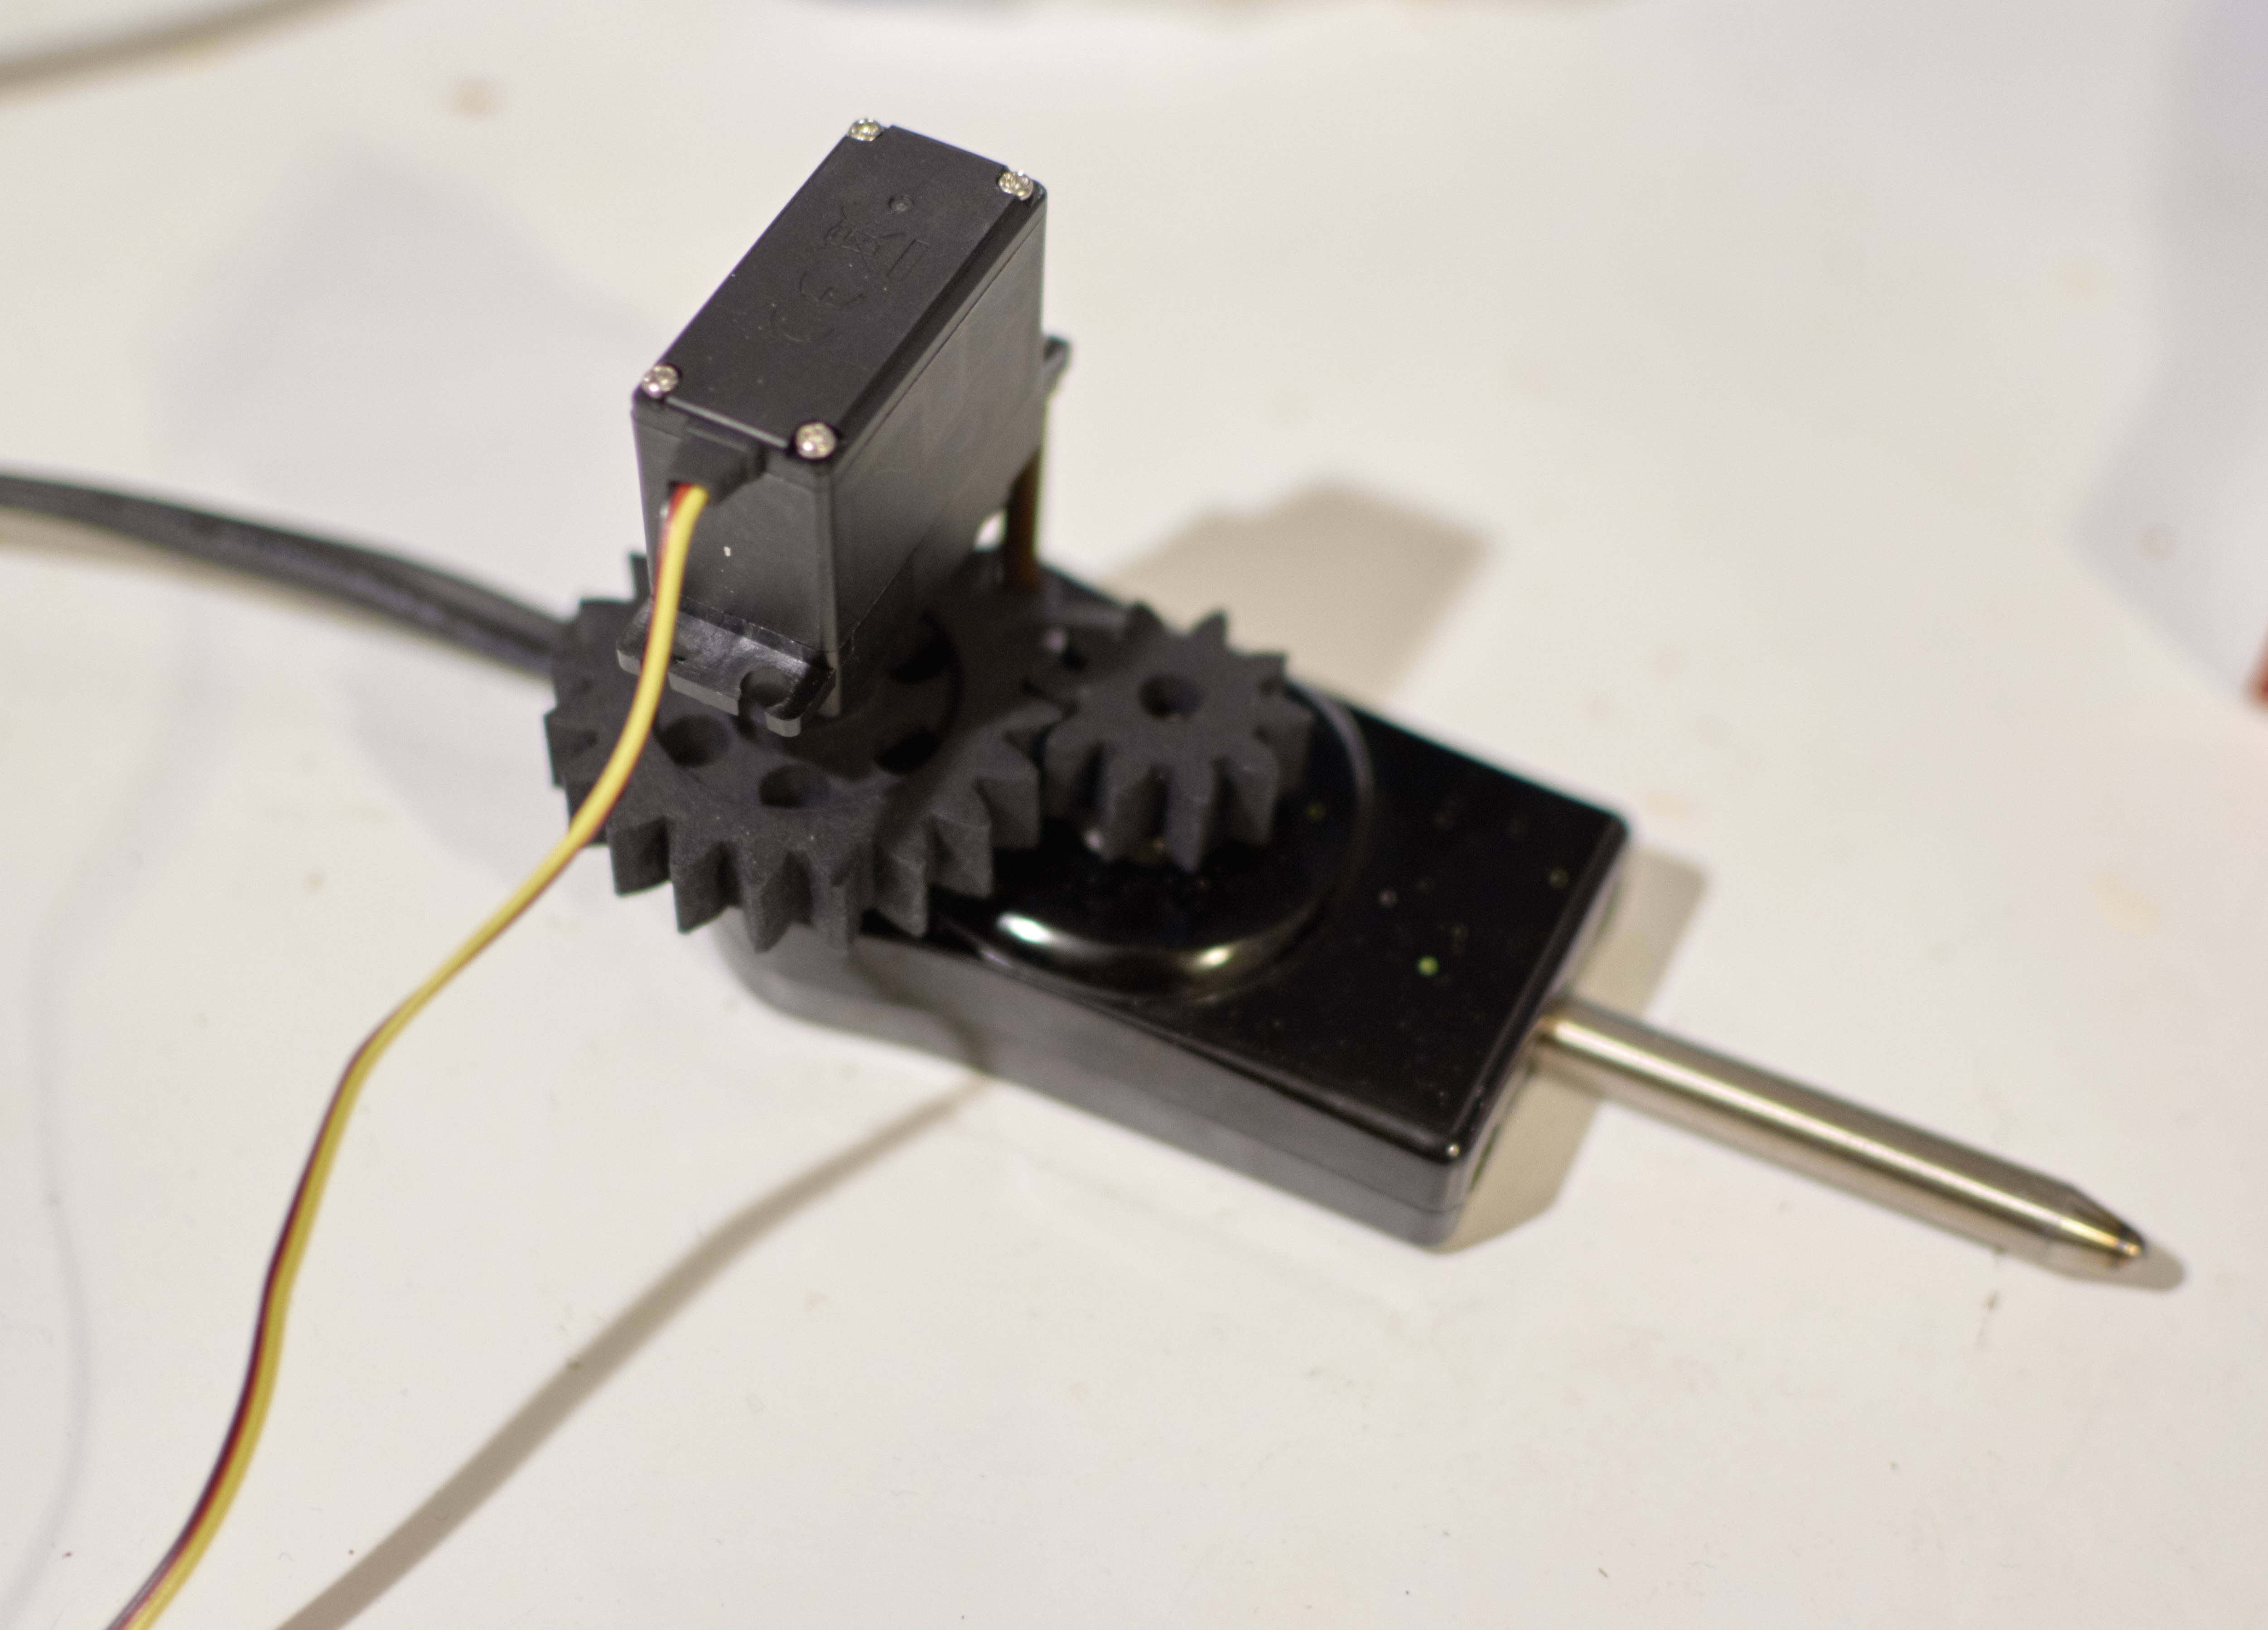
The temperature feedback loop consisted of a griddle interface (a sensor and a servo actuator), with gearing allowing radial control of the temperature dial, and a low-FOV IR temperature sensor located above the surface of the griddle and mounted onto the print head, which allowed the system to maintain a fairly accurate profile of the current temperature across the entire print bed.
User Interface
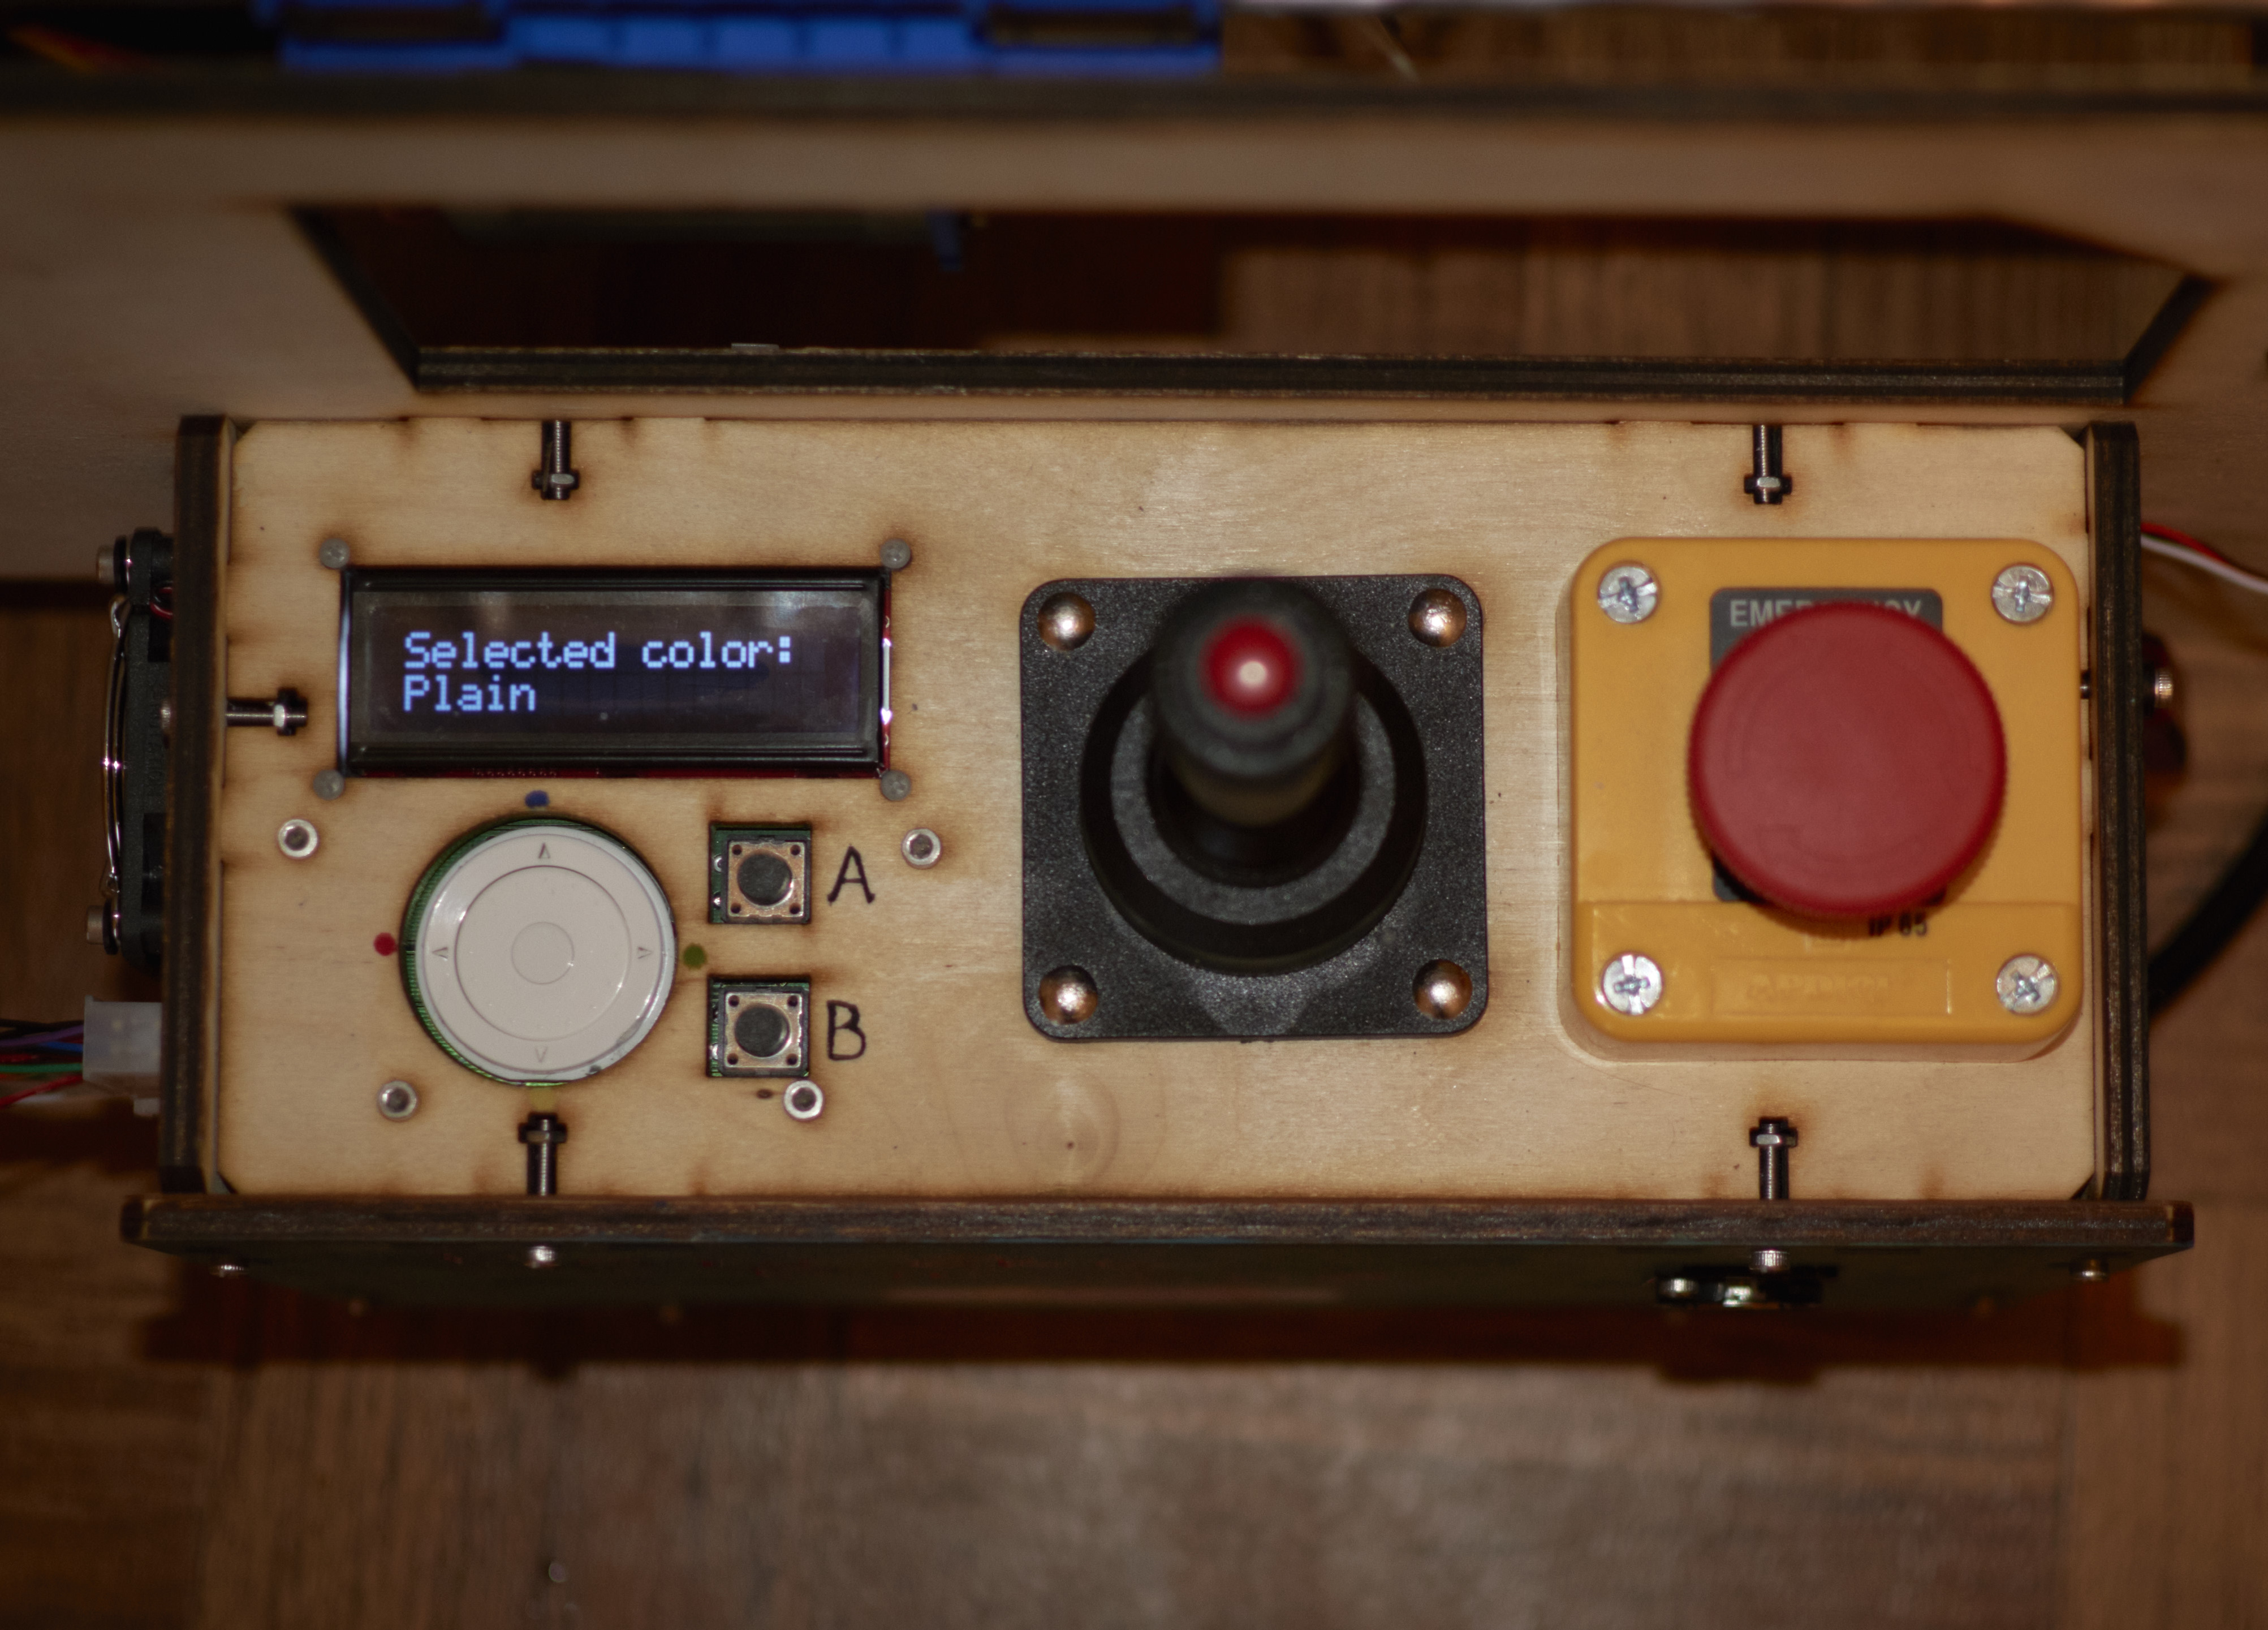
The UI is controlled by a direction pad and scroll wheel, and a joystick is used in manual print mode to maneuver the printhead. An E-stop switch is also present (just in case!). A a simple selection interface allows images to be printed via a front-mounted USB port, or alternatively manual mode can be selected from the menus, which also include configuration options and calibration settings.

Image Conversion Software
The procedure of converting a photo into a print path includes resizing to fit in available print area, filtering using the guided filter to smooth out complicated textures and sharpen edges, modified posterization to group like colors together in a manner that minimizes the complexity of shapes while maintaining the original image, then these shapes are converted into print paths.
Use Cases
'Cause it's gotta be good for something!
- Breakfast – Because it makes you pancakes
- Artistry – It satisfies your desire to draw
- Hunger – It also satisfies your stomach
- Boredom – Make all your food incredibly fun
Well, I mean, it's a printer for pancakes. The use cases are pretty self-explanatory.
The Part Where We Break the Bank
Gotta spend money to make money pancakes
| Material Category | Function | Total Cost |
|---|---|---|
| Power Supply | AC power conversion to DC, supply to the motors and the computer, power regulation | $58.26 |
| Main Computer | Computational hub – image processing, connectivity; motor control | $133.41 |
| Print Head | Holding and actuating syringes to eject batter to a specified location | $89.79 |
| Wire Harness | Connectivity between computer systems and controllers and stepper motors/linear actuators | $62.34 |
| User Interface | User-facing controls affixed to the front of the printer | $86.62 |
| Mechanical Components | External casing, XY gantry, and mounts | $109.00 |
| Active Mechanical Structure | All moving mechanical structures | $286.34 |
| Electrical Components | All electrical parts, boards, sensors, and silicon | $43.82 |
| Final Total | $869.58 |
The Team
Because who else is gonna do it?

Jack Urbanek
Software Wizard
Jack's primary focus is on the small stuff, making the itsy bitsy zeros and ones tick. He wants to turn altered images to print paths and schedule them so everybody is happy.

Alec Foster
Chip Whisperer
Alec is down to get as dirty as the datasheets will let him. Making sure the relations between the Pi and the other components are cordial is of the upmost importance.

Jake Tesler
Hardware extraordinaire
Jake is an expert on everything hard and electric. He'll be building up the circuits that make the whole system work, all the while making sure it doesn't explode prematurely.

Sergio Claure
8-bit Half-Wit
Sergio's primary role is on the image processing side, ensuring that what comes out of an image is representative enough to tickle your tongue's most critical artistic tastebuds.