Harshul’s Status Update for 4/27


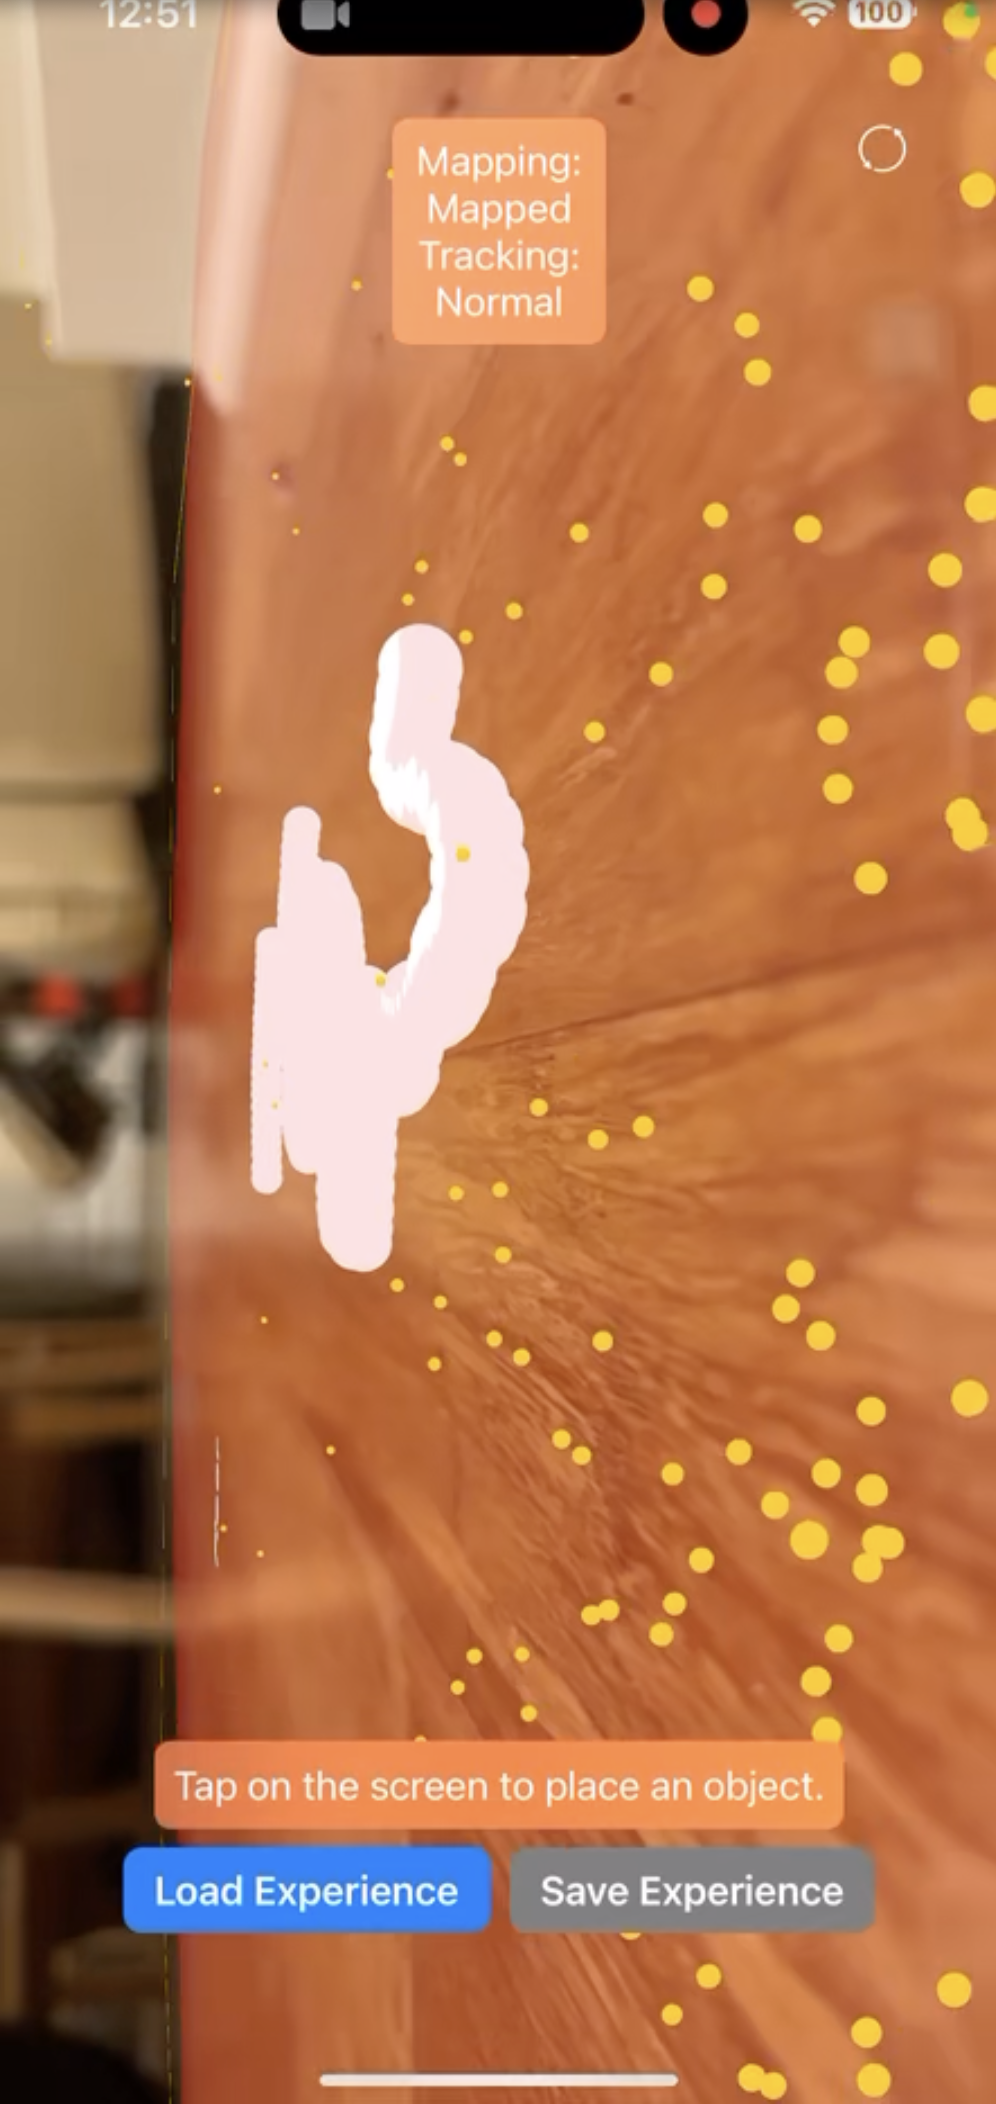
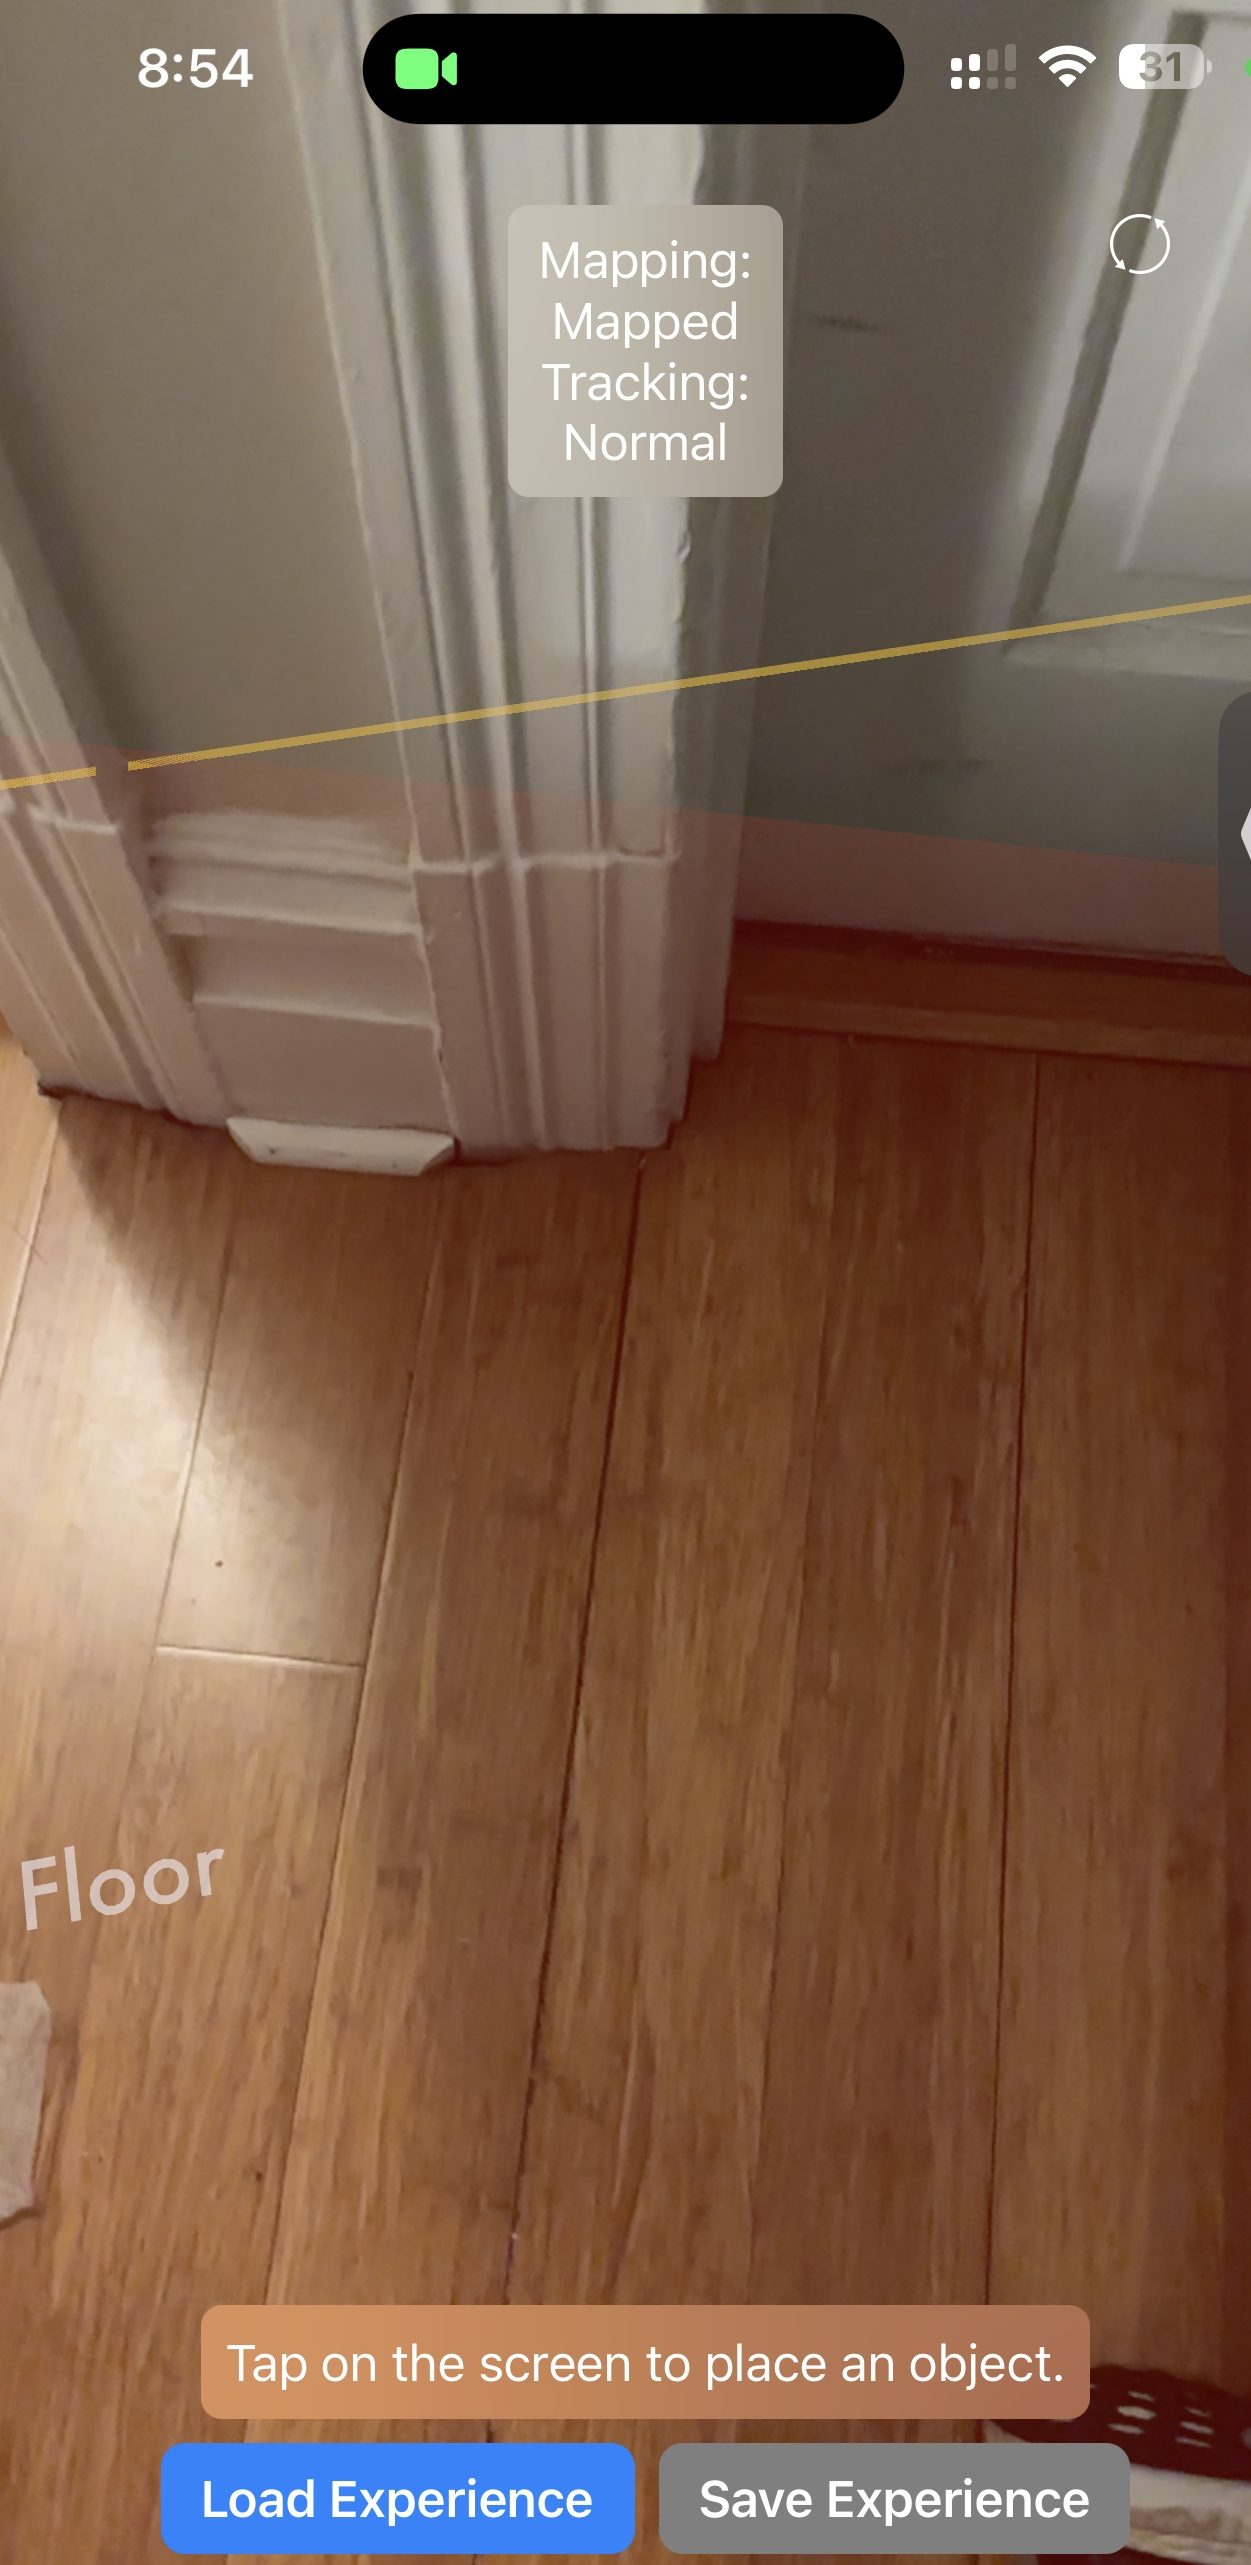
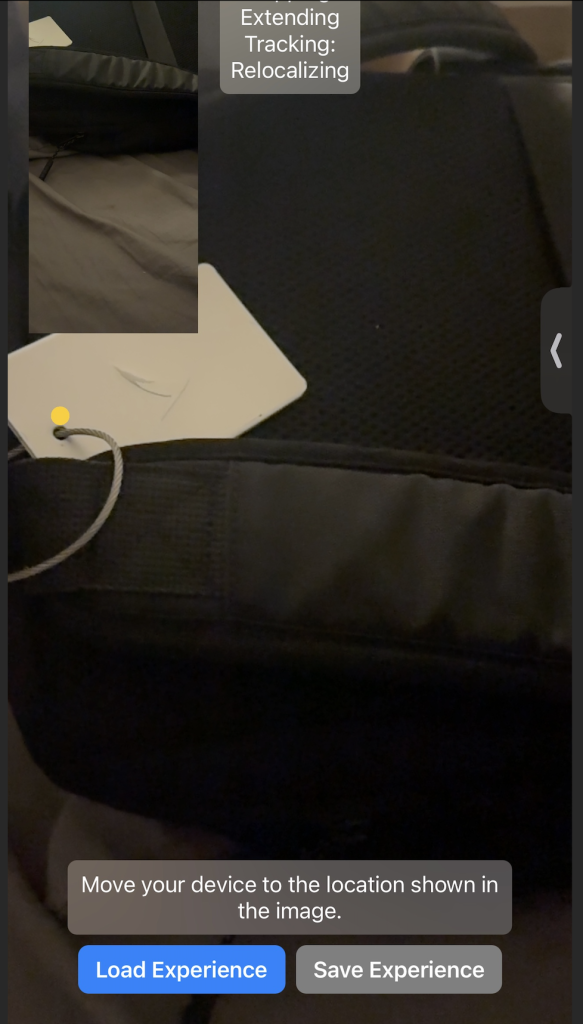
We met for a long meeting this week to work on integrating all of the components of our system and test the end to end functionality of the sensor messages being transmitted to the iPhone. Using the offsets that Nathalie measured from the bounding box that was constructed I created an offset node. This node serves as a coordinate reference point to draw a segment marked as dirty based on the location of the jetson camera view at a specific timestep.

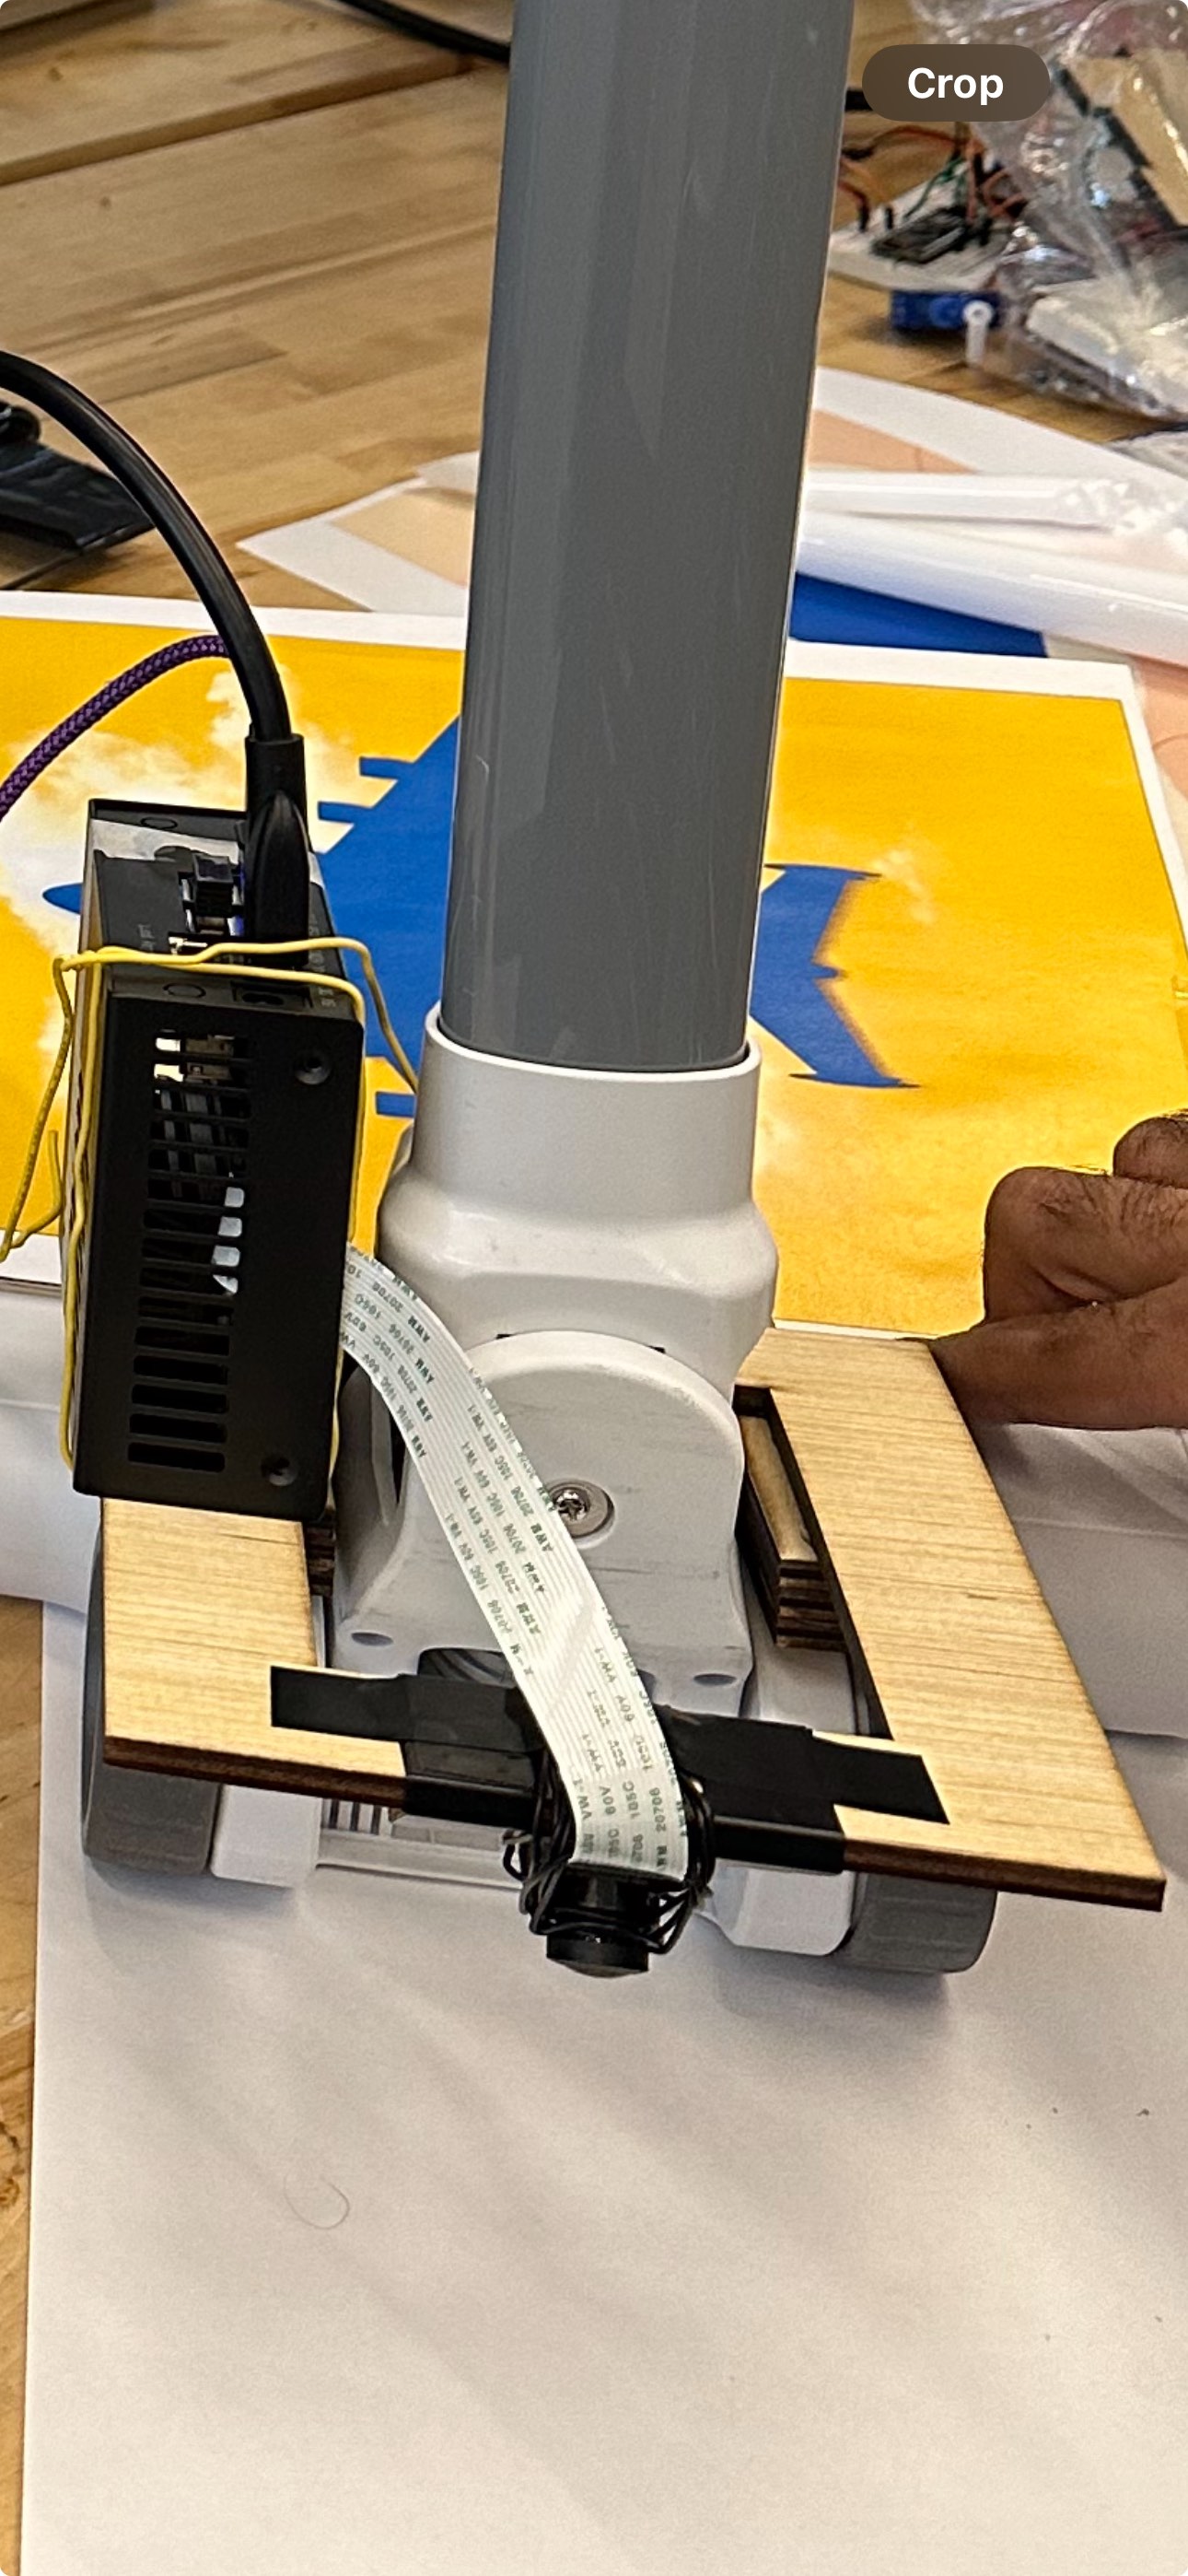
I worked on mounting the acrylic back plate for the tracking image onto the vacuum with hot-glue to provide a good orientation and easy replacement of the tracking image. Consideration was given to making it laminated but the team outlined concerns over glare which could compromise the integrity of the tracking. Plates for the active illumination mounts are also ready to be mounted.


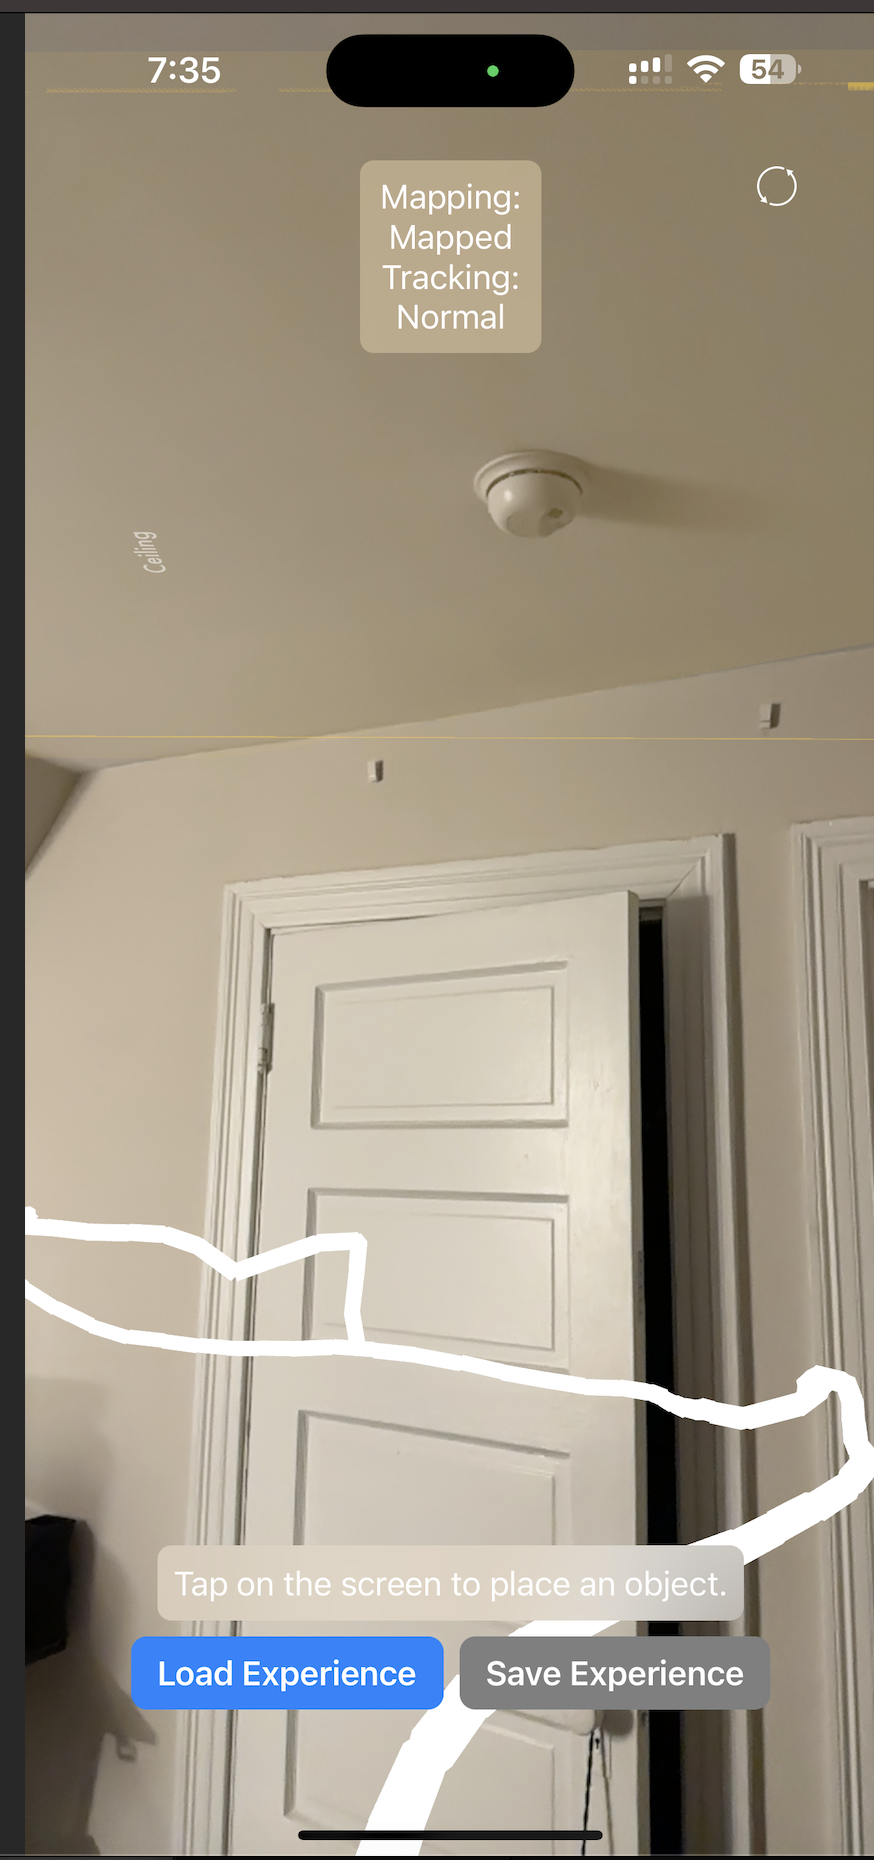
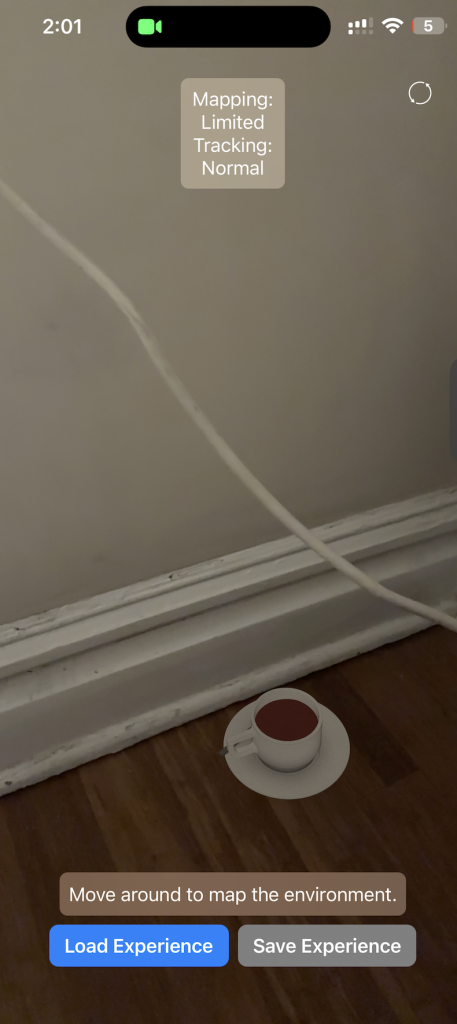
One issue with the existing design of how we were coloring in dirty segments was a temporal relience on a previous point in the queue which made segments have inconsistent sixes depending on the motion of the vacuum over time. This resulted in narrow and also large slices which aren’t ideal. We also cannot offset these points arbitrarily as the position of the offset+sphere nodes in the world change over time. To amend this I’ve been working on redesigning the queue structure to store a segment instead of a specific position to instead have the queue node contain a start and end coordinate encompassing the camera bounding box that Nathalie measured out to allow for a more consistent recoloring. This redesign was made possible as a result of the performance improvements we unlocked.

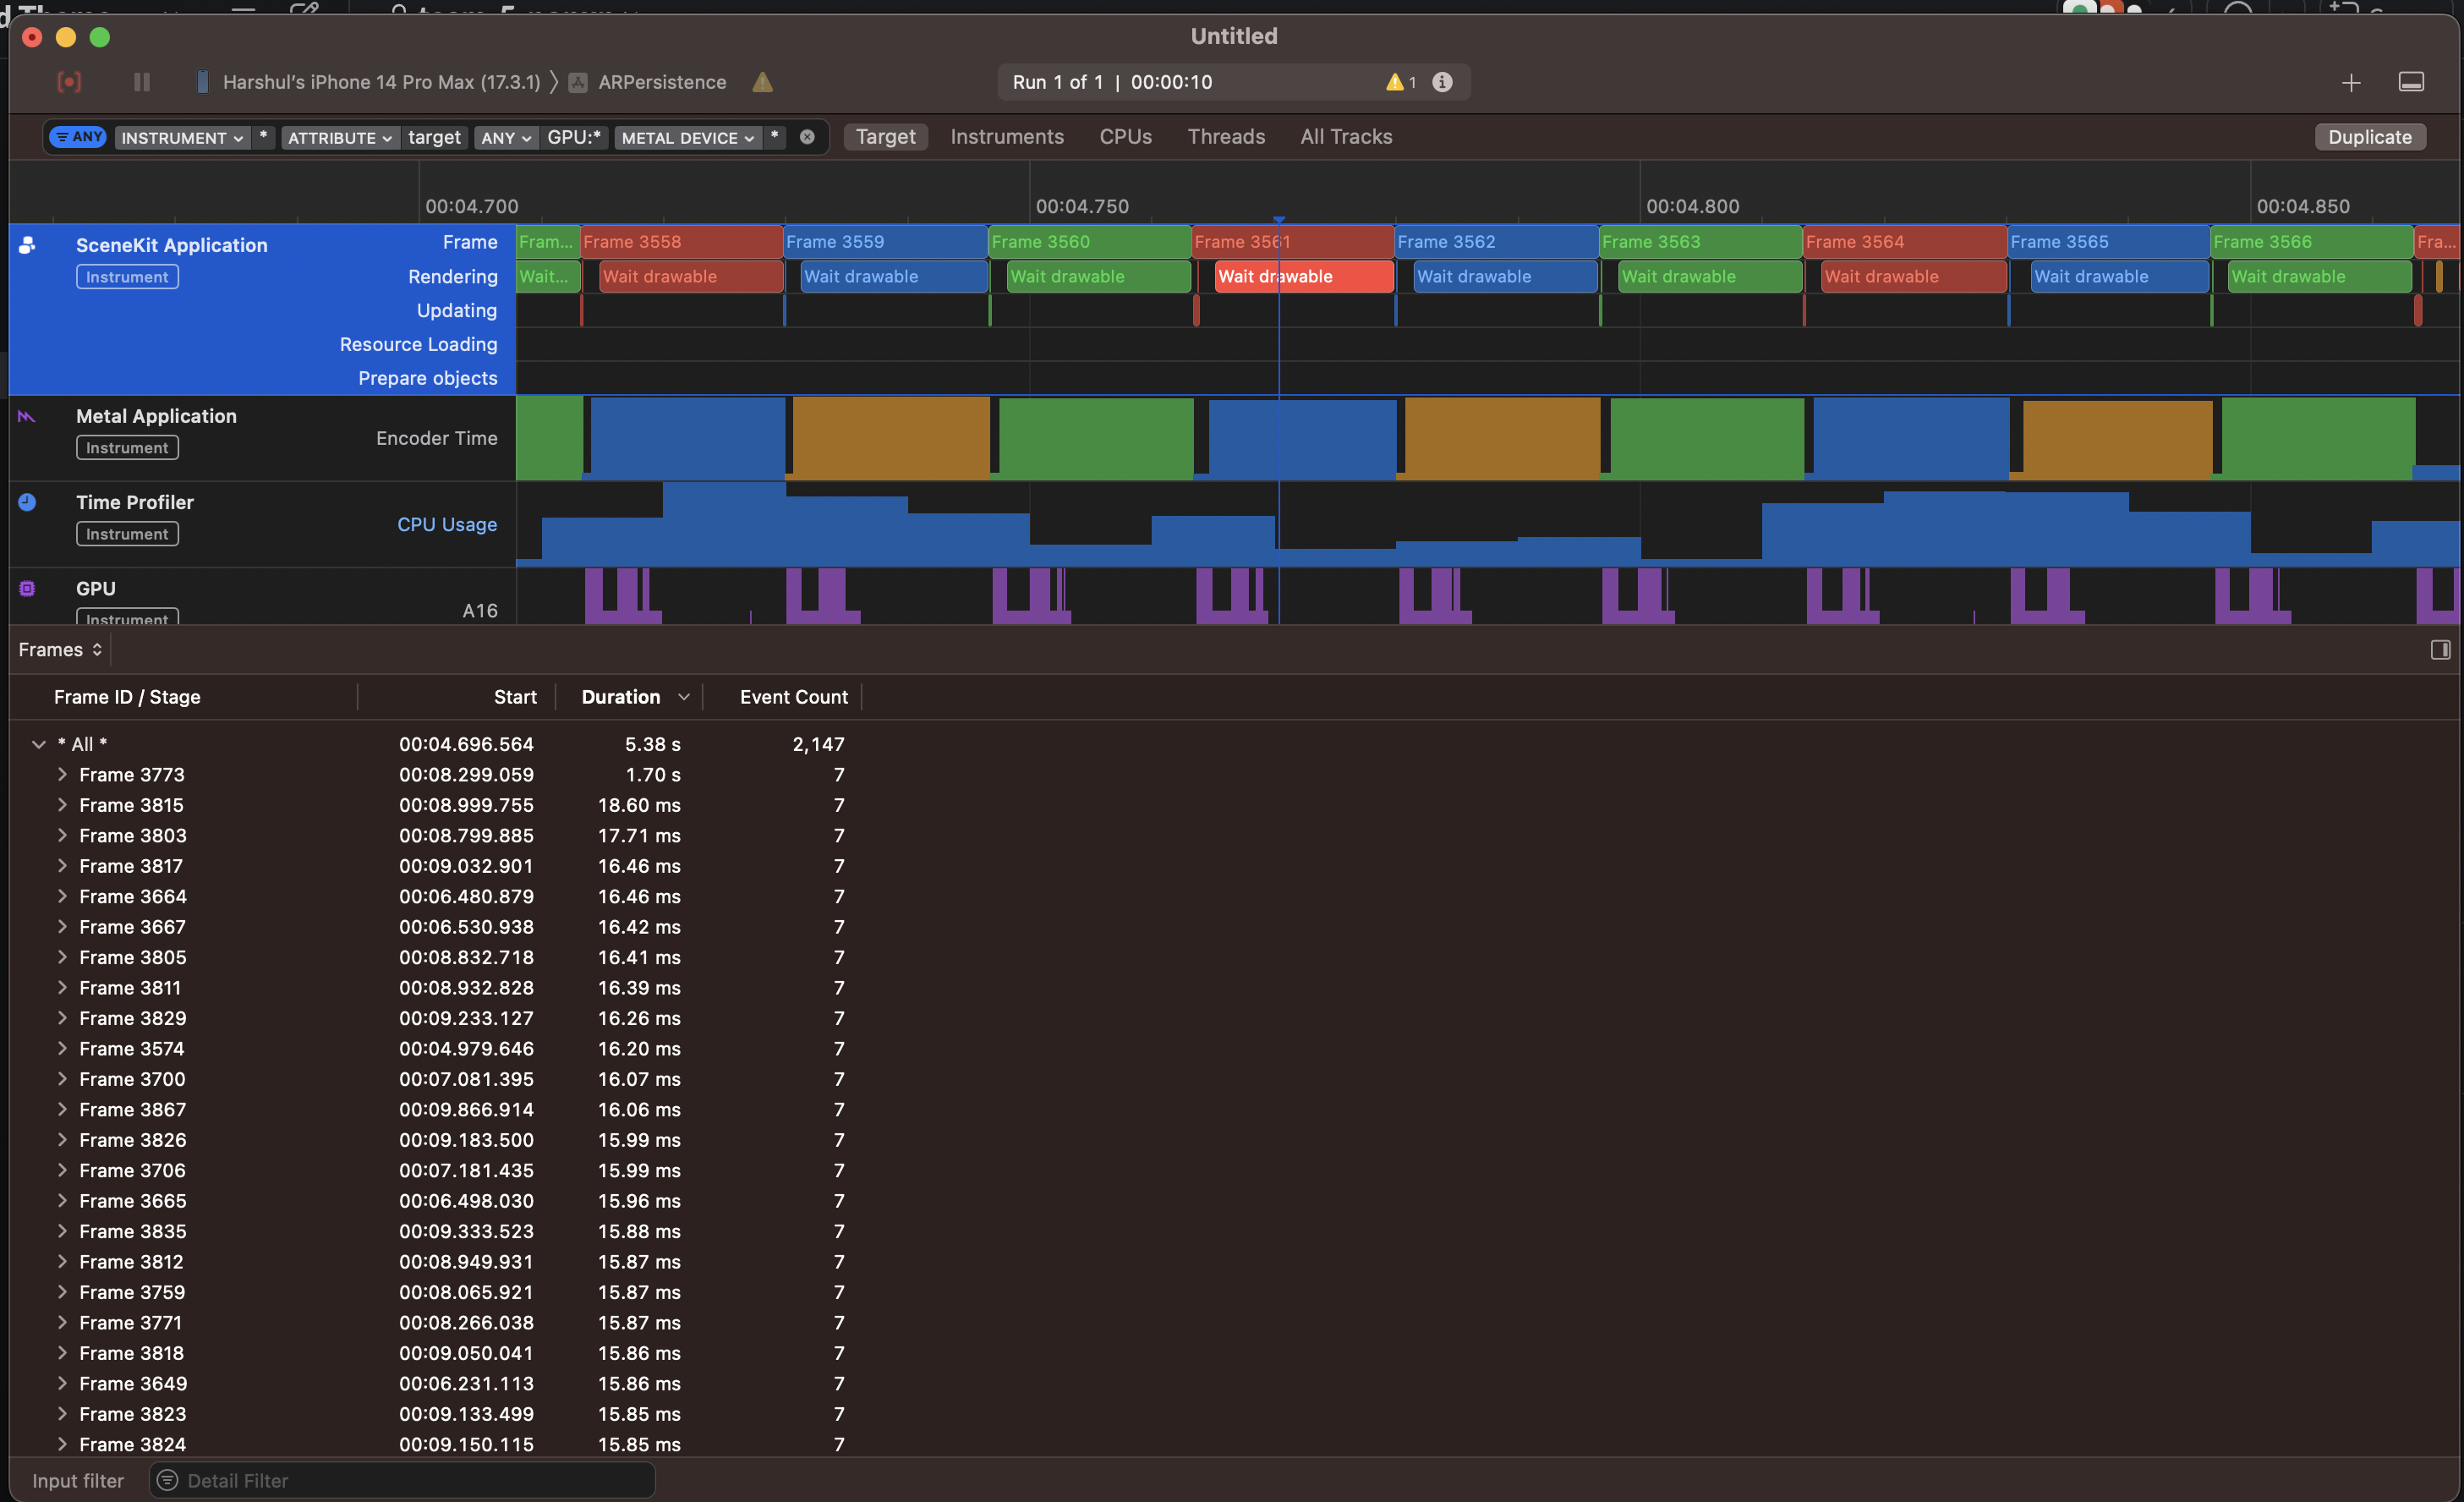
In our integration meeting we sat down to profile the python code on the jetson and discovered a result contrary to our working hypothesis surrounding the latency of the BLE messages. Bluetooth was running at millisecond frequency, but the dirt detection algorithm was taking a lot of time. This was due to the camera library taking multiple seconds to instantiate and sever the camera connection. This was happening every time we tried to send a message as the subprocesssing script was executing the python file repeatedly every iteration adding process overhead as well. The reason we needed this subprocess separation was because the camera needed to run in a python3.6 unlike to the BLE server which depended on asyncio in 3.8. I proposed a solution of using stdin with an input command to block until receiving input to stdin to allow for the camera to be instantiated only once instead of every-time we transmitted a message.  We worked together to implement this range and it led to a considerable speedup from 5 seconds per message down to ~0.1-0.2s per message.

Next steps involve collaborating with Nathalie and Erin on testing the new queue and fine tuning the camera parameters. Big picture wise structuring our poster, collecting footage and testing on our poster board will be of high priority.

Harshul’s Status report for 4/19

This week I mainly worked on fabricating the physical components for our hardware mounts. This involved prototyping candidate mount designs and discussing with Nathalie and Erin the needs of our hardware to effectively mount the Jetson and camera while also avoiding getting in the way of vacuum functionality and the user.

we first did an initial prototype in cardboard to get an idea of the space claim and dimensions and then I took those learnings and iterated through a few mounting designs. The initial mountplate was found to make contact with the wheels which applied an undesirable amount of force on the mount/could make it harder to move the vacuum around so I laser cut and epoxied together some standoffs to create some separation. Below you can see the standoffs and the final mount. An acrylic backplate was cut for the tracking image as well.to avoid it bending and avoid it dangling in the vacuum head’s space.


When it comes to the image tracking I initially used this plane image as a baseline as it came from a tutorial  on image tracking so I had it as a baseline that would be well suited for tracking. However, this week we conducted some testing with candidate images of our own that have a better design language rather than being an airplane. Below is a snippet of the images we tested. However every candidate image including a scaled down version of the airplane would be trackable at a distance but performed poorly at being detected at the distance we need from the phone mount to the floor.

example of a histogram from one of our test images rejected by apple’s ARReference image

the histogram of the plane image from the tutorial (our best performign image)

While apple purely mentions a even histogram distribution punctuated with features and high contrast with low uniformity in our testing we found that scaling an image impacts its detectability with smaller images requiring that we get closer in order to track. However despite attaining a good uniform color distributed histogram it still underperformed in comparison to the image. This requires further investigation but one thing we observed was that the plane image has very clear B,G,R segments. Ultimately with more time it would be worthwhile creating a fiducial detection app in swift so that we could exact more control over the type of image detected. However, Apple’s Reference tracking seems to be more adept at recognizing the plane image so we have elected to make the design tradeoff of a more unintuitive image for our product with the benefit of the enhanced user experience from not having to be careful about needing to remove the phone from its mount to re-detect the image every time it gets occluded or disrupted.

Lastly, this week I also worked on limiting the plane drawing to the boundaries of the plane. Our method of drawing on the plane involves projecting the point onto the plane which allowed for the user to move outside of the workspace of the plane while still being able to draw on the floor.  My first approach, involved using the ARPlaneAnchor tied to the floor plane, but despite not updating it visually ARKit still updates the anchor dimensions behind the scenes so the bounding box was continually changing.

My next approach entailed extracting the bounding box from the plane geometry itself. Apple’s definition for the way bounding box is defined with respect to nodes and geometry required a shift in coordinates that was different from the rest of ARKit (which has y being the vertical coordinate and the floor being the XZ plane) which used an XY plane for the floor. This approach worked and now the SCNLine will not be drawn outside the plane boundaries.

This video demonstrates the initial tests I’ve started with testing tracking to a shape using the old mobot paths in techspark as a path for it to track along with the feature of the tracking stopping once the plane boundary is crossed.

Next steps involve working on end to end testing, working on the UI design and preparation for the final demo/presentation/video/report. Preparation for a demo and verifying its robustness is of utmost priority.

As you’ve designed, implemented and debugged your project, what new tools or new knowledge did you find it necessary to learn to be able to accomplish these tasks? What learning strategies did you use to acquire this new knowledge?

Swift was a new programming language for all of us. Due to the compressed timeframe structured learning would be inefficient so a lot of our learning stemmed from learning by doing, looking at the example code apple makes available as well as scouring the documentation. Since it’s a statically typed object oriented language the syntax is the key thing that differs along with the library implementations. There was a lot of documentation to sift through so through sharing our knowledge of the respective components we’ve done deep dives on we managed to get our bearings. This capstone was also an opportunity for me to revisit mech-E skills of laser cutting and CAD in the fabrication aspect of our project. The main new knowledge I’ve acquired outside of systems engineering experience is learning about AR apps & computer graphics. Some of this content such as affine transformations was taught in computer vision but a lot needed to be learned about parametric lines and how a graphics engine actually renders shapes and understanding the movable parts of the renderers and views and models etc that make up our app.  Learning this came from taking deep dives on function definitions and arguments coupled with skimming tutorials and explanations that outline the design and structure of an AR app.


Harshul’s Status Update for 4/6

This week I worked on 2 main features. The first was working in parallel to Nathalie on the optimization approaches outlined in last week’s status report. Using the SCNline package that Nathalie got working led to an improvement but the stuttering still persisted which narrowed down the rest of the performance bottleneck to the hittest. I then worked to try various approaches such as varying the options I pass into hittest to minimize the calculations needed, but this did not pan out. Ultimately, using the unprojectPoint(:ontoPlane) feature to project a 2d coordinate onto a plane ended up being a much faster calculation than the hittest that sent a ray out into the world until it intersected a plane. Unproject combined with the new SCNLine enabled our drawing onto the floor plane to be realtime with no hangs in time for our demo.

Smooth Drawing Video

As we move towards integrating our App with the physical hardware of the vacuum we needed a way to embed a ground truth point in the camera view to give us a fixed point with which we could track and draw the movement of the vacuum. The reason we needed this fixed point was that vacuum handles can alter their angle which if we had a hardcoded point/calibrated point in the 2d viewport only that would insufficiently tack when the user changed the orientation of the vacuum handle. Solving this problem entailed implementing image tracking so that with a ground truth reference image in our viewport no matter how we changed the angle the point we ‘projected’ the 3d image position onto the viewport would be consistent.

Apple was rather deceptive in outlining documentation to do this apple’s image detection tutorial  stated that “Image anchors are not tracked after initial detection” A forum post outlined that this was possible, but it was using RealityKit instead of SceneKit. Fortunately an ML based ARKit example showed the case of detecting a rectangular shape and tracking its position. Using this app and this tutorial  we experimented to understand the limits of ARKits image detection capabilities. We ultimately found that high contrast images with uniform histograms work best along with color.

image showing Xcode asset UI warning about a certain fiducial image having a poor histogram and uniform color distributions

Taking those learnings from the tutorial + our experimentation I then integrated the image tracking configuration into our main AR project and managed to create a trackable image.

Trackable Image Video

I then edited the plane projection code to instead of using the center of the 2d screen plane to instead project the location of the image onto the screen and use that 2d coordinate to ‘unproject’ onto the plane. I then tested this by taping the image onto my vacuum at home.

Vacuum image tracking video

As shown in the video despite any translational/orientation changes the line is always drawn with reference to the image in the scene.

Next steps entail making it so that we can transform the location of the drawn line behind the vacuum, testing the image detection on our vacuum with the phone mount attached.

Subsystem Verification Plan:

In order to Verify the operation of this plane projection/drawing/image I’ve composed 3 tests:

1. Line Tracking Test

Tape out with masking tape a straight section 1 meter long a zig zag section of 4 90 degree bends each 0.5 meter  and using 4 US Letter pieces of paper to print out a curved line section of the same width as the masking tape assembled to create a contiguous line and then using the vacuum drive over the line and verify that the drawn line tracks the line with smooth connectivity and no deviations of perpendicular distance from drawn line to reference line by more than 5cm.

2. Technical Requirements Tracking Test
In our design report we outlined a 5cm radius for the vacuum head’s suction so upon setting that radius for the SCN line that should encompass the length of the vacuum head.

Additionally, we also outlined a 0.5 s latency requirement for the tracking motion. To test this we are going to move in a straight line 2 metres and verify that upon stopping our motion there is <0.5s elapsed in order for the line to reflect that  movement.

3. Plane Projection Verification
While this is a relatively qualitative test to impose an error bound on it I will draw a test plane offset 5cm+the radius of the SCN line (cm) from the floor plane. Then i will place the phone such that the camera is touching the floor and positioned perpendicular to it and visually inspect that none of the drawn shape touches or extends past this test plane.

Harshul’s Status Report for 3/30

This week I mainly worked on the core feature of being able to draw on the floor plane using the position of our phone in the environment as a reference point. SceneKit allows projecting elements from the 2D coordinate frame of the ‘view’, in this case, the screen, into a 3D world plane, using the ‘unprojectOntoPlane’ method My first approach was to take the camera coordinates, convert them into 2d screen coordinates, and then perform the projection. However, there seemed to be a disconnect between the view port and the camera’s coordinates so I pivoted to using the center of the screen as the base point.  In order to project onto the plane and also ensure specifically that I’m only projecting onto the desired floor plane, I updated my tap gesture to set variables of projectedPlane and a flag of selectedPlane to only enable the projection logic once a plane was selected and allowed the projection renderer to access the plane object. I then performed a hittest which sends out a ray from that 2d point into the 3d world and returns AR objects that it passes through.  In order to make planes uniquely identifiable and comparable I added a uuid field to the class which I then cased on to ensure I’m only drawing on the correct plane.  The result of a HitTest returns the world coordinates at which it intersected the plane which I then passed into a function to draw.

image highlighting the drawn points all being coplanar with the floorplane


Video of Drawing on plane with circles

Video of Drawing on plane with connected cylindrical segments

Functionally this worked, but there was a notable performance drop. I attempted to introduce a time interval to reduce the frequency of the hittests and draw spheres, which are more shader optimized than cylinders, but there is absolutely more work to be done.

I then profiled the operation of the app and while for some reason debug symbols did not export. This outlined that there was a delay in wait for drawable.

image of xcode instruments profiling the AR app

Researching this led me to find out that drawing repeated unique shapes and adding them is not as performant as stitching them together. Additionally, performing physics/mathematics calculations in the renderer (non GPU ones, at least) can cause this performance impact. In discussing these findings with Nathalie, we identified 2 candidate approaches forward to cover our bases on the performance bottleneck that we could work on in parallel. The first approach consists of 2 key changes. Firstly, I’m going to try to move the hittest outside of the renderer. Secondly,  Natalie outlined that the child nodes in our initial plane detection did not have this impact on performance so I plan on performing a coordinate transform and drawing the shapes as child nodes to see if that makes load on the renderer better and experiment with flattened clone to coalesce these shapes.

When looking up native parametric line implementations in Xcode I could only find bezier curves in the UI library. We managed to find a package SceneLine that implements parametric lines in sceneKit which is what Nathalie is going to install and experiment with. to see if we unlock a performance speedup by only having one node that we update instead of a new node for every shape.

Next steps involve addressing this performance gap in time for our demo and syncing with Nathalie on our optimization findings. Additionally  integrating Nathalie’s freeze frame feature as well as Bluetooth messages is our next highest priority post-demo as Professor Kim outlined that integration would take more time than we anticipate. Eventually we will need to have the line be invisible, but place planes along its coordinates and orient them the correct way which should be unlocked once we have the ability to draw in a performant way.

Harshul’s Status Report for 3/23

This week I worked on more of the AR app’s core functionality. Me and Nathalie worked together to identify functionality and relavant API features and then parallelized some of our prototyping by pursuing candidate approaches individually and then reconvening. I worked on being able to recolor a tapped plane. This was achieved by modifying the plane class and creating a tap gesture callback that modified the appropriate plane. This works because the way in which the nodes are placed in the world function in a similiar way to the DOM on a webpage with parent and children nodes with ARKit providing a relevant API for accessing and traversing these SceneNodes. Since we can insert custom objects we have the ability to update them.

Handletap callback that performs a hit test to extract the plane from the tapped SCN node and change its color

This image outlines this feature in action providing a way for the user to interact with the worldusing an intuitive action of tapping the screen.

The next feature that I mocked up was the ability for us to track the position of our phone in the world. The below image outlines a proof of concept of the white trail representing the camera’s position in the worldmap and it updates as we move the camera.  More work needs to be done to optimise the amount of nodes added with some attempt at shortcutting to combine segments as well as Projecting these 3d coordinates into the perspective of the floor plane. and widening the footprint of the drawn trail into approximating the size of the vacum as well as computing a transform to translate the origin of the drawn trail towards the position of the actual vacuum mount. Fiducial Markers might be a way of providing a ground truth for the vacuum mount detecting fiducials/reference 2d images that are a candidate option to pursue next week.

In terms of scheduling  things are generally on track. I expect that we will be able to have the core features of plane detection tracking and texture mapping all implemented for our interim demo with work pending to calibrate things to comply with our V&V plans and improve overall accuracy and system integration..

Team Report for 3/16

Risks

Nathalie and Harshul are working on projecting texture on a floor, with memory. Through demos and experimentation, it seems that the accuracy of the plane mapping depends on the user’s ability to perform the initial scanning—one major risk that could jeopardize the project would be the accuracy of the mapping, because both dirt detection and coverage metrics depend on their ability to appear on the map. In order to mitigate this, we are doing careful research during our implementation phases on how to best anchor the points, and performing tests in different kinds of rooms (blank rooms versus ones with lots of things on the floor) in order to validate our scope of a plain white floor. Erin is working on dirt detection and we found that our initial algorithm was sensitive to noise. We have created a new dirt detection algorithm which makes use of many of OpenCV’s built in preprocessing functions, rather than preprocessing the input images ourselves. While we originally thought the algorithms were very sensitive to noise, we have recently realized that this may be more of an issue with our image inputs. The new dirt detection algorithm is less sensitive to shade noise, but will still classify patterning to be dirty. Regardless, we hope to tune the algorithm to be less sensitive to noise, testing its performance accordingly at the desired height and angle.

The main risk encountered in working with plane texturing was the inaccuracies in how the plane was fitted to the plane boundaries. Since this is a core feature this is a top priority that we plan on addressing this coming week and are meeting as a team to develop a more robust approach. We also need this component to be finished in order to begin integration, which we presume will be a nontrivial task, especially since it involves all our hardware.


Next Steps

We are currently in the process of finalizing the ideal height and angle for the camera mount. Once that is decided, we will be thresholding and validating our definition of dirt with respect to the angle that was selected. Once dirt is detected, we will need to record the position to communicate with the augmented reality parts of our system. We still need to sync as a team on the type of information that the augmented reality algorithm would need to receive from the Jetson and camera. For the texture mapping on the floor, we are working on projecting the overlay with accuracy defined in our technical scope. Further, we will then be working on tracking motion of a specific object (which will represent the vacuum) in the context of the floor mapping. We hope to have a traceable line created on our overlay that indicates where we can erase parts of the map.

Harshul’s status report for 3/16

This week my focus was mainly directed towards understanding the 3 texturing approaches I outlined in the previous status report and experimenting with AR plane features within our project.  Since shader programming with metal is a rather herculean task, I mainly honed in on scenekit’s material api’s. I worked on updating the initial object placement app to learn how to extract a plane from the world instead of an anchor point by using the type ARPlaneAnchor instead of VirtualObjectAnchor.  Using scenekit’s plane I created a plane and by read up on SCNMaterial to understand how to instantiate a texture and what properties are available to us. I went with a minimal example to create a plane just in the world and then added properties to make it translucent and attempt to map it to the worldplane. The first example is not fit well and was opaque.  I managed to improve the anchoring of the plane to get it coplanar with the floor but it’s not staying within the boundaries which is something I’m meeting Nathalie tomorrow to sync on our AR progress and brainstorm approaches to anchor the plane in the most accurate way that is concordant with the tests we outlined in our design report for plane fitting. Right now I’m using a hit-test which is returning a transform that captures position and orientation to the tapped point and I think this is overfitting the plane to the tapped point rather than recovering information about the plane the transform is encoding. One idea I plan on exploring on Sunday is having the user tap multiple times to allow a plane to be extracted from the set of world transforms.


In terms of timeline I think we’re generally on track, the plane detection was earlier in our schedule but the progress we’ve made in terms of relocalisation has contributed to the camera angle memory task.

Next steps entail trying to get the planes to fit exactly and working on erasure and then building the app’s features out for human use. Professor Kim wanted to see an example of our AR apps in action so we will also be ready to show the features that we have so far.

Harshul’s Status Report for 3/9

This week I spent the majority of my time working on the design report and working with the ARKit applications on the iPhone. In the report I primarily focused on the intro, the system architecture, the design trade studies and the section on the implementation details for object placement and the software implementation.The work on the architecture section involved refining the architecture work from the design presentation and clearly identifying subsystems and components that allow for easier quantification of progress and tasks as well as clearly defining subsystem boundaries and functionalities for system integration. We’d discussed tradeoffs in our component selection but the testing and research we had done was now quantified in the trade studies by creating comparison matrices with weighted metrics to quantitatively demonstrate the rationale behind our component selection as well as performing a tradeoff analysis on whether to purchase or custom fabricate certain components. Below is an example of one of the trade studies with a 1-10 likert scale  and weights that sum to 1.0.

With respect to implementation details I ran an ARKit world tracking session as a baseline to test whether we can save existing map information and reload that data to avoid having to localize from scratch every time. This feature would enable us to map out the space initially to improve overall accuracy. The second feature that this app tested was the ability to place an object anchored to a specific point in the world, this tests the ability for the user to place an input as well as the ability for the ARKit API to anchor an object to a specific coordinate in the world map and be able to dynamically store and reload this without needing to re-localize from scratch. From here we plan on integrating this with the subsequent plane detection feature outlined in the next subsection as well as test mapping a full texture to a plane in the map instead of just placing an object into the world. As shown in the below images:

This was a key proof of concept in our ability to map and localize to the environment and combining this approach with Nathalie’s work on plane detection will be a key next step. Additionally this work on mapping allowed me to assist in coming up with the test metric for mapping for coverage. Researching options and using existing knowledge of the API I outlined the use of the planeExtent to extract the dimensions of a plane as well as the ability to compute point to point measurements of distance in AR to outline the mapping coverage test to ensure the dimensional error and drift error on the planes are within the bounds specified by our requirements. 


With respect to timelines things are on track, certain component orders have been moved around on the gaant chart, but AR development is going well. The key next steps are to now take our proof of concept applications and start integrating them into a unified app that can localize, select a floor plane and then mesh a projected texture onto that plane .

Harshul’s Status Report 2/24

This week I primarily worked on the design presentation we had to give and polishing the delivery with practice and ensuring that our technical requirements had a clear mapping to the use case definitions. On the presentation side I worked on formalizing the system architecture in specifying the general block diagram, hardware I/O diagram as well as the software stack. These diagrams define the interactions between our sensor module and the iPhone app which should lead to a clear interface. I filed an inventory request for a replacement Jetson and flashed it to our SD card, configured the Jetpack/Ubuntu distribution and, compiled and built the drivers for our Wifii and Bluetooth dongles to allow for wireless development over ssh rather than depending on ethernet which leaves it ready for benchmarking. I’ve started working on getting a demo of the AR mapping up and running in xcode and will continue to keep working on it going into next week and use those learnings to inform our final design in our report.

Some next steps for the report entail fleshing out the architecture for the xcode app itself and running the mockup Erin put together of the dirt detection algorithm on the video-stream on the Jetson to test that CUDA accelerated openCV can successfully process the images on the device meaning that we can then transmit a json message to the iPhone over bluetooth or whether we need to transmit our image explicitly. I will also work on getting an AR mapping demo to build and test it on my iPhone and then start experimenting with the api of ARKit. Our last parts order that we anticipate is a battery + potentially a dc regulator so that we can power the Jetson without needing wall power.

I think progress is generally on track. I think two key things are to ensure that we have a report that clearly specifies our overall design along with ensuring that progress has been made on the AR front as a foundation for us to build on top of once we return from spring break.

Harshul’s Status report 2/17

This week we worked to select and order parts to set up a developer environment to start prototyping our project’s components. On the hardware selection side with my experience of working with a Jetson in another capstone we opted to select to work with a Jetson instead of a Raspi to leverage the CUDA accelerated computer vision features of the Nano. I set up the Xcode + Reality kit SDK and configured my iphone for development mode to flash an AR Demo app onto it. I spent some time attempting to flash the Jetson with an os image and get it to boot up, but unfortunately this wasn’t working. After troubleshooting multiple SD Cards, different jetpackOS images and power cables the final remaining item to troubleshoot is to attempt to power the jetson directly with Jumper cables from a DC power supply. I tried to boot up the Jetson in headless mode over serial, but it did not create an entry in tty or cu. To actually access it over serial. While the jetson was unable to boot I did take the time to test the peripherals of the camera and wifi adapter on a separate working jetson to verify that those components work. After setting up my Xcode environment I’ve taken some time to do some research in the build process and APIs + conventions of the swift language to better prepare myself for developing in xcode.


Our Schedule is on track, but the dirt detection deadlines that depend on the Jetson to some degree are approaching soon so that’s going to become the highest priority action item once the design presentation is complete and submitted.


Next week’s deliverables involve getting a working Jetson up and running either by fixing the power solution or trying a replacement from ECE inventory to see if it’s a hardware fault. Working on RealityKit in Swift to create a demo app that can build a world map and ticking off the dirt detection prototype on the jetson.