This week I worked on 2 main features. The first was working in parallel to Nathalie on the optimization approaches outlined in last week’s status report. Using the SCNline package that Nathalie got working led to an improvement but the stuttering still persisted which narrowed down the rest of the performance bottleneck to the hittest. I then worked to try various approaches such as varying the options I pass into hittest to minimize the calculations needed, but this did not pan out. Ultimately, using the unprojectPoint(:ontoPlane) feature to project a 2d coordinate onto a plane ended up being a much faster calculation than the hittest that sent a ray out into the world until it intersected a plane. Unproject combined with the new SCNLine enabled our drawing onto the floor plane to be realtime with no hangs in time for our demo.
As we move towards integrating our App with the physical hardware of the vacuum we needed a way to embed a ground truth point in the camera view to give us a fixed point with which we could track and draw the movement of the vacuum. The reason we needed this fixed point was that vacuum handles can alter their angle which if we had a hardcoded point/calibrated point in the 2d viewport only that would insufficiently tack when the user changed the orientation of the vacuum handle. Solving this problem entailed implementing image tracking so that with a ground truth reference image in our viewport no matter how we changed the angle the point we ‘projected’ the 3d image position onto the viewport would be consistent.
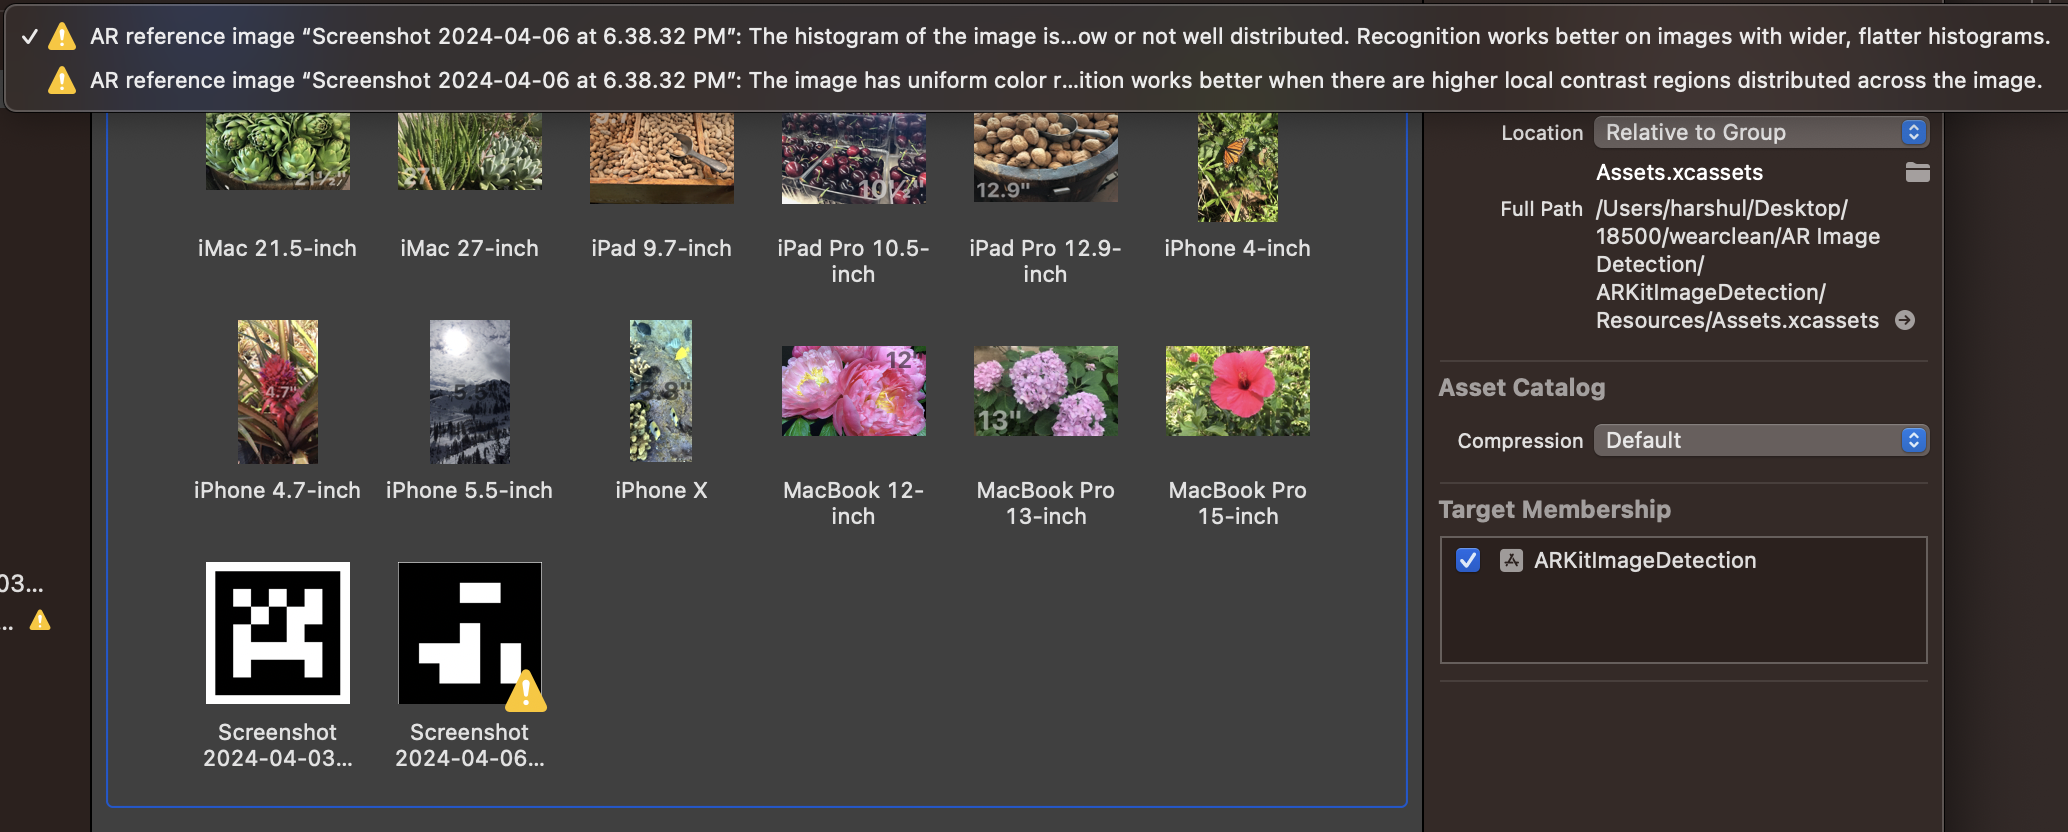
Apple was rather deceptive in outlining documentation to do this apple’s image detection tutorial stated that “Image anchors are not tracked after initial detection” A forum post outlined that this was possible, but it was using RealityKit instead of SceneKit. Fortunately an ML based ARKit example showed the case of detecting a rectangular shape and tracking its position. Using this app and this tutorial we experimented to understand the limits of ARKits image detection capabilities. We ultimately found that high contrast images with uniform histograms work best along with color.

Taking those learnings from the tutorial + our experimentation I then integrated the image tracking configuration into our main AR project and managed to create a trackable image.
I then edited the plane projection code to instead of using the center of the 2d screen plane to instead project the location of the image onto the screen and use that 2d coordinate to ‘unproject’ onto the plane. I then tested this by taping the image onto my vacuum at home.
As shown in the video despite any translational/orientation changes the line is always drawn with reference to the image in the scene.
Next steps entail making it so that we can transform the location of the drawn line behind the vacuum, testing the image detection on our vacuum with the phone mount attached.
Subsystem Verification Plan:
In order to Verify the operation of this plane projection/drawing/image I’ve composed 3 tests:
1. Line Tracking Test
Tape out with masking tape a straight section 1 meter long a zig zag section of 4 90 degree bends each 0.5 meter and using 4 US Letter pieces of paper to print out a curved line section of the same width as the masking tape assembled to create a contiguous line and then using the vacuum drive over the line and verify that the drawn line tracks the line with smooth connectivity and no deviations of perpendicular distance from drawn line to reference line by more than 5cm.
2. Technical Requirements Tracking Test
In our design report we outlined a 5cm radius for the vacuum head’s suction so upon setting that radius for the SCN line that should encompass the length of the vacuum head.
Additionally, we also outlined a 0.5 s latency requirement for the tracking motion. To test this we are going to move in a straight line 2 metres and verify that upon stopping our motion there is <0.5s elapsed in order for the line to reflect that movement.
3. Plane Projection Verification
While this is a relatively qualitative test to impose an error bound on it I will draw a test plane offset 5cm+the radius of the SCN line (cm) from the floor plane. Then i will place the phone such that the camera is touching the floor and positioned perpendicular to it and visually inspect that none of the drawn shape touches or extends past this test plane.
