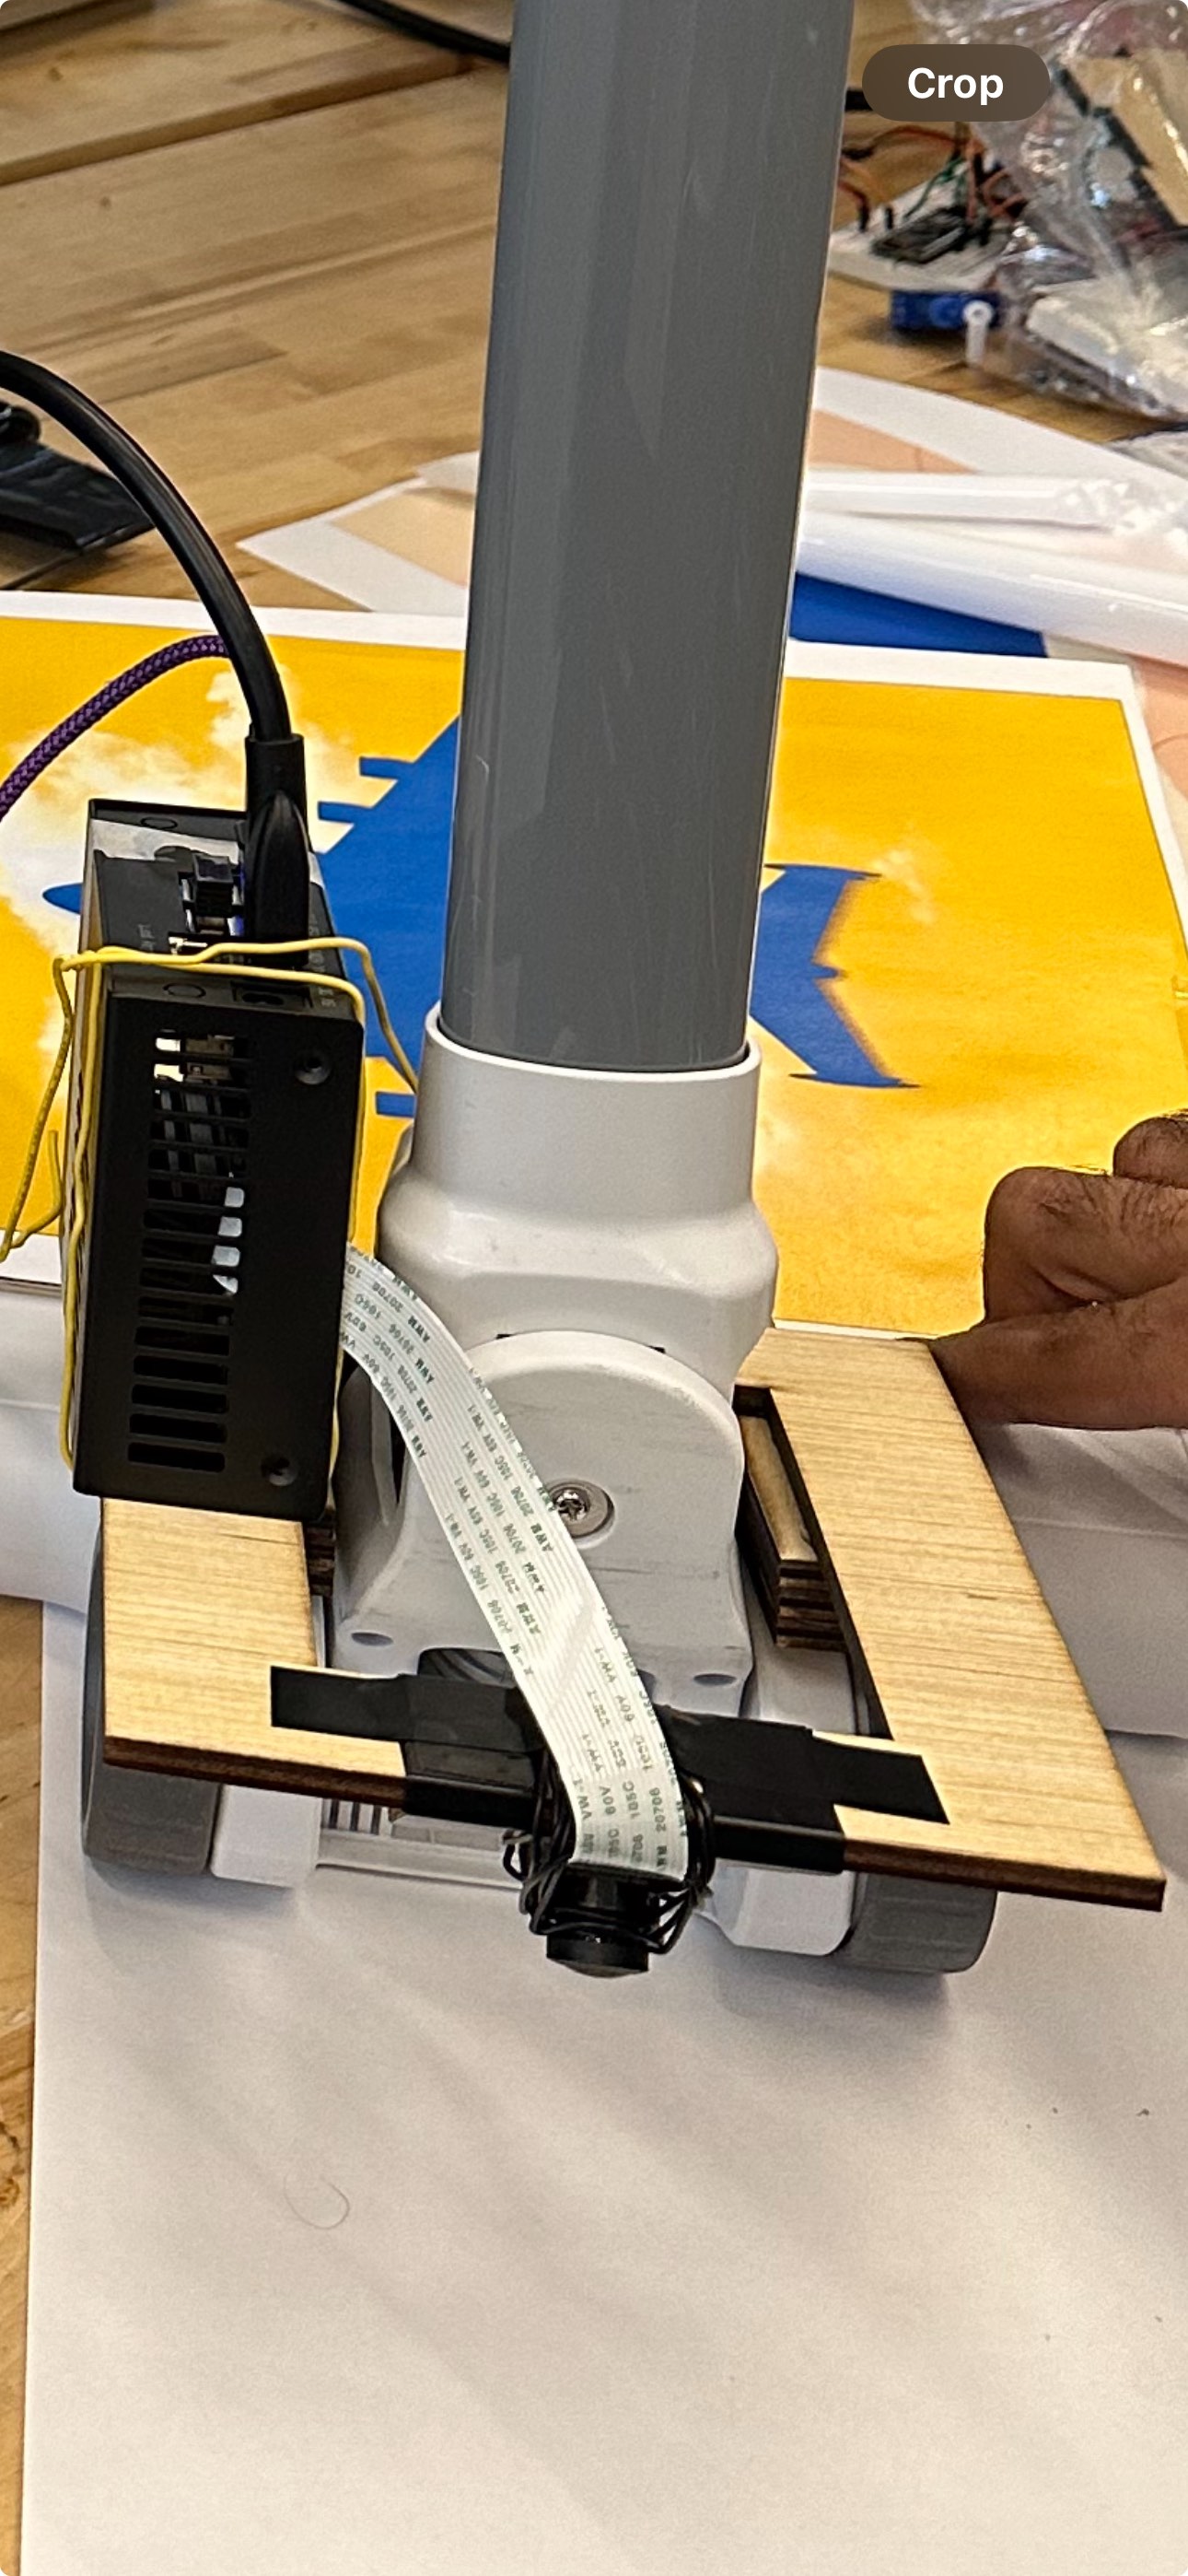
This week I mainly worked on fabricating the physical components for our hardware mounts. This involved prototyping candidate mount designs and discussing with Nathalie and Erin the needs of our hardware to effectively mount the Jetson and camera while also avoiding getting in the way of vacuum functionality and the user.

we first did an initial prototype in cardboard to get an idea of the space claim and dimensions and then I took those learnings and iterated through a few mounting designs. The initial mountplate was found to make contact with the wheels which applied an undesirable amount of force on the mount/could make it harder to move the vacuum around so I laser cut and epoxied together some standoffs to create some separation. Below you can see the standoffs and the final mount. An acrylic backplate was cut for the tracking image as well.to avoid it bending and avoid it dangling in the vacuum head’s space.

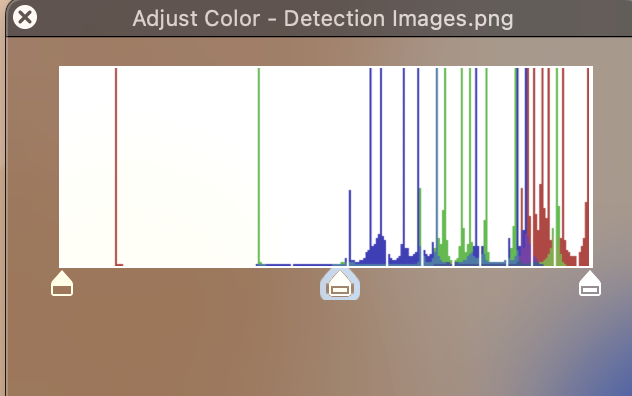
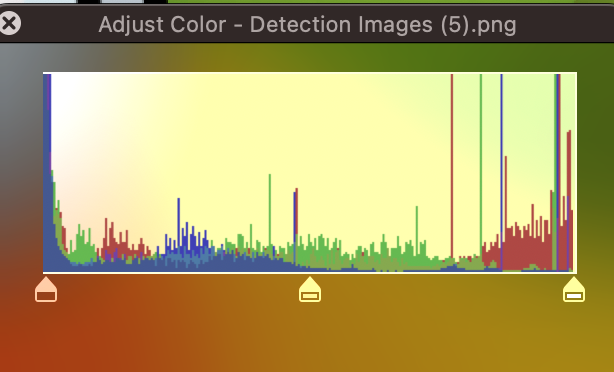
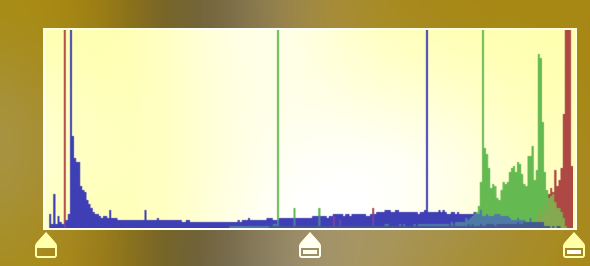
When it comes to the image tracking I initially used this plane image as a baseline as it came from a tutorial on image tracking so I had it as a baseline that would be well suited for tracking. However, this week we conducted some testing with candidate images of our own that have a better design language rather than being an airplane. Below is a snippet of the images we tested. However every candidate image including a scaled down version of the airplane would be trackable at a distance but performed poorly at being detected at the distance we need from the phone mount to the floor.


While apple purely mentions a even histogram distribution punctuated with features and high contrast with low uniformity in our testing we found that scaling an image impacts its detectability with smaller images requiring that we get closer in order to track. However despite attaining a good uniform color distributed histogram it still underperformed in comparison to the image. This requires further investigation but one thing we observed was that the plane image has very clear B,G,R segments. Ultimately with more time it would be worthwhile creating a fiducial detection app in swift so that we could exact more control over the type of image detected. However, Apple’s Reference tracking seems to be more adept at recognizing the plane image so we have elected to make the design tradeoff of a more unintuitive image for our product with the benefit of the enhanced user experience from not having to be careful about needing to remove the phone from its mount to re-detect the image every time it gets occluded or disrupted.
Lastly, this week I also worked on limiting the plane drawing to the boundaries of the plane. Our method of drawing on the plane involves projecting the point onto the plane which allowed for the user to move outside of the workspace of the plane while still being able to draw on the floor. My first approach, involved using the ARPlaneAnchor tied to the floor plane, but despite not updating it visually ARKit still updates the anchor dimensions behind the scenes so the bounding box was continually changing.
My next approach entailed extracting the bounding box from the plane geometry itself. Apple’s definition for the way bounding box is defined with respect to nodes and geometry required a shift in coordinates that was different from the rest of ARKit (which has y being the vertical coordinate and the floor being the XZ plane) which used an XY plane for the floor. This approach worked and now the SCNLine will not be drawn outside the plane boundaries.
This video demonstrates the initial tests I’ve started with testing tracking to a shape using the old mobot paths in techspark as a path for it to track along with the feature of the tracking stopping once the plane boundary is crossed.
Next steps involve working on end to end testing, working on the UI design and preparation for the final demo/presentation/video/report. Preparation for a demo and verifying its robustness is of utmost priority.
As you’ve designed, implemented and debugged your project, what new tools or new knowledge did you find it necessary to learn to be able to accomplish these tasks? What learning strategies did you use to acquire this new knowledge?
Swift was a new programming language for all of us. Due to the compressed timeframe structured learning would be inefficient so a lot of our learning stemmed from learning by doing, looking at the example code apple makes available as well as scouring the documentation. Since it’s a statically typed object oriented language the syntax is the key thing that differs along with the library implementations. There was a lot of documentation to sift through so through sharing our knowledge of the respective components we’ve done deep dives on we managed to get our bearings. This capstone was also an opportunity for me to revisit mech-E skills of laser cutting and CAD in the fabrication aspect of our project. The main new knowledge I’ve acquired outside of systems engineering experience is learning about AR apps & computer graphics. Some of this content such as affine transformations was taught in computer vision but a lot needed to be learned about parametric lines and how a graphics engine actually renders shapes and understanding the movable parts of the renderers and views and models etc that make up our app. Learning this came from taking deep dives on function definitions and arguments coupled with skimming tutorials and explanations that outline the design and structure of an AR app.
