Varun’s Status Report for 4/6/24

This week was a landslide of new occurrences, lots of bad, few very good.

Sunday night, we discovered that our belt drive could not work with the motors that we bought with our project. As such, we switched to using casters on the front to facilitate smoother driving. With the nature of the casters, rotation is now inconsistent. What that unfortunately means, though, is that we’ll need to do feedback with the camera movement and switch to only using the DC, non-encoder motor movement. I designed the holders for the casters and we mounted them Wednesday night.

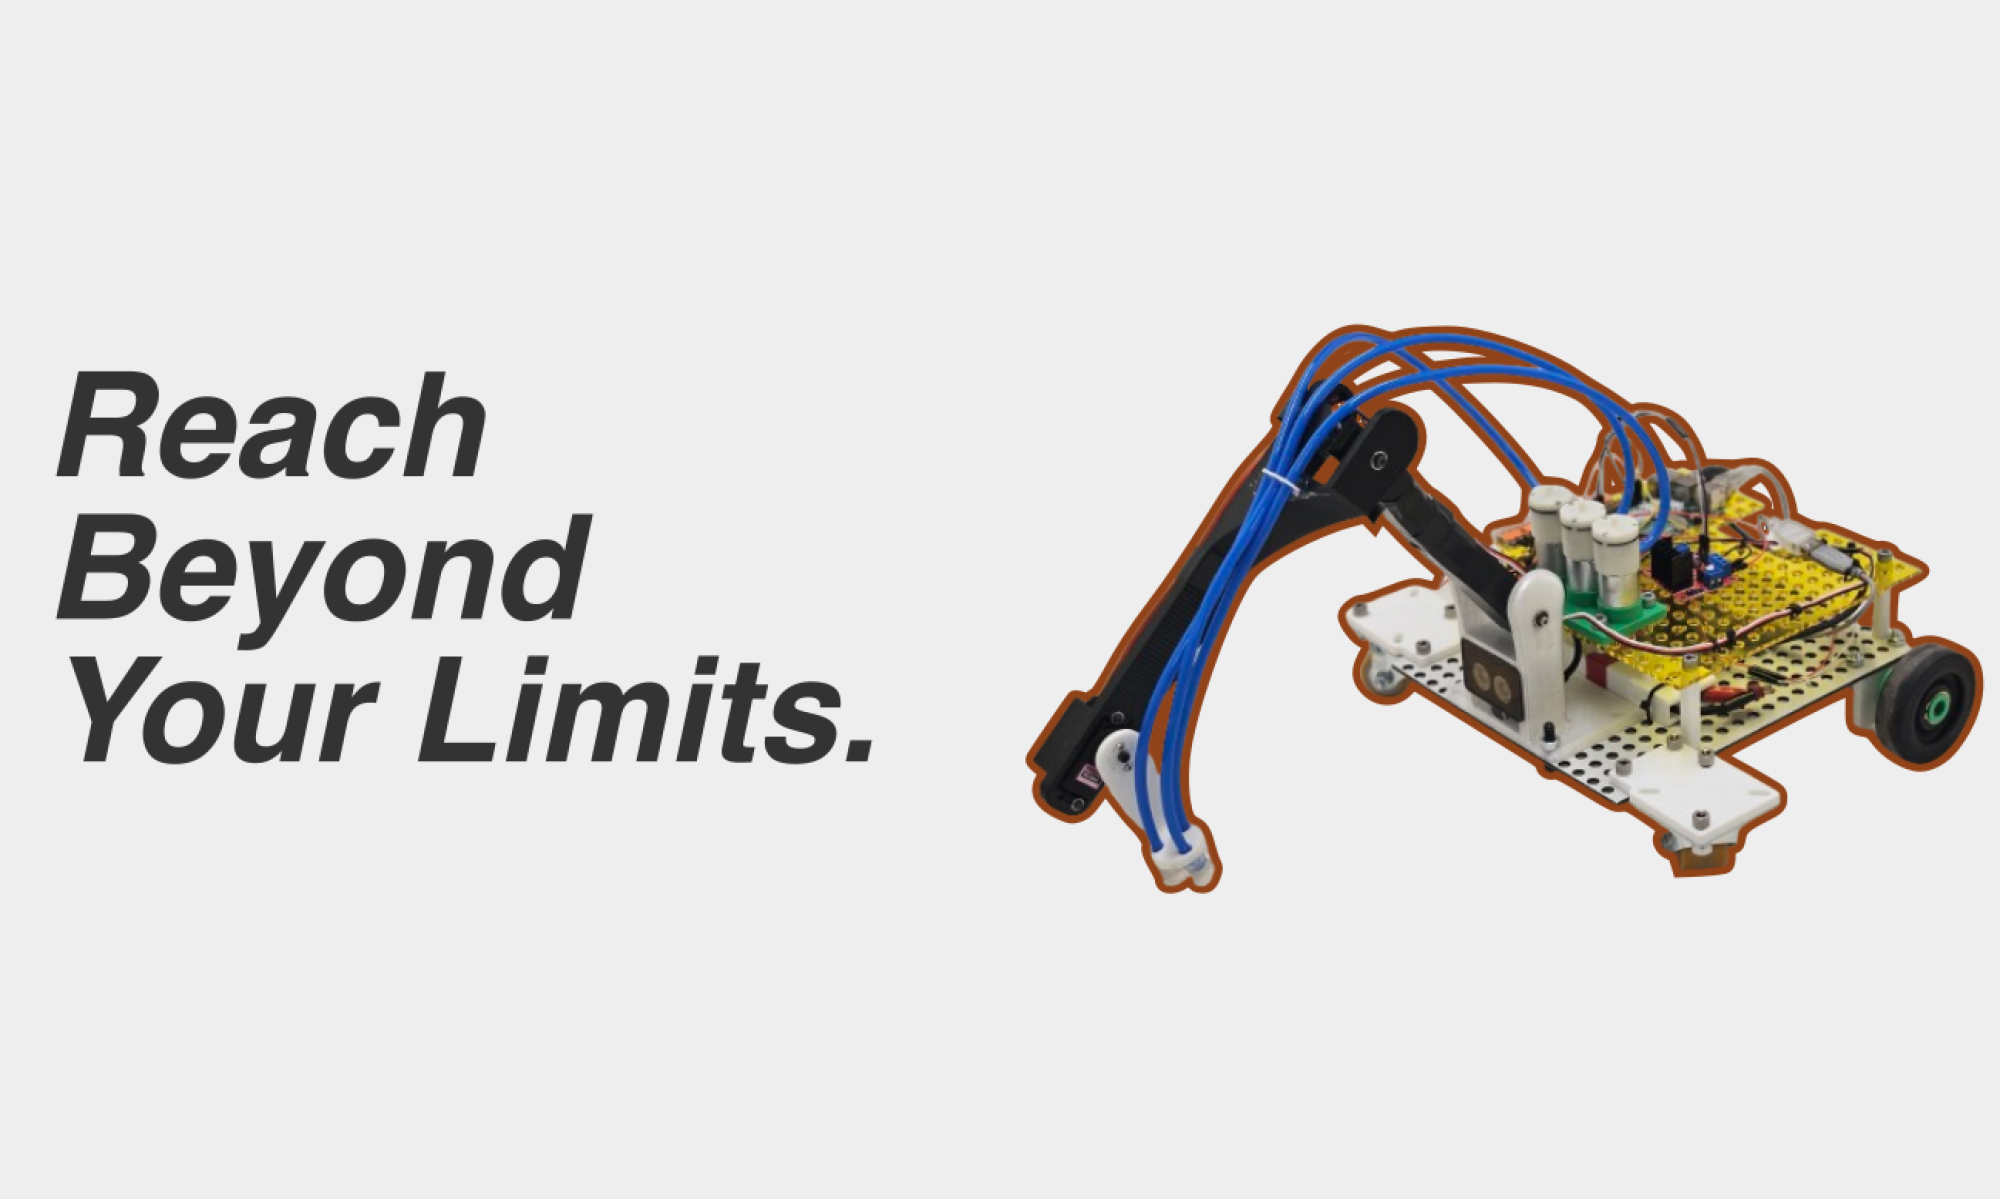
Wednesday morning, still unfortunately, we discovered that post-manufacturing, one of our servos had broken, likely from human misuse. What that meant was that I needed to rebuild some of the arm. It was at that time that the heat-set inserts in our arm began to fall apart, and the arm itself began to become undone. After verifying that our rover could drive more smoothly late Wednesday night, I verified once more that one of our servos was broken on Thursday, and debated a redesign. Unfortunately for my sleep schedule, I saw quite a lot of improvements that could be made to the initial design, and began work on redesigning the entire robot front end. By early Friday morning, the new and improved HomeRover was designed:

A couple of things that you’ll notice- a lot less moving parts were on this arm- with Roboclub’s fast-moving Bambu Printers, print times for each of these were a lot less than I expected. The camera is now at the x-center of the Rover. This is very important. Now, when we align with the object of interest, we don’t need to do more complex math and can now simplify our kinematics down even more. The arm is a lot more structurally sound. Double supported bearings on more critical joints allow for smooth movements. Now I hear you asking- Varun, is this going to add another two weeks of manufacturing time to HomeRover?

Nope! In less than 24 hours, fast printers and pre-established tolerances allowed me to fabricate the entirety of the new and improved HomeRover arm. Today, I sourced the rings that hold the wheels in place (so they won’t fall off so much). I positioned the servos such that they would not break at rest, and improved the servo at the end of the arm so that it can manipulate the final iPad more efficiently. In the end, we have a much better arm that will be more consistent. Touching on verification- I need to make sure that our arm moves consistently. While tuning our kinematics with Nathan, I need to make sure that things will not move differently than on demo day, so I will be testing the entire subsystem soon.

Great, so now we have a robot arm that is theoretically consistent, but we really need to get it to move consistently. I’m working on that too! Now that our problem has been exponentially simplified by the redesign, I was able to get my hands on a script that does that calculation for us.

With some very simple trigonometry, we have the AB and BC angles (shown above) that lead to distances that we need. Verifying our initial range, we wanted about from 10-30 cm away, and we have 11-36 cm away (according to these calculations.)

All this is very great, but I need to get the kinematics actually implemented. That’s a tomorrow issue 🙂

We are no longer nearly as behind as I thought we would, especially because the refabrication allows for that aforementioned simplification. By next week, I want to essentially have the HomeRover barebones functionality done, and I think it’s possible. By tomorrow, my goal is to be able to send the Raspberry Pi on the Rover a Y and Z coordinate (manually), and have the arm traverse correctly to that point and initiate the “pumps” (by printing out “I AM PUMPING” repeatedly into the terminal.)

Hayden’s Status Report 4/6/24

This week I spent four hours on Sunday debugging our communication protocol and establishing connection between the controller and the rover to allow driving to be demonstrated. After we achieved driving functionality and demonstrated I worked on rewiring and cleaning up the rover to make sure we will be able to fit everything on it. This week was heavily based on verification for me because I have completed the subsystem that I was in charge of. As far as verification I checked the latency of transmission between the two computers and found the latency was consistently less than 100ms which meets our design requirements (averaged about 15 ms, not sure if I measured properly but I count this as verified). I ended up putting a set delay/latency of 10 ms in the Python code just to make sure everything between the two systems was consistent; without this delay we had some interesting bugs.

As far as the latency of the direct wiring on the rover and in the controller I used the slowmo function of my iPhone 14 pro which has a frame rate of 240fps which allows us to detect latency to approximately 4ms. From this test I was able to confirm that the latency was below 20ms in both cases with the key press reaction being approximately 10ms (limited by the frame rate) and the rover motor reaction, which I ballparked by looking at the approximate time it started driving, to approximately 15ms. While I am not entirely convinced the measurements are the most accurate they are good enough for the design requirements we have outlined. I also scaled down the board size of the PCB and I am trying to source a Raspberry Pi 4 with greater RAM because that seems to be the bottleneck for the speed of the controller (I tried using different power sources, different WiFi connections and downloading different operating systems and the python code still was running too slow).

Given that the subsystem I was put in charge of ended up being much less involved than we initially expected I will be spending the rest of the time working on the arm kinematics with Varun and verifying the suction mechanism works as intended. We plan on verifying this system by lifting actual objects with the suction and making sure the servos and 3D printed components are strong enough to hold up to the weight of an iPad. I do not foresee any necessary schedule changes since we updated our Gantt chart and have cut time on certain tasks. I found a Raspberry Pi monitor I think will be perfect for our controller and is in our price range; I will place the order this week.

In the next week I will work with Varun to finalize arm movement and suction and begin system validation tests such as driving to a location and pressing the pickup button.

Team Status Report for 3/30/24

When we were all working together on Friday, one issue we noticed is that after switching to the 5V driver from the Arduino Nano, when spinning the motors, we observed that they were not spinning the same speed. This is a significant risk in that if there is disparity between the motor speeds, because of our belt setup,  it would affect the manner in which our robot turns, making it not dependable or reliable. To mitigate this risk, we have two potential avenues to pursue: the first is through tuning the commands given by the microcontroller to make sure that the robot can indeed drive straight, thus allowing us to maintain the same speed for the motors manually through tuning. The second way of mitigation is through using rear wheel drive only and switching to casters on the front wheels. This is because the belt tension is causing undue force on the motor shaft, causing it to spin slower. If we convert to rear wheel drive, it removes the need for a belt in the first place.

A change made to the existing design of the system is the switch from using a Raspberry Pi Pico to an Arduino Nano. This is necessary because it allows us to drive a 5V logic as opposed to a 3.3V logic. The change does not incur any additional cost because the Arduino Nano was provided free of charge.

For an updated schedule, we are hoping to target this week to be able to drive the rover and control the servos for the arm, even if it’s a basic program to test functionality.

This video link showcases our currently assembled rover so far (sans-camera), with the motors successfully wired up and spinning!

https://drive.google.com/file/d/1zICyOJkQBSxv6ApgS1hE1o7wqdp9SjWX/view?usp=sharing

Nathan’s Status Report for 3/30/24

This week saw significant progress towards the main control loop of the pick up mechanism. After making the plan last week to figure out the manner in which we align the arm to pick up items, I implemented it this week. Specifically, our system works like this: when I receive an array of detections that the camera detects with its onboard camera, I check if the z distance is within our desired pick up range to see if we are in range and in scope of an item. Then, I do a series of x-coordinate checks to ensure that the object that we are near is within a threshold that is not yet decided. If our frame has the object to the left – meaning our camera is right leaning, we print “Turn Right”, and vice versa for a right leaning object. This print statement occurrence can be adapted to send a signal to the arm controller code. This hasn’t been set up yet, but the underlying infrastructure is there which will hopefully make this connection easier. Additionally, the threshold I mentioned earlier will be calibrated once we do rover tests with the camera attached to its intended location.

A video showcasing this functionality is linked here: https://drive.google.com/file/d/1XJyA2q35H8Kpg9TzOHVndv2On-Wu5Cji/view?usp=sharing

The photos that show this functionality can be seen here:

Additionally, I ran this code off of the Raspberry Pi as well and the speed of the program did not seem to suffer a performance hit after transitioning to the RPi. Thus, I am increasingly confident of our system to work successfully on Raspberry Pi.

After implementation this week, my progress is back on schedule. To further catch up to the project schedule in this coming week, I hope to be able to integrate with the rover to determine the proper threshold amount to coordinate with the arm. In addition, I hope to be able to write the communication protocol with the arm controller code and potentially be able to receive inputs on an arm-controller program.

Varun’s Status Report for 3/30/24

This week was a lot of physical hardware work.

Firstly, the encoder connections on the motor, which is required to drive the motors are raw 28 gauge wire. I needed to fix that in order to interface with them with the microcontroller to control the motors. As such, I soldered some spare DuPont connector wire on:

Once that was settled, the next task was to get the Raspberry Pi Pico to connect and drive the motors. Right? The Raspberry Pi Pico, right? Wrong. Turns out, with the H-bridge driver that can run the motors, one cannot use 3.3V logic to drive it. Pi Picos, being a modern microcontroller, output 3.3V logic, which indeed is not compatible to drive the motors. So, we switched to an Arduino Nano. Unfortunately, the ones I could get my hands on quickly were the cheap off-brand ones that don’t come with a pre-flashed bootloader and with a chip that indeed does not interface out of box with the Arduino software on Windows 11. After connecting an Arduino Uno to the Nano and flashing said bootloader onto the Nano, I was STILL unable to connect. The final error? Windows 11. I had to click the ‘Upload’ button in Arduino, then open up the Serial Monitor and make it a foreground task (for some reason??), and then, ONLY THEN, did the code upload. I found that neat little trick on a random reddit thread. So, the motors moved, finally. It was around this time that a fellow RoboClub member saw my usage of the 2S LiPo, and cautioned heavily against using it without a fuse as a battery-protection circuit. Luckily, we have those lying around in RoboClub, so I grabbed one and began work on the fuse box. Finally, here is what it looked like.

That pair of wires took an embarrassingly long amount of time to solder. Lastly, I designed and printed the box that would go around these wires, such that something like a random Allen Key couldn’t be accidentally dropped on the fuse and melt it unnecessarily.

With that all complete, I finally made the Rover wheels turn, safely this time. Link here:  https://drive.google.com/file/d/1zICyOJkQBSxv6ApgS1hE1o7wqdp9SjWX/view?usp=sharing

The code for the correct driving will be developed tomorrow, once we figure out an appropriate serial protocol to communicate actions across the entire control-to-Rover pipeline.

With that done, it was time to turn to how we could make the Rover Raspberry Pi receive things to drive the Nano. Hayden had already figured out a way to use his existing Nano to send signals over Serial to his laptop. We re-flashed the Raspberry Pi 4B to use a lighter OS instead of Ubuntu, so it wouldn’t be lagging all the time. Once we did that, we were able to set up communication across the CMU-DEVICE network. We realized that as it stood, the communication was much too laggy to meet our defined time, so we wanted to see if it was a hardware or comm protocol issue. To test, I set up my laptop to be the server socket side and registered it on CMU-DEVICE, after which point we tested communication from Hayden’s to my laptop. The latency instantly disappeared, so I think we’ll need a better Raspberry Pi 4B. (We ordered one with 2GB RAM but got 1GB, so we’ll need to figure that out).

All in all, a very productive week. We are much less behind, and at the rate that we are finally able to go at, we are targeting Wednesday to drive the Robot AND control the Servos. (we’re targeting driving for Monday, which is definitely possible.) By next week, I want a clean implementation of all of the electronics of the Rover drive and pickup capability. The next target after that is to finish encoder integration, after which point we can finally finish with the camera integration. I still want at least two weeks for doing full on testing and tuning, and I think on this timeline, we are still set to do that. Lots of work to be put in this week.

Hayden’s Status Report 3/30/24

This week I accomplished a lot; I was able to interpret the serial USB data on my laptop and convert it into inputs for python code. This is going to make the project a lot easier from here on out now that we have access to the useful data we want to transmit. Unfortunately, the Raspberry Pi we requested is too slow because it only has 1 GB of RAM so we had to demonstrate the communication laptop to laptop. On Friday, Varun and I were able to get the motors moving and we worked on the electronics for the drive train; we also 3D printed a few more parts that are necessary for our rover. I am confident that we will be able to display full driving capabilities for the interim demo on Monday which was our goal. Overall, I am in a significantly better place than I was at this time last week; I do not think I need to make any further changes to my required tasks and timeline.

In the next week I will be completing the full communication of the driving with the proper Raspberry Pis and have a prototype on the user side for entirely controlling the system. After I complete this I will be able look into monitors and hopefully assess the Raspberry Pi to make sure it has enough processing power to relay video information while keeping the latency low.

Below is a video of two laptops communicating using the test PCB.
VIDEO LINK

Here are some screenshots of the current state of the basic code.
Changes to the Arduino Code

Transmitter Side/User Side Code

Receiver/Server Side Code

Nathan’s Status Report for 3/23/24

This week, together with Varun, we finalized the control loop and main function for how the rover should detect and position itself for the kinematics to be successful. To reiterate, it involves a series of four steps:

1) The user drives in front of the object in frame

2) It detects if it finds an object under the distance

3) Track until x distance from object to the camera is the same as camera and arm

4) then we can pick it up

For step 2, this would involve utilizing either a sweep of the frame to find a block that meets our minimum distance and then adjusting the x-value from there, or utilizing an object detection algorithm combined with depth measurements to automatically detect the object on the screen. In the latter case, classification is not necessary since there will only be one object in our immediate radius as defined by our scope.

The progress I have made on the code can be found at github.com/njzhu/HomeRover

My progress is aligning with the completion of the fabrication of the rover and development of the kinematics scheme. To match this project schedule, I will be in close coordination, developing clear, explicit interfaces of information passing to ensure integration goes smoothly.

In the next week, I hope to get a preliminary version of the control loop working, outputting the necessary information that the other modules require.

Team Status Report 3/23/24

As of right now the biggest risk that could jeopardize our project is the integration of the control system on the rover. We officially have a rover built but we need to integrate the electronics onto the rover which is going to require a significant amount of work. Our current contingency plan is to put our heads down and write code for the next week so we will have a working system prior to the interim demo. We don’t need to make any changes at the moment because we have 3 weeks of slack time built into our project timeline and with this we have two more weeks to get a semi-working integration of the rover then 3 weeks to improve the accuracy of our model. We see the claw kinematics and the object detection as the one thing that we are going to need to tune the most and we believe that three weeks is adequate time to achieve this to a reasonable degree.

There were no changes made to the overall design of the model, just some changes while fabricating that were planned. We added a slot that allows for the adjustment of the deadshaft wheel in the front, so our belts remain tightened.

The Rover in its non-electronic-burdened form!

Varun’s Status Report for 3/23/24

This week was quite busy!

First things first, I finalized the kinematics scheme for the Rover, with the help of a Roboclub member who knows kinematics better than I do. We figured out that when the user gets to the object, the Rover should rotate til the line that the arm sits on is in line with the object to be picked up. The next step is to use the Y and Z distance from the Rover to manipulate the Robot Arm to pick up the object.

And finally, we got wheels and the arm on the Rover. This is what I wanted to be done by the end of this week, which is great. I plan to add more electronic holders to the Rover, but I really wanted to make sure that we could get the arm mounted to test it. Having the motors mounted as well, we can get the circuits done and test soon.

Progress is looking better. As you know, we are essentially pulling software tasks from the future and doing them now, so we can make up lost time. (Rover Fabrication is definitely taking awhile!) With this, I can finally start testing kinematics appropriately, and we can plan to get the tele-op portion of the Rover working by the midterm demo day. By next week, I hope to have all of the electronics + tele-op working on the Rover, and that is where mine and Hayden’s areas will cross at last.

Hayden’s Status Report 3/23/24

This week I received the PCB and debugged it and everything seems like it will work in our context. We do not like the buttons we chose so our final design will use a different footprint for buttons. I also figured out we need to use an Arduino Nano ESP32 rather than an Arduino Nano Every; this is because of the USB protocol and wanting to use this for the python code I will be writing on the user side. I also made the decision to write the code in Python on the user side because it will be relatively basic and has a keyboard interrupt library.

We need to simplify some of our stuff because we are about a week and a half behind as of right now and I decided that simplifying the code for sending signals to the rover is going to help us make up some time. We have also finished fabricating all the necessary parts for the drivetrain and we are currently assembling the rover and should have it complete as soon as we receive the wheels.

Below is a video of the PCB working with the serial monitor as well as a photo of the PCB. Sorry about the focus on the camera I don’t have a tripod to hold it. To see photos of the rover assembly see Varun’s post; however I also attached some of the print files.

Video of the PCB


Photo showing the USB setup of the PCB


Photo showing the print for the dead shaft mounting bracket and the live shaft gears.

This week I will be cutting out the washers, finalizing the rover construction and writing python code for the user side that will transmit from one Raspberry Pi to another. I also need to make a decision what language I will be writing the driving code in that will meet our design requirements for response time. I will order the second Raspberry Pi as well as a monitor so I can finalize the controller before the interim demo.