ABET #6 says … An ability to develop and conduct appropriate experimentation, analyze and interpret data, and use engineering judgment to draw conclusions
Now that you are entering into the verification and validation phase of your project, provide a comprehensive update on what tests you have run or are planning to run. In particular, how will you analyze the anticipated measured results to verify your contribution to the project meets the engineering design requirements or the use case requirements?
My individual components included designing the embosser system with solenoids and creating the web-app. The use-case requirements that my components cover include fast delivery of braille, accuracy of embossing, and providing an accessible interface. Our speed requirement was driven by the time it takes a user to manually emboss braille using a braille writing slate. Based on user interviews prior to starting our project, we determined that it takes 15 minutes to write a full page of braille on a braille writing slate and we required the braille printing process of our device to take at most 10 minutes. To design for this, we required our solenoids actuated at < .5s. We also required 100% readability of the braille. This will be realized through providing proper force from the solenoids to emboss, ensuring proper spacing between the solenoids, and that our embossed braille is to specifications. As for our UI, we required our web-app to be able to interface with existing accessibility features on phones and that it takes no more than 1 second to display results. We required our user to be able to acquaint themselves with the web-app and device < 10 minutes through an easy to use interface with feedback to the user.
Testing for speed: We communicate with the solenoids by sending a digital high to an individual solenoid, delaying by x seconds, and then sending a digital low. I have been testing for the threshold of delay by gradually decreasing the amount of delay i can have without damaging the circuit. Once we establish the tension system, I will repeat this process of gradually decreasing the amount of delay we can have between the digital high and low that will still allow the solenoids to emboss. I also plan to test 10-20 inputs such as notes or products to see if the embosser is able to print these at the proper speed.
Testing for force/embossing capability: The force provided by the solenoids dictates our embossing capabilities. Our solenoids can be powered with up to 12 V. I aim to use as little power as possible. Once we have the tension system in place, I will test the solenoid’s ability to emboss paper in voltage increments of .5 V up to 12 V starting at 4 V. I also plan to test 10-20 inputs such as notes or products to see if the embosser is able to print these.
Testing Solenoid Control Circuit: We have just sent out our PCBs, but I have tested the solenoid’s control circuit by making it on a breadboarding and using the serial monitor in arduino. I mapped every combination of the four solenoids to a set of values in a truth table and have tested the circuits ability to withstand embossing in different combinations starting at 10 seconds and worked up to 10 minutes, which is our maximum embossing time. This is representative of how we will be communicating with the arduino using the RPi.
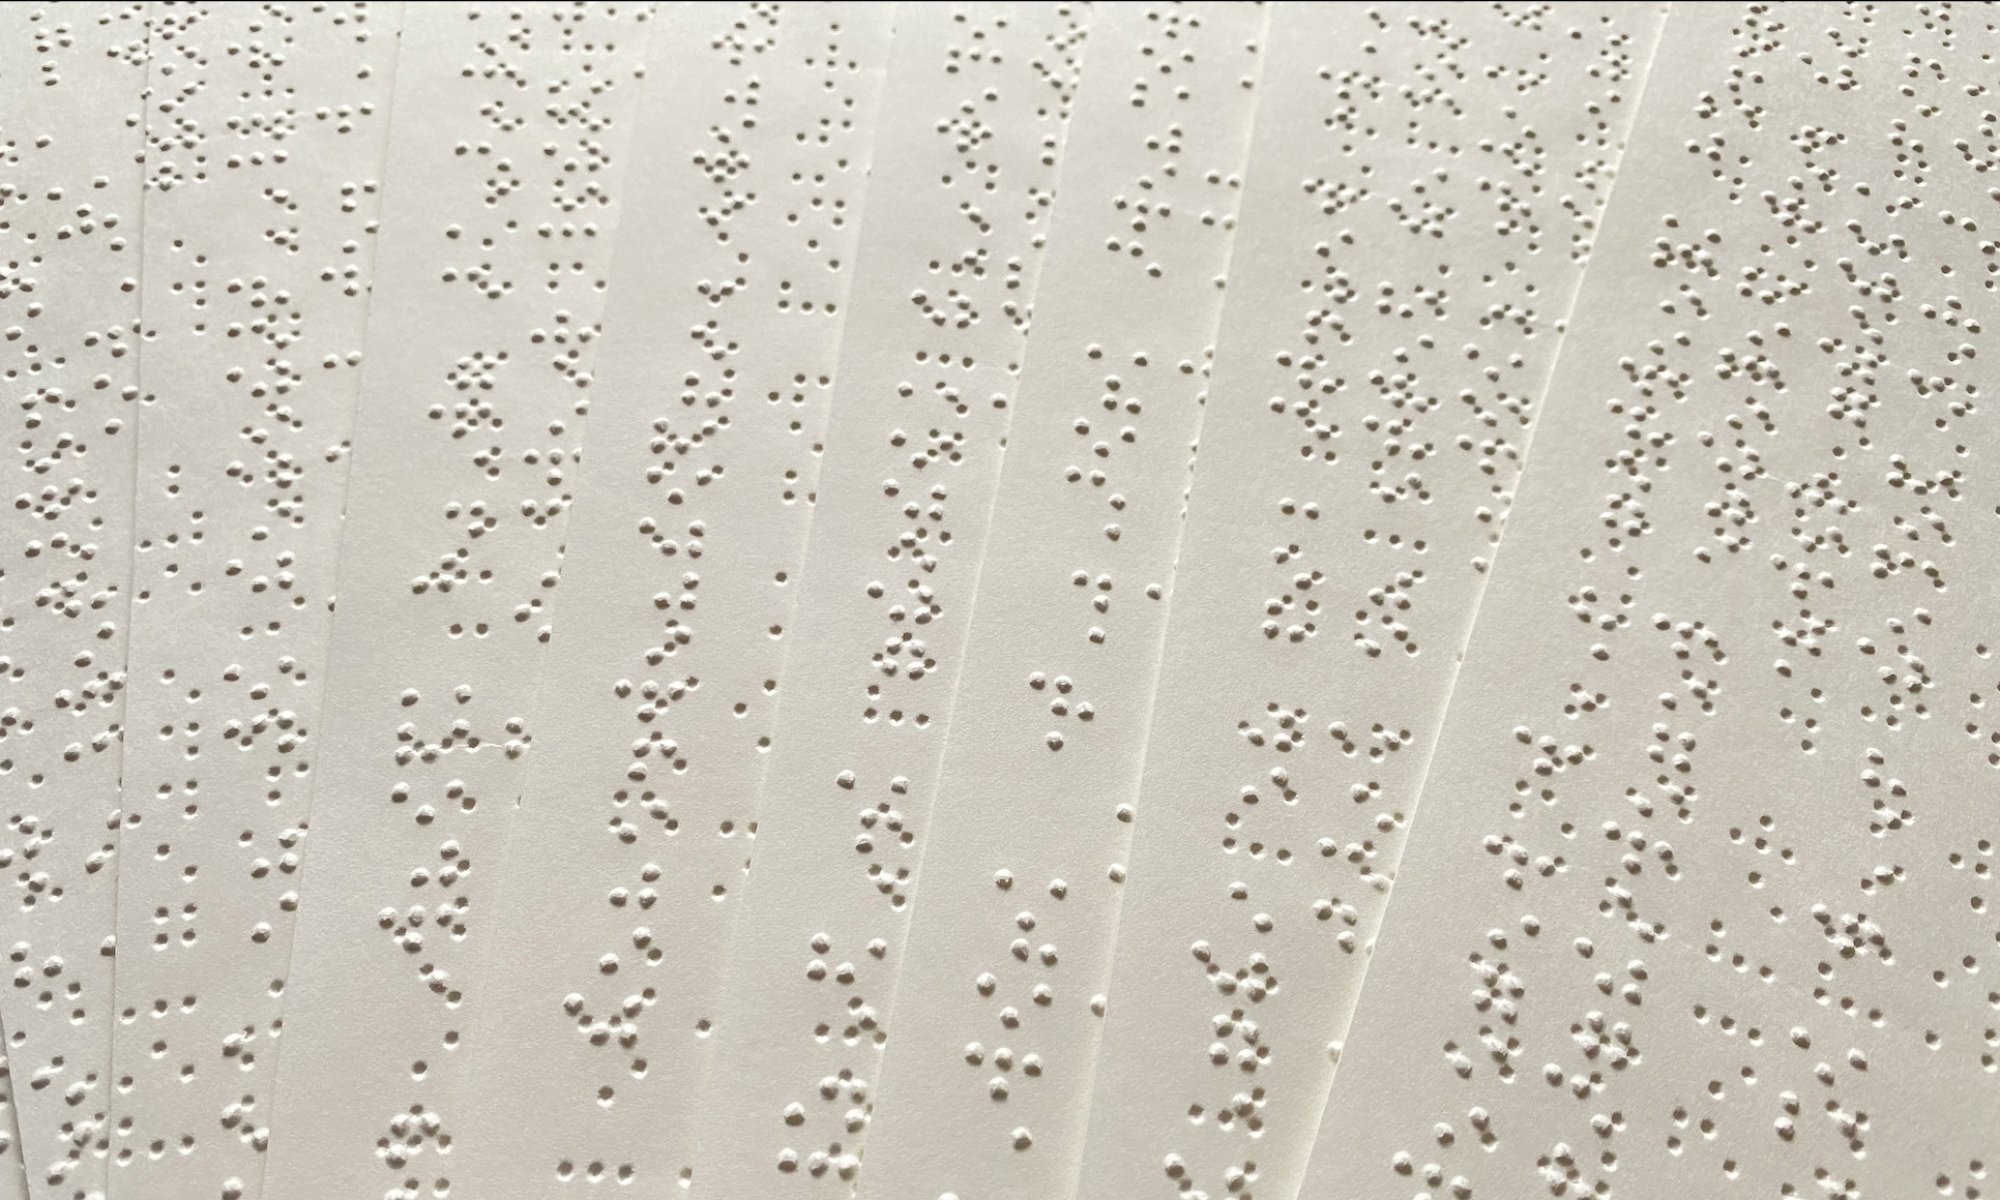
Testing for specifications: Once we have our electromechanical embosser system in place, I will measure the distances between braille characters to make sure they are to specification. We will also have user testing to ensure that the braille is readable. I also have printed braille from a state-of the art printer. I will compare our braille with this braille output to see if the size is similar. I also plan to test 10-20 inputs such as notes or products to see if the embosser is able to print these to specification.
User Testing: I have been testing the web-app using the text-to-speech capability on my phone. This is to ensure the button spacing is enough for the text-to-speech to discriminate based on touch. I also want to ensure that the text-to-speech isn’t overwhelmed by the amount of text I am displaying on the screen and is able to communicate the information clearly. This coming week, we are going to be having a user testing session at LAMP Pittsburgh with blind and partially blind users. This test will be a great way to gauge the usability of our app and will inform any adjustments I may need to make towards our final demo.
Weekly Accomplishments:
This week, I focused on finalizing the web-app to ensure that it was easy to use for completely blind users and clear for partially blind users. This process included ensuring proper spacing between all of the buttons, testing our web-app’s features using text-to-speech to assess the clarity of our buttons, ensuring large text, and limiting the amount of text on a page while making sure our users understand the flow of our site. I have also publicly hosted our web-app so it is more accessible to users (it is not ideal for a blind user to have to type the name of the local host). After talking to Joshna about how the braille cells will be mapped to the solenoids to emboss, I realized we needed to make slight modifications to our solenoid encasings and x/y gantry cart to ensure proper spacing between each embosser head (4 braille cells apart in x and y direction). I modified these parts in CAD and sent them to be 3D printed again.
In the coming weeks, I will be working with Joshna on integrating the software and hardware through the RPi and arduino, and working with Becky to assemble the electromechanical embosser. I am also working on establishing unique user sessions to ensure privacy of the user’s data.