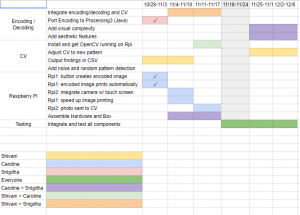
Overall, we focused this week on preparing for the midpoint demo, by trying to integrate separate parts into a more functional project. Because of external factors, we were unable to work on the CV this week, so we focused on the integrating the encoding end. We have the encoding system set up such that when someone types a message in and hits a button, it automatically prints out the encoded image. To do this, we rewrote the encoding system in Java so that we could use the Processing desktop app which integrates with the command line. Unfortunately, because of the types of communication we’re using, it’s really slow right now (~20 seconds from entering the text to printing), but we have plans to make it much faster and more polished in the coming week.
a full 20+ seconds… yikes
Caroline
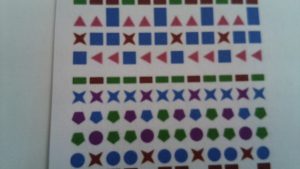
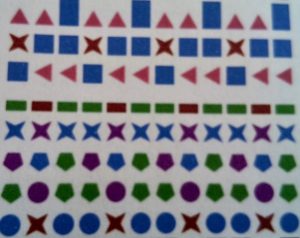
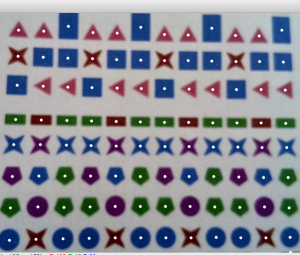
Encoding System
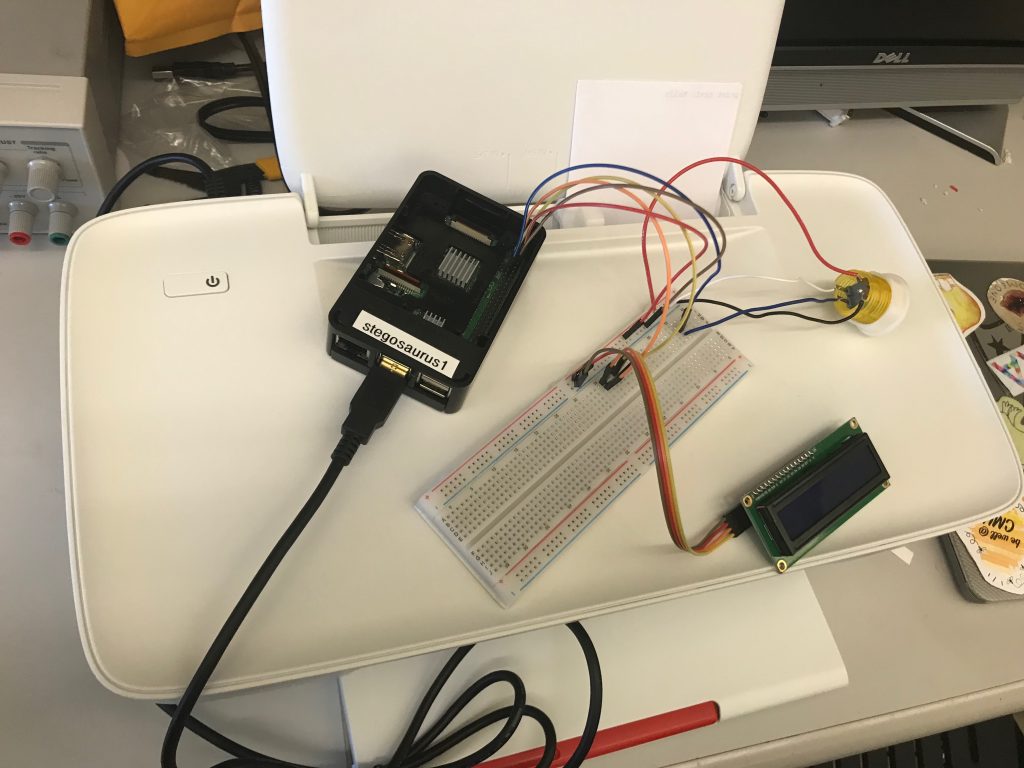
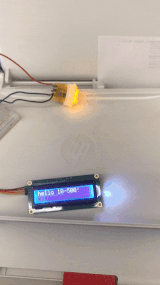
Last week and this week, I set up the first Raspberry Pi with an LCD screen, a keyboard, a button, and a printer. The hardware system is now automated such that the user types in a message into the Pi, they see it on the LCD screen, they hit the button, and the message prints out automatically.
Because Snigdha’s encoding system is written in p5.js for the web, we originally needed to communicate between the web and between a node server in order to actually print out the image on the canvas. We figured that we needed to use web sockets to communicate back and forth between p5.js and node. This came with several more problems involving client-side web programming, and between installing browserify and other packages to attempt to communicate via a web server, it took a big push to get things up and running here. The system I came up with is:
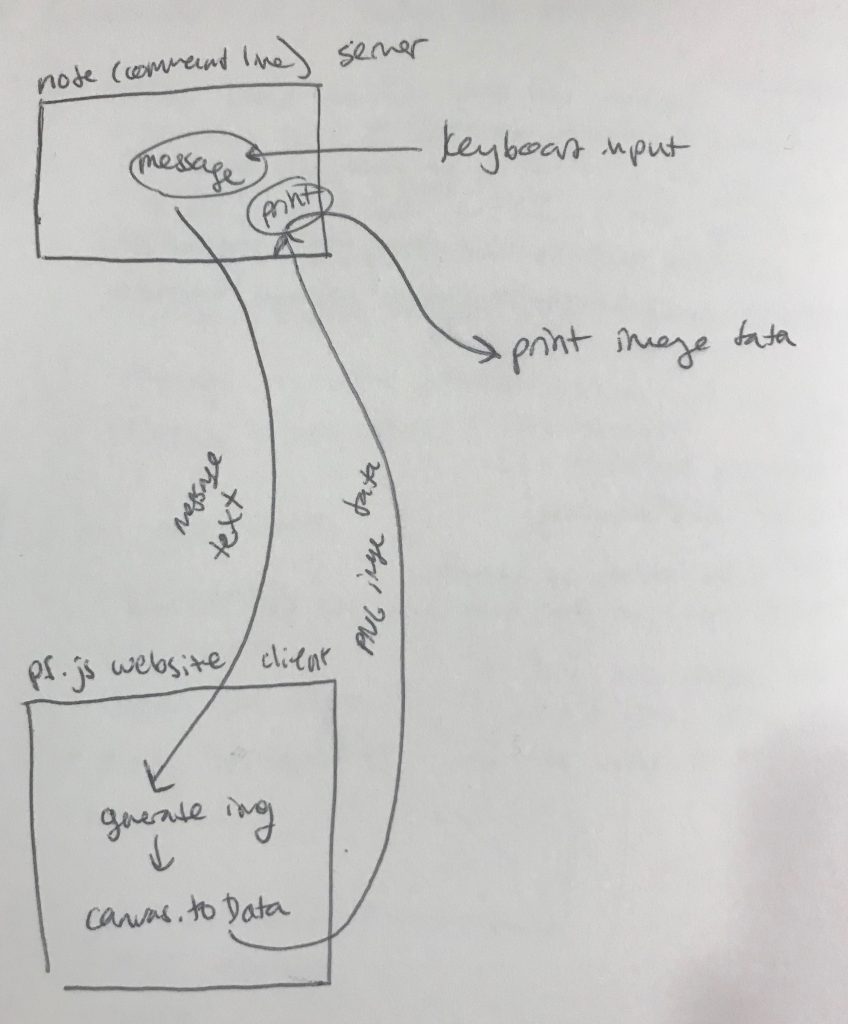
(1) user inputs message (string) via keyboard, which is received by local node server.
(2) local node server broadcasts message via socket.io.
(3) client-side p5.js app hears the message, and updates the image.
(4) p5.js app converts canvas to data image, and sends the data back (string) via socket.io.
(5) local node server receives PNG data, and prints out encoded image.
However: this would have required majorly wrestling with lots of obnoxious web programming. We decided instead to use processing, which has command line functionality available, as it’s written in Java. Snigdha reimplemented her code in Processing Java, and I wrote code to automatically call the printer from within processing, and to automatically call processing from Javascript, which is what our GPIO system is still written in. This worked – we were able to automatically print end-to-end from keyboard input by pushing a button! Major Milestone!
But alas, there is a problem. On average, after measuring four times, it took around 20 seconds to automatically print the image after the button is pressed. This is pretty bad. The reason it takes so long is because calling a processing sketch from the command line takes a long time. So even though my code is optimized to print quickly, the actual rendering of the image is taking a super long time based on the graphical environment we used.
Right now, our main priority is getting everything functional. However, I would really like to spend a few days working on getting this to run much faster. I have three ideas for how to do this. I really want to make sure that the printer is called pretty much instantly after the message is inputted, right now, that is the longest waiting period.
(1) do the awful web server thing. It would be a frustrating experience getting it to work, but web socket communication is a lot faster than calling processing code from the command line.
(2) Use something like OSC to allow javascript and processing to communicate with each other live without having to re-launch the app every time, but I’m not sure how that would work . <- I think this is what I’m gonna go for
(3) implement all of the hardware in processing. It would require me to write my own I2C library for the LCD display but I think it could work
Decoding System
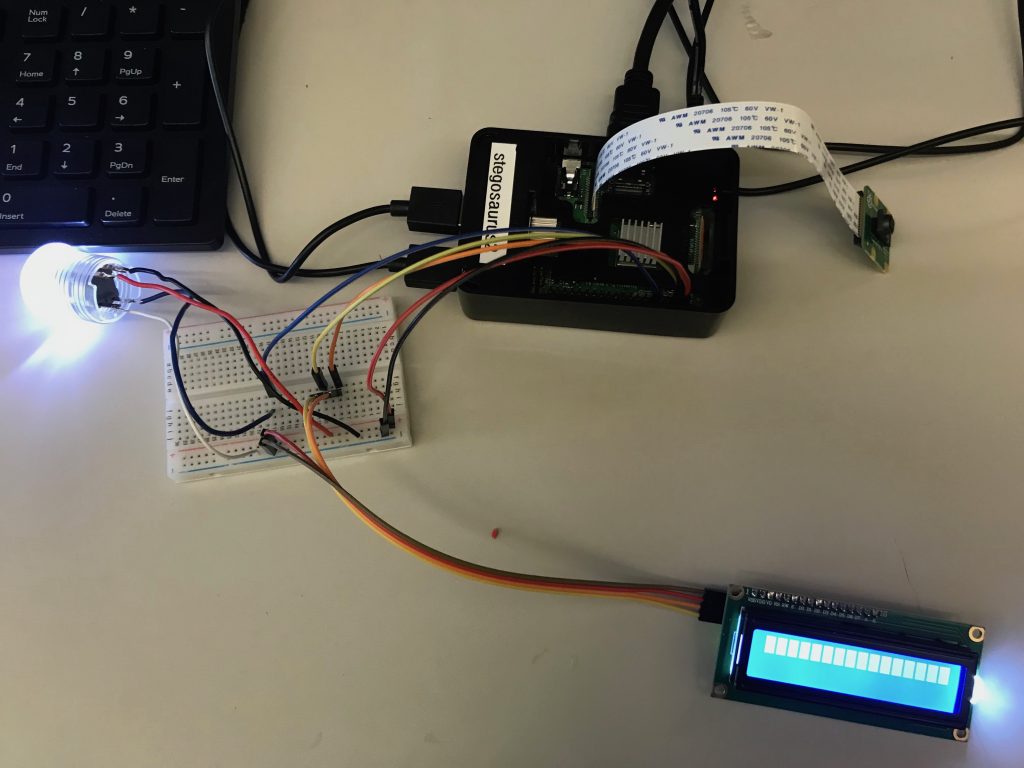
I also set up the second Raspberry Pi with a Pi Camera, an LCD screen, and a button. I wrote python code that takes a photo with the Pi Camera whenever someone presses the button. The next step is to install OpenCV on the Raspberry Pi and use it to automatically process the image that is taken. We’re also planning to add a digital touch screen so that participants can see the camera feed before they take a photo.
Snigdha
This week, I worked on modifying the encoding file to be able to be run from the Raspberry Pi to make it easier to integrate with the hardware. This involves modifying the way input is handled so that we could read an input from the hardware, as well as making sure the file could be continually running instead of having to rely on a human running at each time. While this is still an ongoing process, I also looked at using socket.io to get the input from the hardware into the generateImage file.
Shivani