
This week I completed the assembly for the game controllers and modules. It involved gluing things together and a lot of soldering.
Module Assembly
There are 6 total modules that do different things in the game, but there are 3 different kinds of modules (2 buttons, 1 slide potentiometer, 3 encoders).
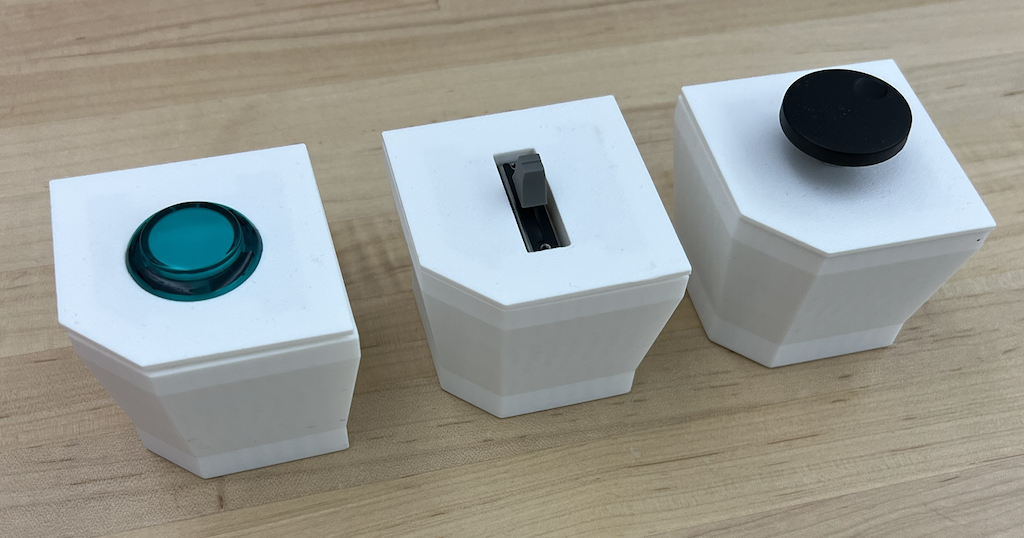
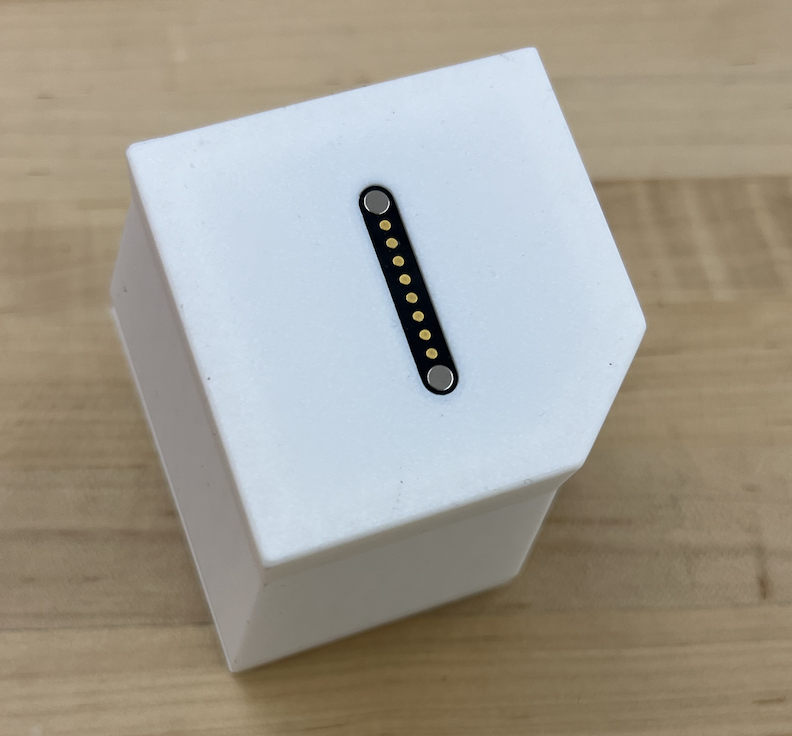
The bottom of each module is a row of 8 pogo pins that are magnetized and will stick to the pins in the module slots.
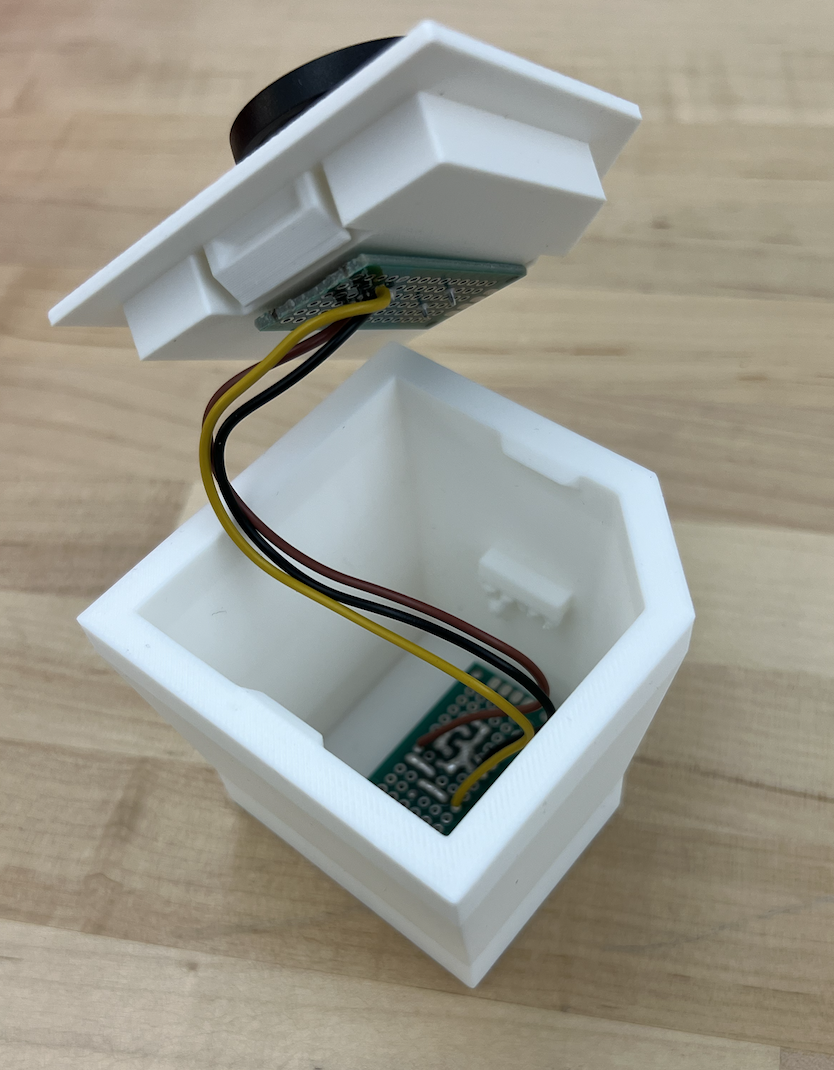
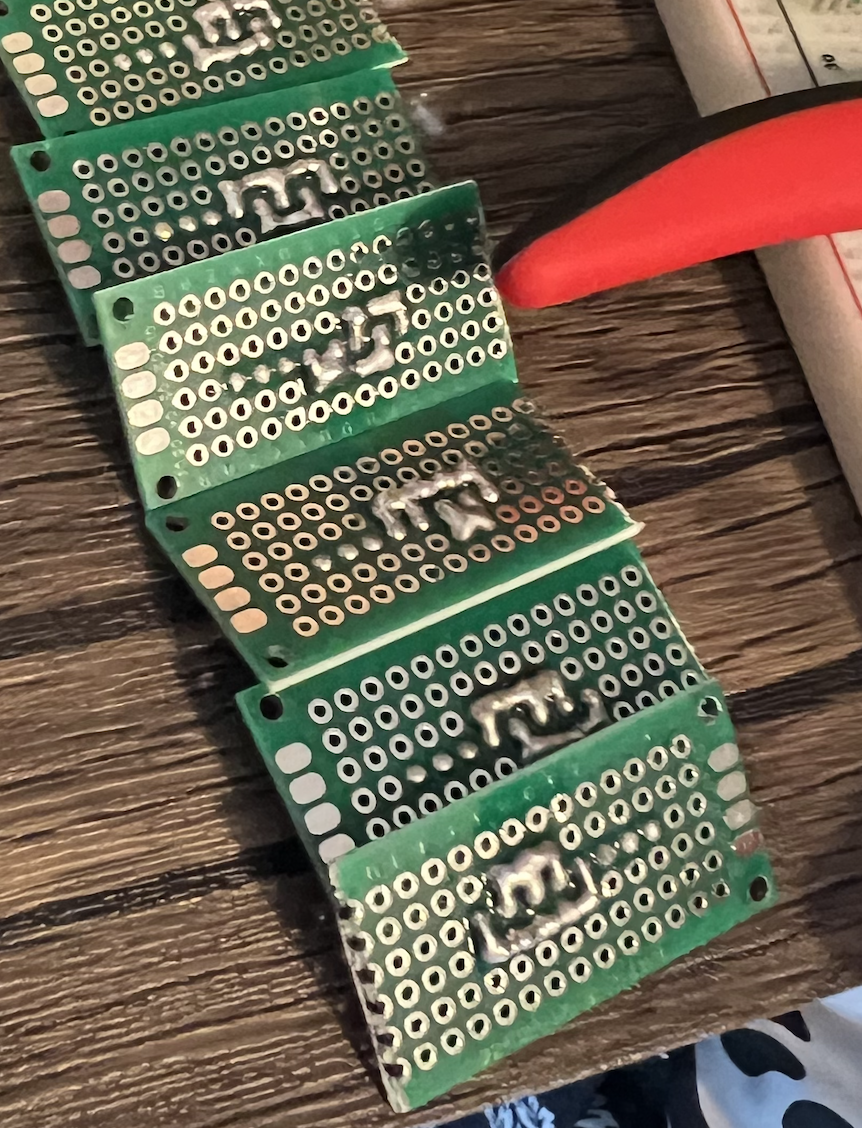
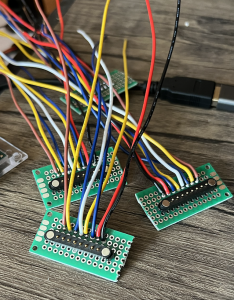
Inside of each module there are 1 or 2 pieces of perfboard, depending on the module type. For the encoder module, which is shown below, there is a piece of perfboard glued to the bottom which connects power/ground to the corresponding ID pins so the Arduino knows which of the 6 modules it is. The top perfboard holds the encoder in place and wires them to the lower perfboard. The second image shows different ID pin configurations for each of the 6 modules.
Controller Assembly
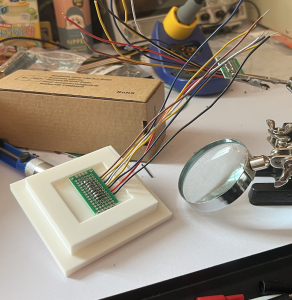
Each controller is a box with two module slots. For each module slot, a row of pogo pins (8 pins each) is soldered to a piece of perfboard. 8 Wires are then soldered to the perfboard and connect to the header pins of the arduino. The pogo pin perfboard is also glued to the 3D printed module slot which is glued to the controller.
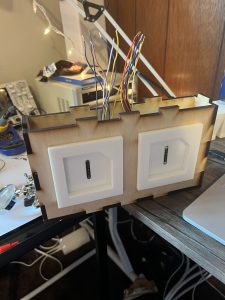
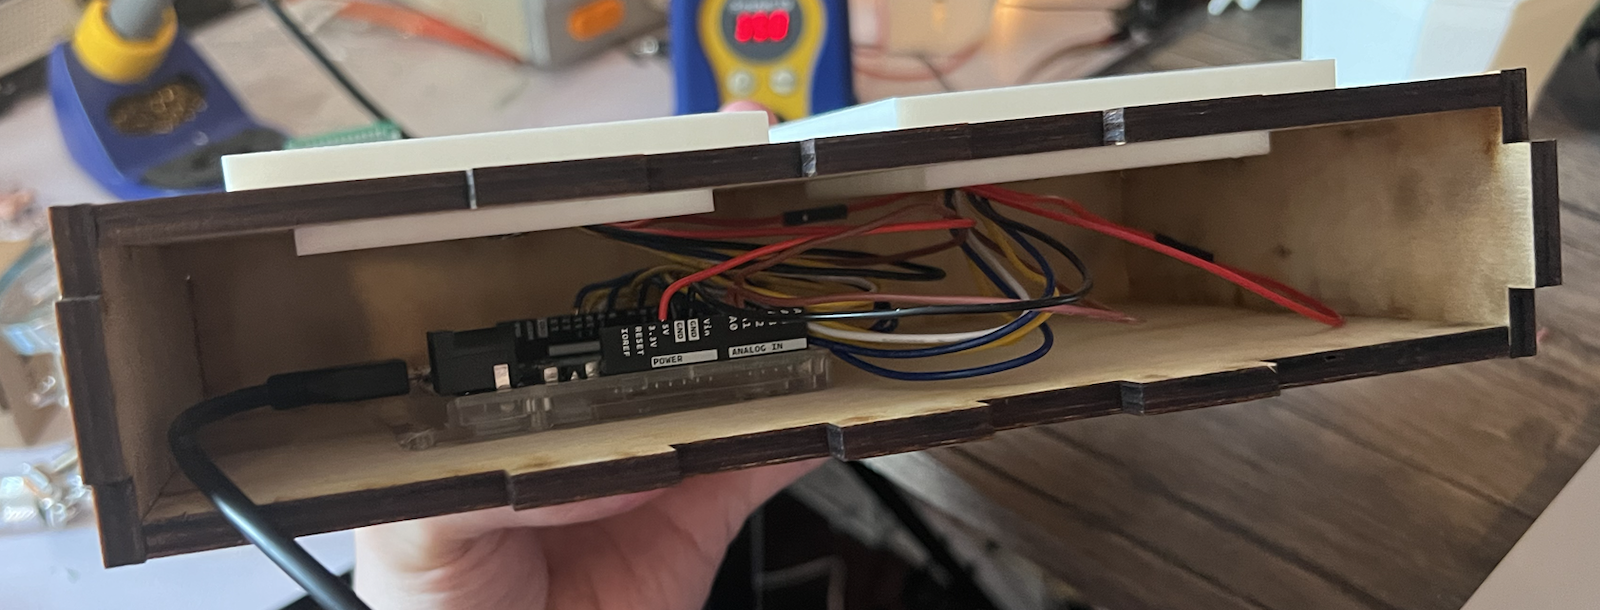
I glued 5 of 6 panel box sides together. The 6th side, which has the hole for the USB cable to the Arduino, is left un-glued for now so it’s accessible.
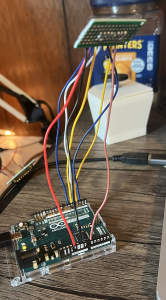
The Arduino and wiring inside of controller box:
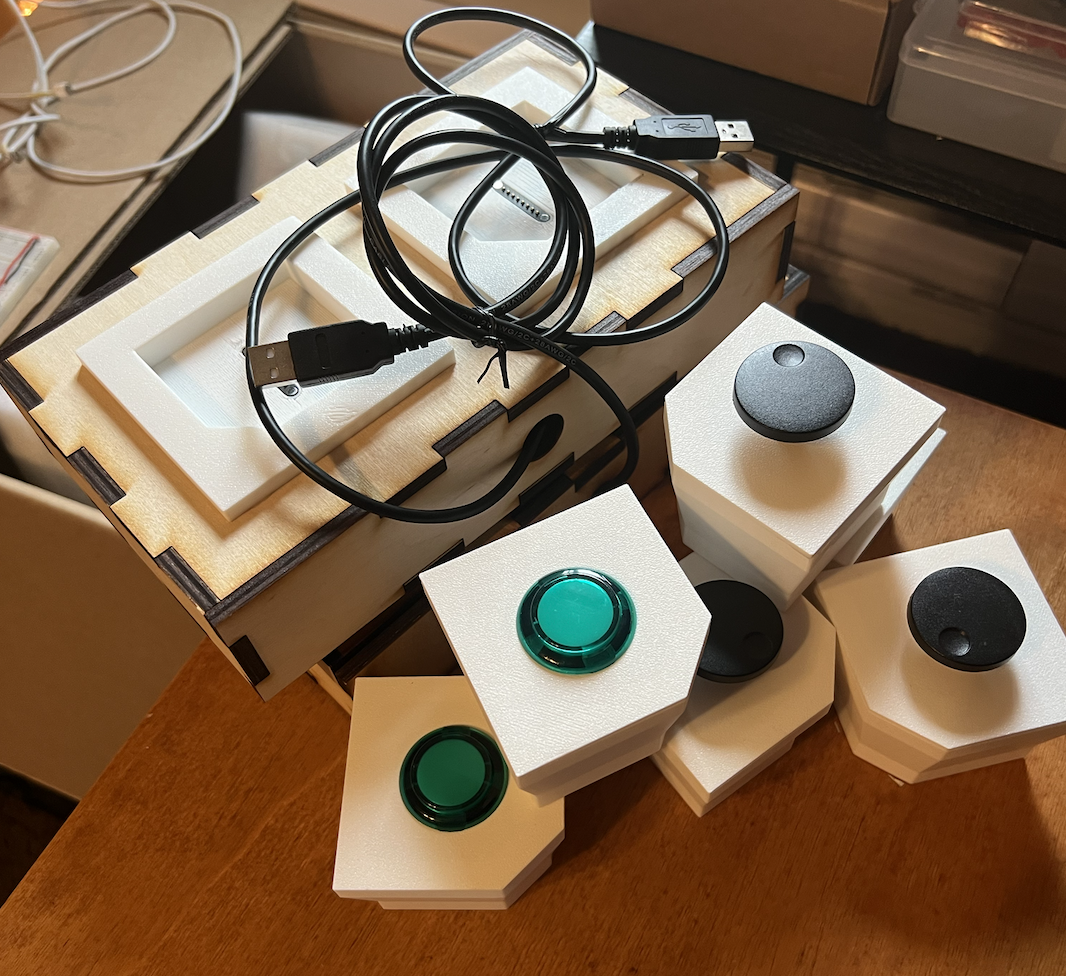
All of the assembled parts:
Progress and Next Week’s Deliverables
Progress is on track for the final demo/report/presentation. For next week, I will be preparing for the presentation and report since I am delivering the final presentation. I will also update the software if playtesting from users yields any valuable feedback.