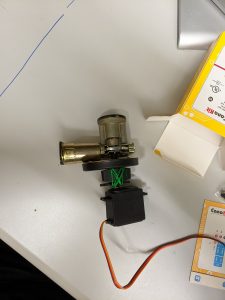
This week I made significant progress on the locking mechanism. I finished the code part that actually causes the motor to turn the lock open, which means we’ll have a visual representation of the iDoorlock process going from phone tap to motor activation (which will represent the lock unlocking during our demo). I also talked to Jiaqi about the motor strength issue, and with the stronger motor coming in yesterday I was able to do a quick test and determine that the new motors are indeed strong enough to turn the locking mechanism. We have made precautions, though, and I’ve sent in an order request for a servo shield should the Raspberry Pi by itself not supply enough current for the mechanism.
Open issues: prepping demo and an actual adhesive mechanism for the lock mechanism. Demo is almost ready, we’ll probably need to run a few tests to make sure everything is in order though. As for the lock and motor, I’ll need to look into how I can actually connect the two together. I have a few ideas at the moment, some of which involve sanding down part of the lock so it’s flat enough to superglue a motor horn onto, but I’d like to come up with something more practical.
Next week will be about figuring out these two open issues. I’ll most likely communicate with TechSpark independently to see if they have scroll saws/belt grinders.
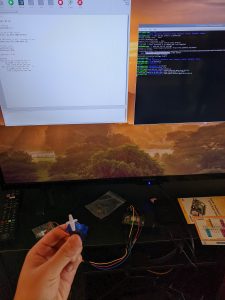
Media: testing lock mechanism (video was too large so only testbench shown), naive test mechanism with stronger motor that opened lock (temporarily held in place by wiring)


